Homemade pie dough sounds intimidating, but don’t get scared off. This Pie Crust is mixed in the stand mixer and is perfect for beginners. It uses shortening, which is easier to work with and provides more consistent results than butter. Plus it happens to be completely vegan-friendly and dairy-free. And… stress-free!
3-2-1 Pie Crust Ratio
Classic American pie dough uses an easy-to-remember ratio: 3 parts flour, 2 parts fat, 1 part water by weight. That means for every 3g of flour, you’d add 2g of butter or shortening and 1g of cold water.
Let’s apply that to this stand mixer pie crust recipe:
- 1¼ cup (165g) all purpose flour
- 1/2 cup (90g) vegetable shortening
- 3–4 tbsp (45–60g) of ice water
If you do the math, these measurements don’t exactly line up with the 3-2-1 ratio, but they come pretty close. I’ll explain why further down in this post.
What Type of Flour to Use
There are four main types of flour you’ll commonly see at your grocery store:
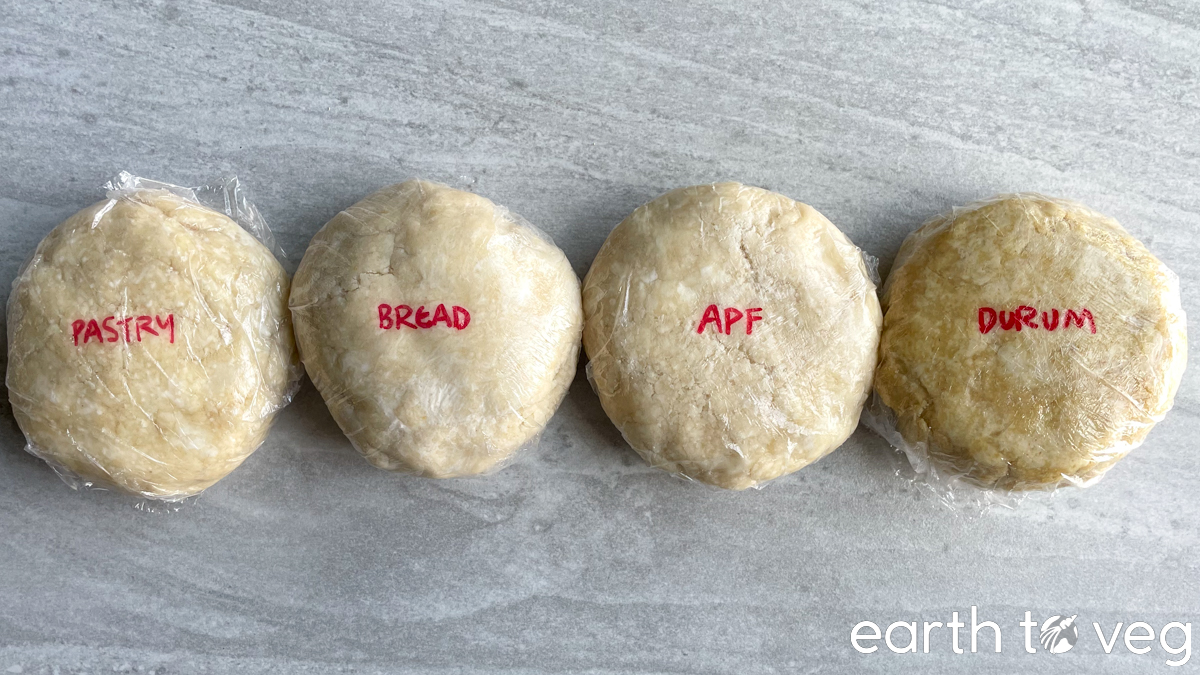
- All purpose flour. This is my go-to flour to use for making a stand mixer pie crust. Not only because it’s the cheapest and most accessible, but also because it’s the easiest to work with. It has a middling protein content (10–12%). Some bakers use a mix of all purpose and pastry flour, but there’s no need to buy pastry flour specifically for this recipe. 100% all purpose flour will do.
- Pastry flour (cake flour). While pastry flour and cake flour are two different things, they’re used interchangeably by some brands. Both have lower protein content than all purpose flour, although pastry flour is has more protein (8–10%) than cake flour (6–8%). High protein leads to high gluten network formation which leads to dense, stodgy cakes, which is why these flours have lower protein. But when it comes to pie dough, we do want a bit of gluten formation because the pie crust has to be sturdy enough to be rolled into a thin sheet, and to hold itself together along with the filling inside. This is more difficult to achieve with low-protein flours.
- Whole wheat flour. The protein content of whole wheat flours fluctuates between brands, but is on the high side somewhere between 11–15%. But the presence of bran (those tough brown flakes you’ll find in your whole wheat flour) disrupts the formation of gluten. It also absorbs more water, leading to a drier dough. Because of the variability between brands and extra difficulty introduced by the bran, I don’t recommend trying whole wheat flour if you’re a beginner. I don’t have experience with these myself, but I’ve heard that “white whole wheat flour” or “whole wheat pastry flour” are good alternatives to the traditional whole wheat flour.
- Bread flour (hard flour). Bread flour has even higher protein than all purpose flour, usually at least 12%. As the name suggests, it’s best suited for bread where you want high gluten development. I don’t recommend using bread flour for pie dough because it’s easy to overwork the dough. Overworked dough will become tough.
TL;DR: You can’t go wrong with all purpose flour.
Butter vs Shortening
You’ll notice in the recipe card that I use vegetable shortening (Crisco), instead of butter.
This is because there’s such wide variety among brands of vegan butter. Some have a lower melting point than others, some have a higher water content, some are soft like margarine and some are hard like real butter… and they each use different fat blends and additives which all have an impact on the dough. Heck, even with dairy butters, you’ll see different results if you use a high-fat European butter vs an American butter.
Shortening, on the other hand, is almost pure fat with no water content. So whether you use Crisco or another brand (grocery store no-name shortening works just as well), you get the same results. Also, the melting point of shortening (116 °F) is a lot higher than butter (100 °F) so it’s less prone to melting in your hands. Much more forgiving and beginner-friendly!
The downside to shortening is it has absolutely no taste or smell, whereas each brand of vegan butter has its own distinctive buttery flavour. But I’ve always viewed pie crust as a vessel for serving pie filling. This pie crust allows you to enjoy the full, pure flavour of the pie filling itself.
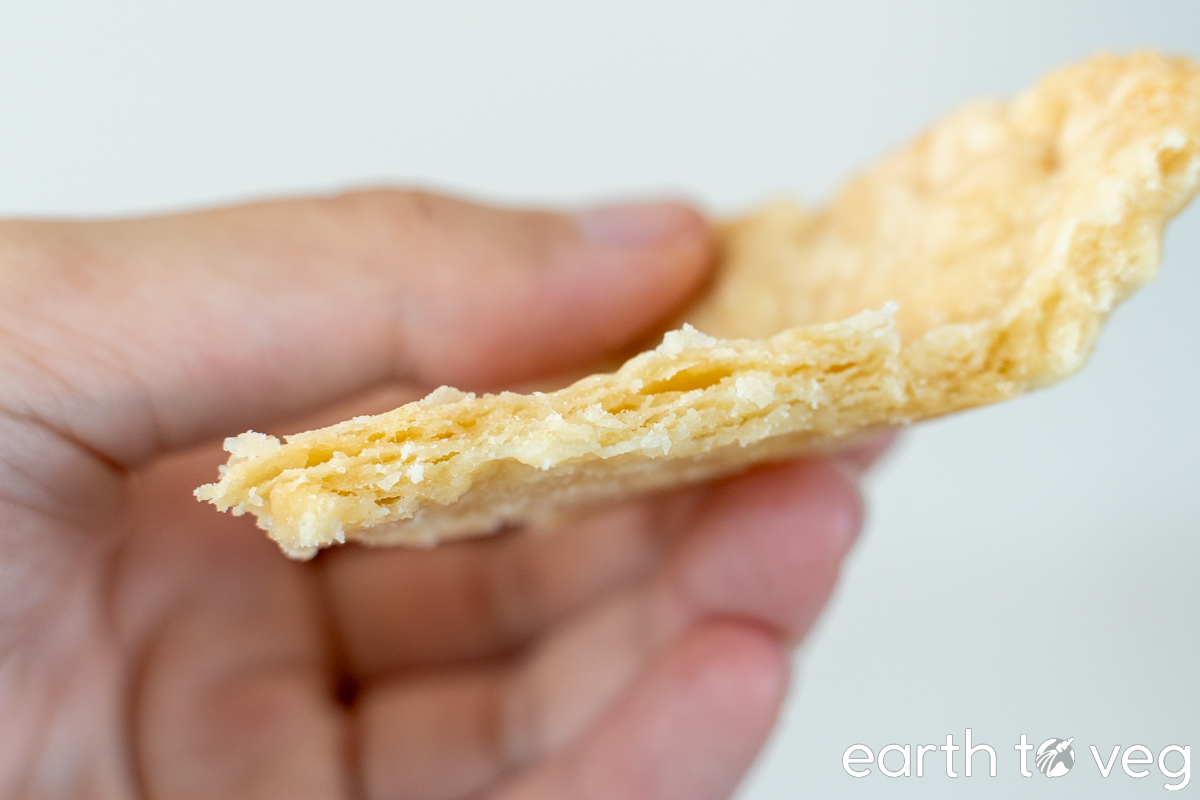
Note: Pie crusts made with butter vs shortening also have different textures. Butter crusts are flakier, but a bit chewier, while shortening crusts are crumbly and more tender.
Since I have no idea which brands of vegan butter are available where you live, I don’t want to guarantee results for a pie crust made with a butter that I haven’t tested yet. Shortening is a more accessible product, and it should be foolproof no matter which brand you use.
Feel free to experiment with this recipe using your favourite vegan butter. Let me know in the comments whether you prefer making pie crust with butter or shortening!
How Much Fat to Add
The more fat you add to the pie dough, the more tender and lighter it becomes. But add too much, and it becomes way too fragile, basically falling apart in your hands. Keeping the fat content at somewhere between half and two-thirds of the flour makes for a tender baked crust while still being relatively easy to work with. Some pie recipes go all the way up to a 1:1 ratio, but they become delicate and fragile. Personally, I don’t think the extra bit of richness is worth the increased difficulty in handling the dough. Or the extra calories, for that matter.
Conversely, adding too little fat results in a hard, dense pie crust, and it becomes easier to overwork. As a personal experiment, I tested using 90g of fat with varying amounts of flour: 195g, 175g (the amount Crisco recommends in their recipe), 165g, and 130g of flour. I couldn’t really tell the difference between the 165g and 130g experiments. But the crust made with 175g flour was a little harder and sturdier than the previous two. The 195g flour (over a 2:1 ratio of flour to fat!) was noticeably more crunchy than crumbly, and reminded me of a cracker.
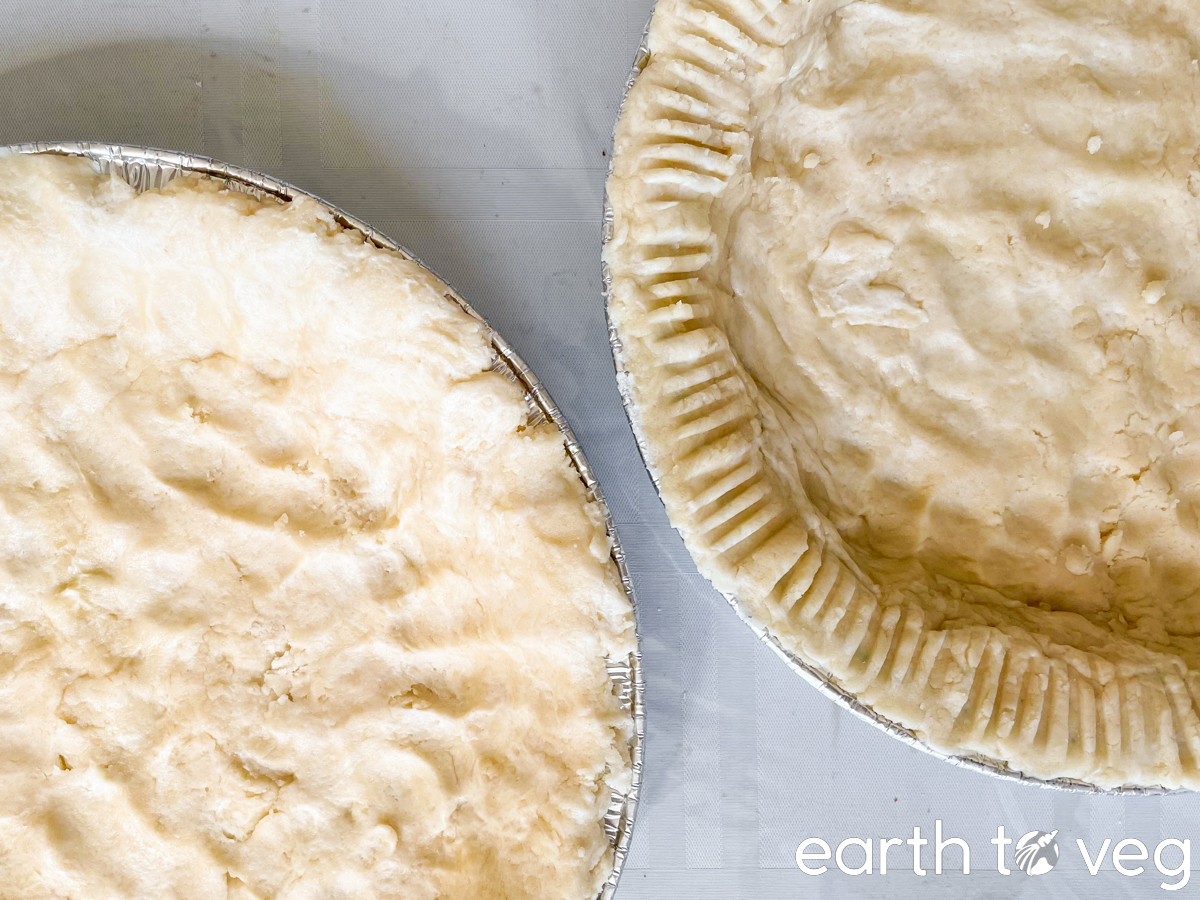
The pie crust made with 165g flour strikes a good balance between being pliable and sturdy, with the light and tender mouthfeel you expect. Bonus, it makes enough for a 10-inch pie plate, so it works for all pies 10 inches or smaller. (If you want to make a top crust or lattice design to cover your pie, double this recipe.)
How Much Water to Add
Different flours absorb varying levels of moisture, but usually you’ll need somewhere between 3 to 4 tbsp of cold water to bring the dough together. As I learned from J. Kenji López-Alt, the amount of water needed to moisten the dough also depends on how small you cut your pieces of fat, so there’s no exact magic number.
A good test to see whether you’ve added enough water is to gently squeeze a handful of pie dough in your palm:
- If it sticks together in a lump, you’re good.
- If it sticks excessively to your hand, then it’s too wet. Dust with more flour and gently stir to coat all the dough lumps, then try squeezing again.
- If it crumbles apart, then it’s too dry. Add more water, 1 tbsp at a time.
Salt and Sugar
Finally, to help with flavour and browning, I also add:
- 1/2 tsp salt. A bit of salt goes a long way to adding more depth of flavour to your pie crust and prevent it from tasting bland.
- 1 tbsp sugar. While it does help with flavour, the primary purpose of this sugar is to assist browning. Since we are using shortening instead of butter, it will take a lot of baking before the pie crust takes on a golden-brown colour. Sugar will caramelize as it heats in the oven. This will help the crust to brown evenly, even if you don’t blind-bake ahead of time.
Note: This stand mixer pie crust is suitable for use with both sweet and savoury pie fillings. The 1 tbsp of sugar is small enough that the baked crust will definitely not taste sweet. I’ve baked chickenless pot pies and tofu quiches to great success using this dough.
Step-by-Step Process
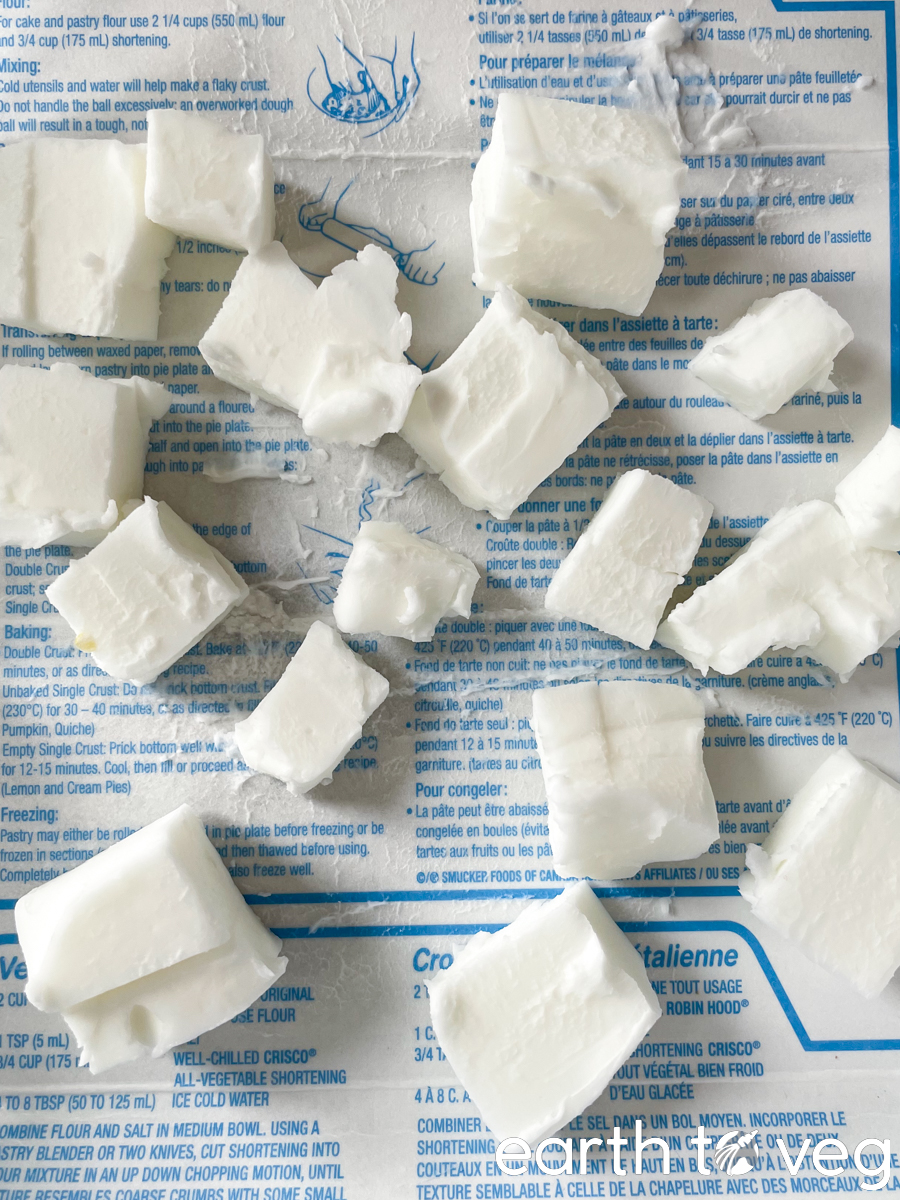
Step 1: Start by chilling your water. Pour 1/4 cup of cold tap water into a small cup and stick it in the freezer while you gather the other ingredients. Next, cut cold shortening into small pieces, no bigger than 1-inch. If you keep your Crisco at room temperature, measure out the amount required for this recipe and throw it in the freezer for 20 minutes to chill.
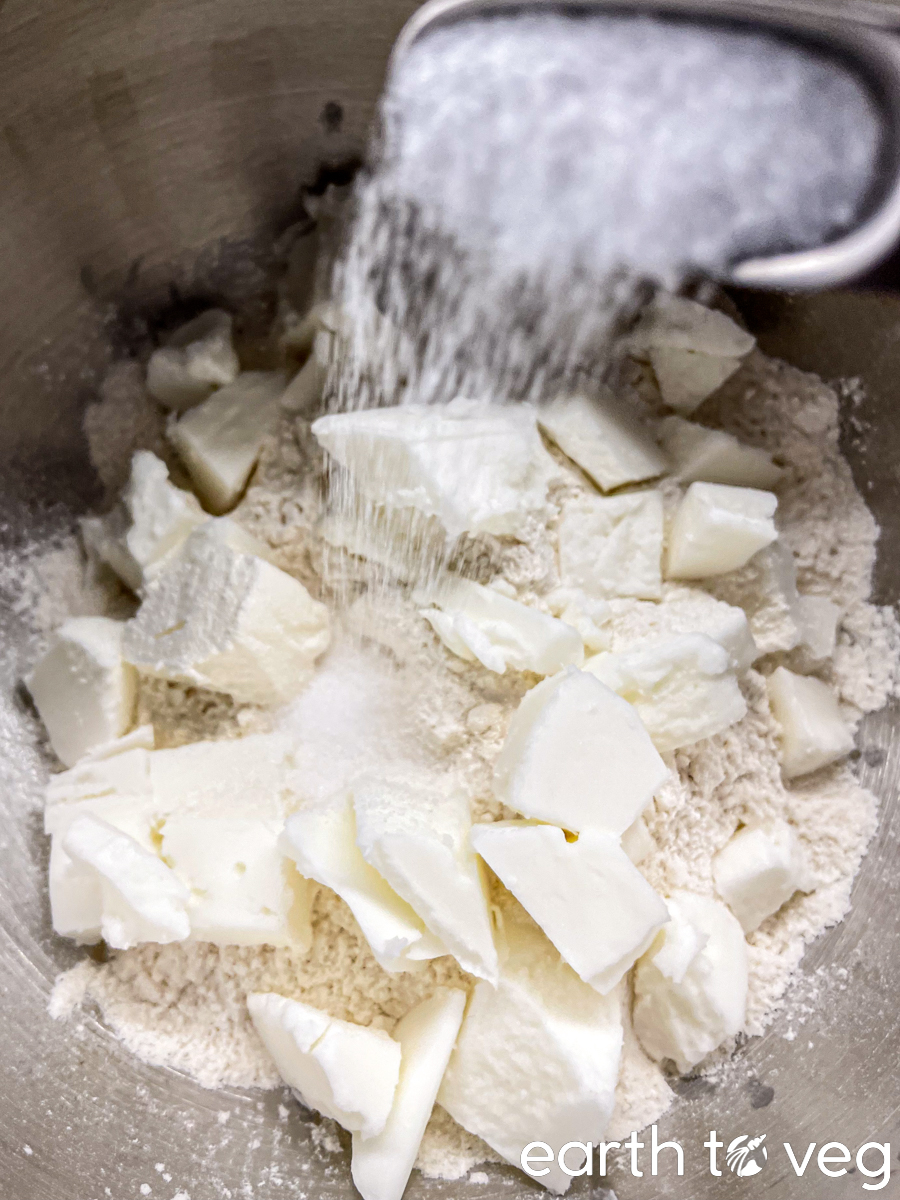
Step 2: Measure the flour, salt, and sugar into your stand mixer bowl. Add the cold cubes of shortening. Fit your mixer with the beater attachment, the one used for mixing cakes. (Apparently KitchenAid also sells a Pastry Beater attachment specifically designed for making pie dough but I’ve never used it.) Also fit your mixer with a pouring shield if you have one.
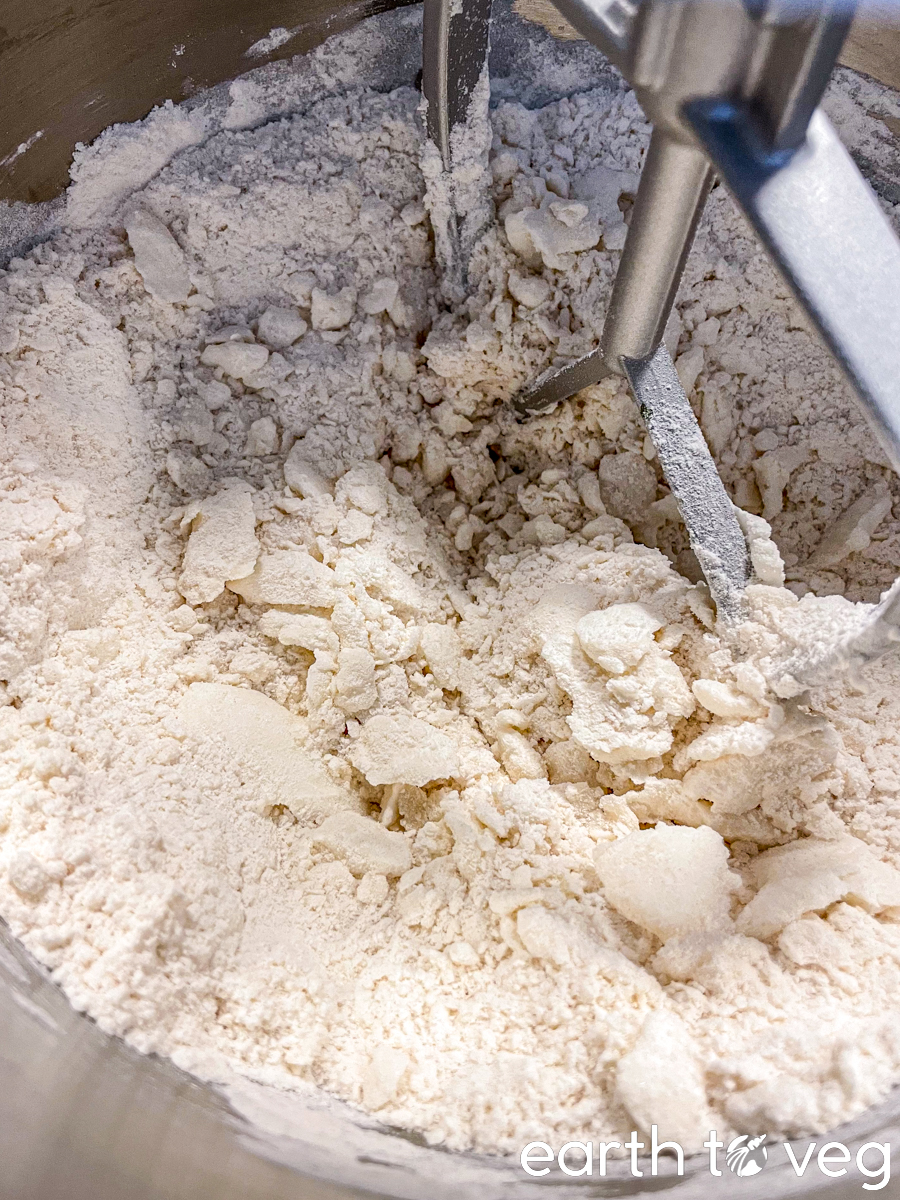
Step 3: Start the mixer on low speed, then gradually increase the speed to medium high. Mix until the chunks of shortening resemble small peas or pebbles coated in flour. The total time spend mixing in this step should be no more than 1.5 minutes.
Step 4: Now turn the mixer speed back down to low. With the mixer running, slowly drizzle in 3 tablespoon of water. If it still looks dry, add more water, 1 tablespoon at a time, until the dough starts clumping together.

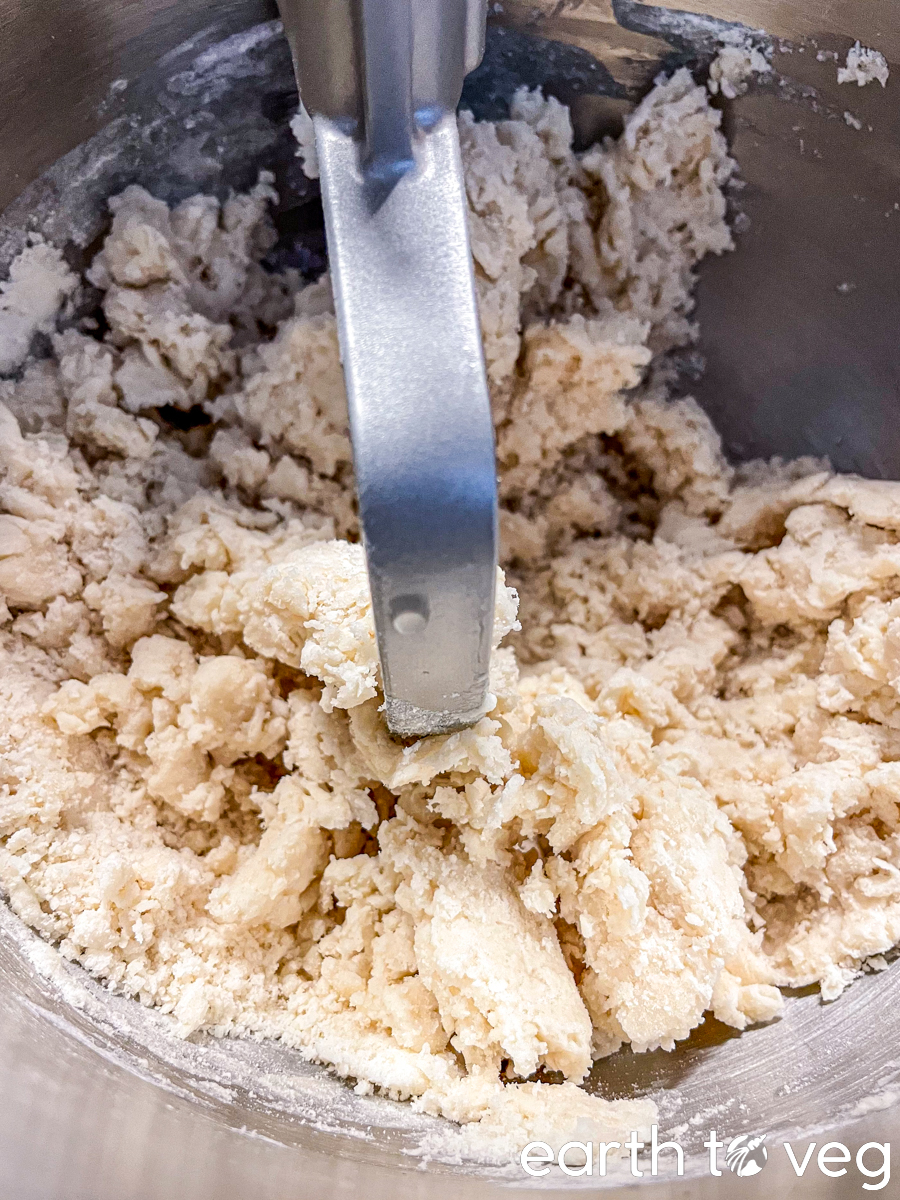
Step 5: Here’s what the pie dough looks like when it’s ready. As soon as it forms a unified mass, stop the mixer. If you keep mixing beyond this point, you’ll overwork your dough.

Step 6: Turn the mixture out onto a sheet of plastic wrap. Use both hands to press it together from all sides into a dough ball. Then flatten it into a disc. Wrap it in the plastic wrap and refrigerate for 20 minutes.
Tip: The refrigeration step is key to give the shortening a chance to chill, and for the gluten to relax, ensuring that the dough is both strong and pliable when you roll it. But don’t refrigerate for longer than half an hour, because it will become harder to roll out and has a tendency to crack at the edges. Yes, pie dough is finnicky like that! Too cold and it may crack. Too warm and the fat will melt, resulting in a dense and greasy baked crust.
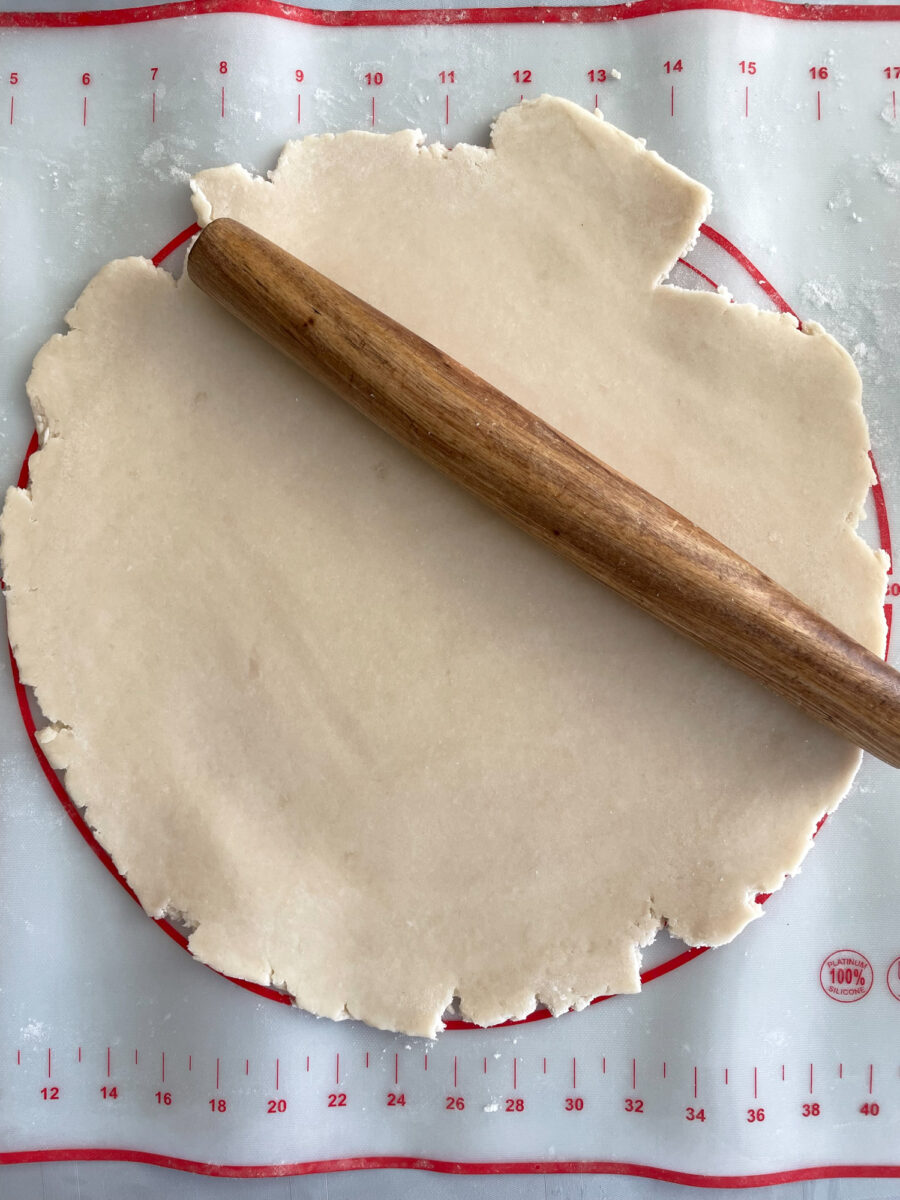
Step 7: Dust both sides of the pie dough before rolling it out. Roll it out at least 2 inches larger than the diameter of your pie pan to give you enough room for covering the sides of the pan.
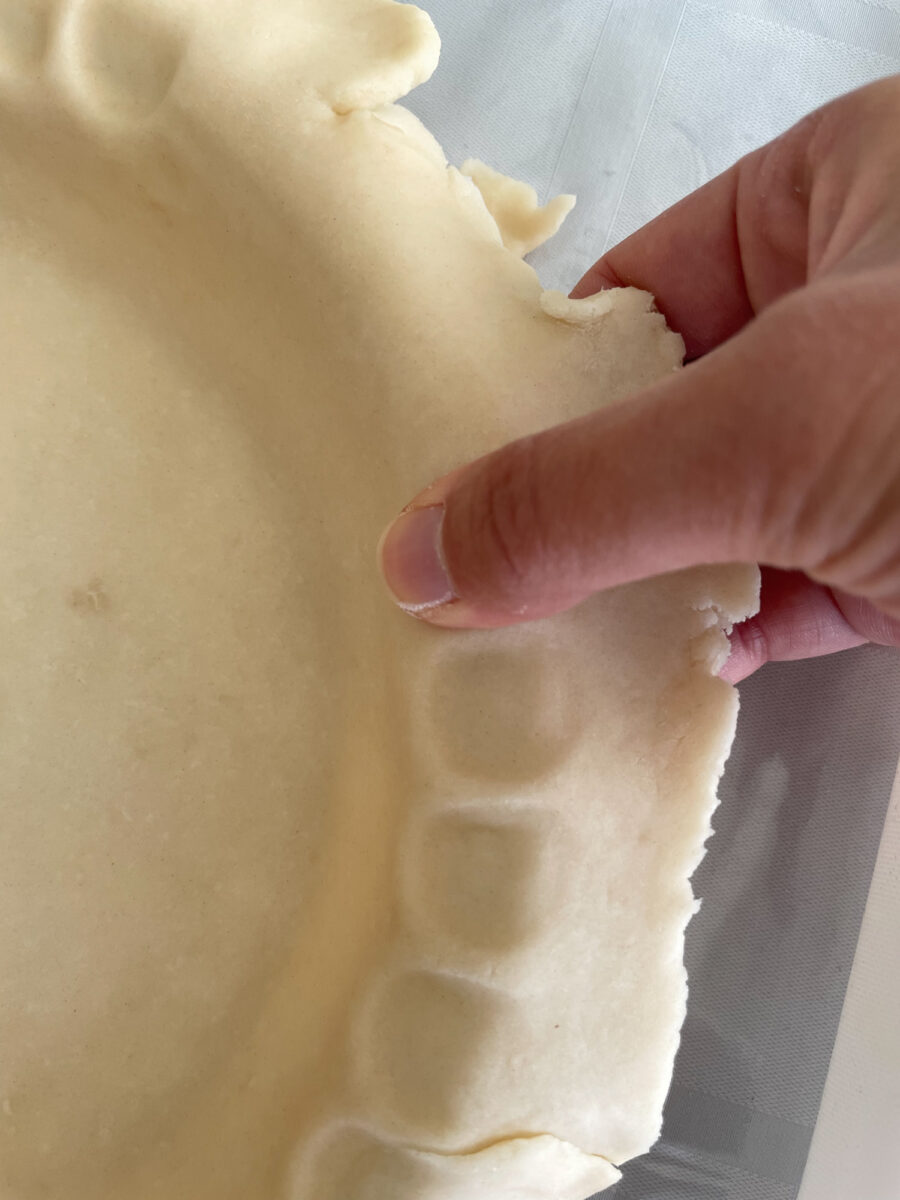
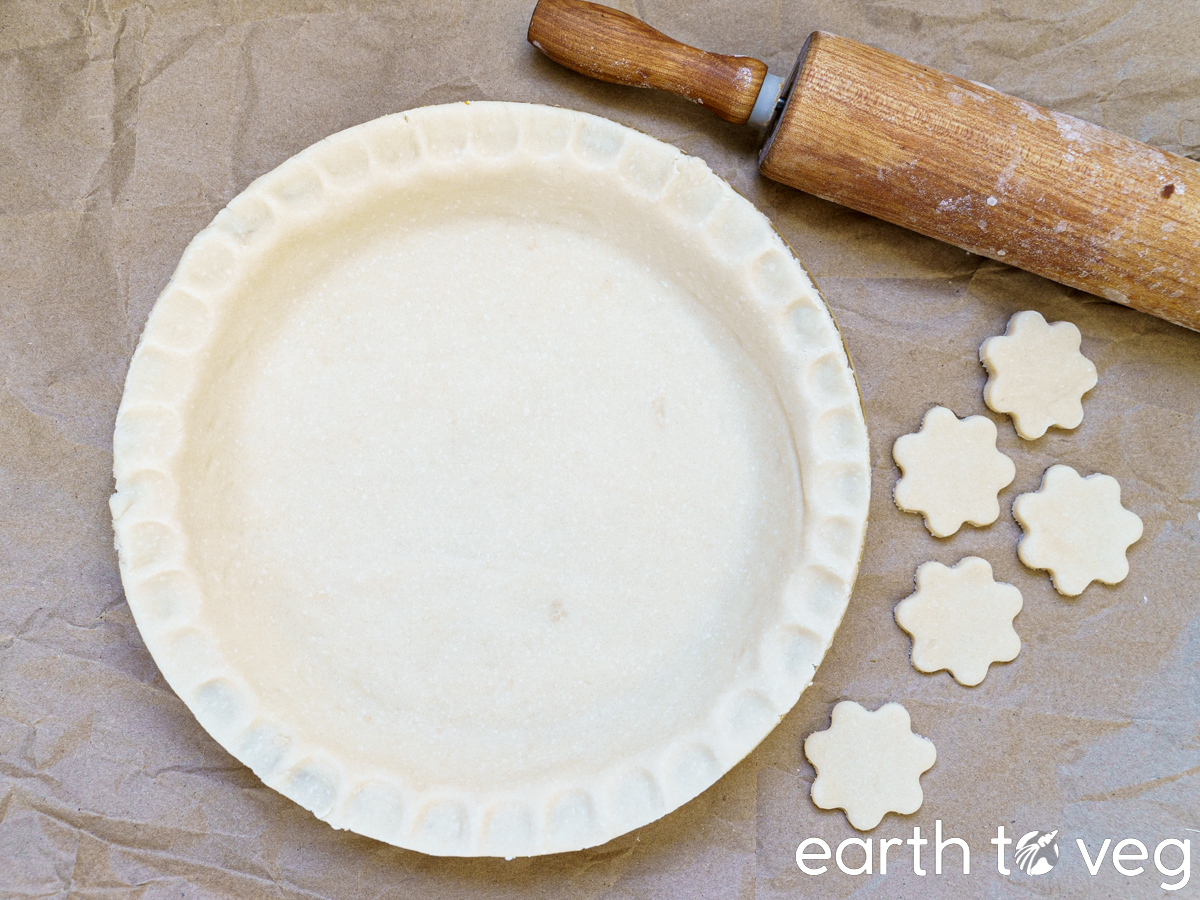
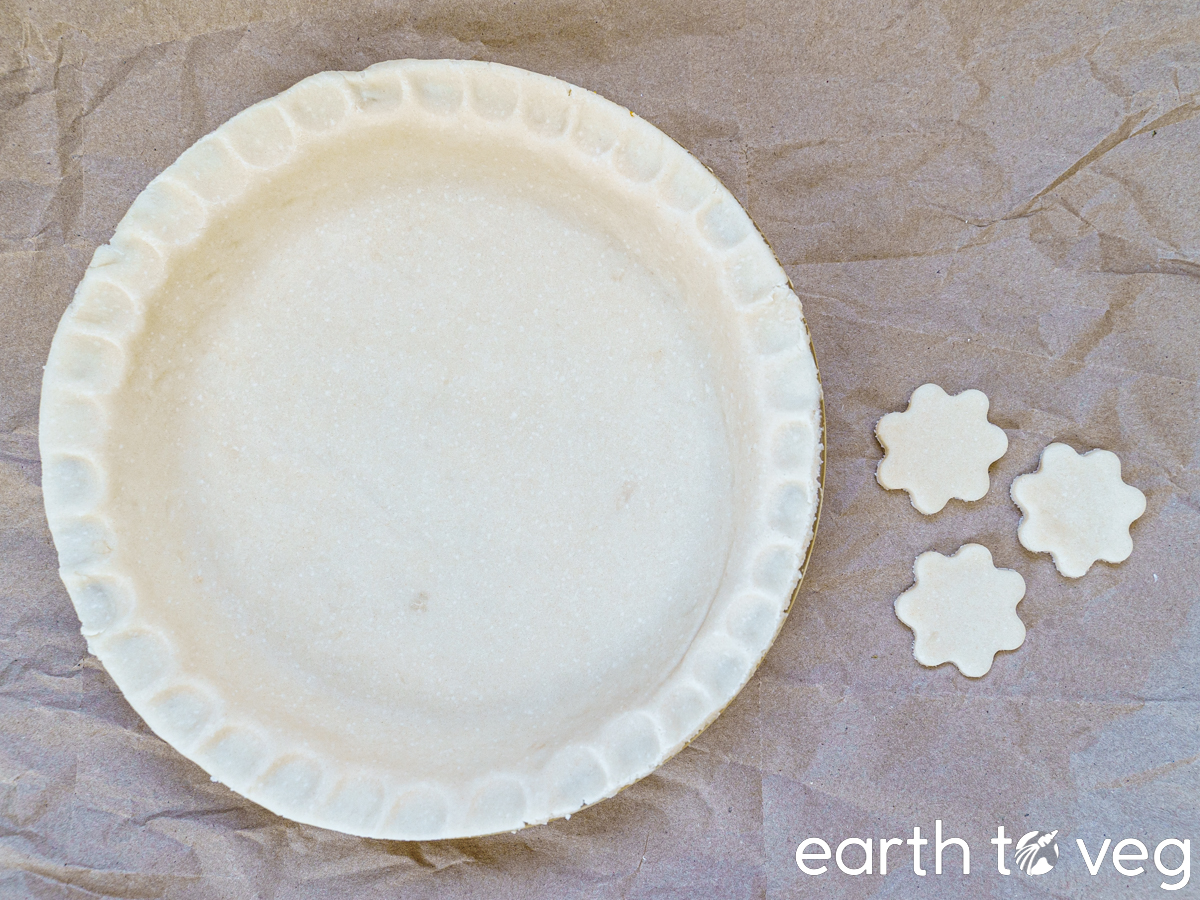
Step 8: Flip the dough onto the pie pan and trim edges using a paring knife. Optional, crimp the edges using your thumb or with a fork. Now you’re ready to use this stand mixer pie crust in any pie recipe.
Need pie inspiration? Try this Coconut Milk Pumpkin Pie.
Make Ahead/Storage Tips
Fridge: Once shaped into a disc, stand mixer pie dough can be stored in the fridge for up to a week. However, if you’re going to be refrigerating it for longer than 30 minutes, let it warm up on the counter for 30 minutes before rolling it out, to prevent cracks.
Freezer: You can freeze discs of stand mixer pie dough for up to three months. Just make sure to wrap it up tightly. Thaw in the fridge overnight, then let it warm up on the counter for 30 minutes before rolling it out.
Recipe Card
Did you make this recipe? Please consider leaving a rating below to let me know how you liked it. You can also take a picture and tag me on Instagram @earthtoveg, I will shout you out in my Stories!
Stand Mixer Pie Crust
Equipment
- Stand mixer with paddle/beater attachment (I'm using a Cuisinart 5.5-quart mixer)
Ingredients
Switch between volume vs weight measurements:
- 1¼ cup all purpose flour
- ½ cup chilled vegetable shortening see Note 1; I use Crisco
- 1 tbsp sugar
- ½ tsp salt
- 3 to 4 tbsp cold water
Instructions
- Measure out 1/4 cup of cold tap water and keep it in the freezer while you gather the other ingredients.
- Cut 1/2 cup of cold shortening into 1-inch pieces. Add the shortening, 1 ¼ cup flour, 1/2 tsp salt, and 1 tbsp sugar into the bowl of a stand mixer fitted with the beater attachment. (Also fit your mixer with a pouring shield or splash guard if you have one.)
- Start the mixer on low speed, then gradually increase the speed to medium high until the chunks of shortening resemble loose gravel coated in flour. The total mixing time for this step should be no longer than 90 seconds.
- Now turn the mixer speed back down to low. With the mixer running, slowly drizzle in 3 tbsp of water. If it still looks dry, add more water, 1 tbsp at a time. When it's ready, the dough should start clumping together into a single mass in the mixer bowl.
- Turn the mixture out onto a large sheet of plastic wrap and press together into a ball, then flatten into a disc. Wrap securely and refrigerate for 20 minutes (see Note 2).
- Now you’re ready to use this stand mixer pie crust in your favourite pie recipe! Make sure to dust both sides of the pie dough with flour before rolling it out.
Notes
- Refrigerator-cold shortening is best. If you keep your Crisco at room temperature, just measure out the 1/2 cup required for this recipe and throw it in the freezer for 20 minutes to chill.
- Refrigeration is key to give the shortening a chance to chill, and for the gluten to relax, ensuring that the dough is both strong and pliable when you roll it. But don’t refrigerate for longer than half an hour, because it will become harder to roll out and has a tendency to crack at the edges. Yes, pie dough is finnicky like that! Too cold and it may crack. Too warm and the fat will melt, resulting in a dense and greasy baked crust.
- When rolling out pie dough, make sure it’s at least 2 inches larger than the diameter of your pie pan to give you adequate room for covering the sides and crimping to your heart’s content.
This recipe was a lifesaver! We are out of town at our cabin. I brought my kitchen aid to make my pie crust. I usually use the one in the owner manual. Well…..I forgot my owner manual. Frantically looking online for a pie crust recipe with shortening and using a kitchen aid. Your recipe was literally the only one that fit what I was looking for.
Thank you!
Thanks Joanie, comments like this make me so happy 🙂 I’m glad I was able to help!
Thank you, this will be extraordinarily helpful for me to make a pie crust for my fruit pie!
No problem!
I prefer using Earth Balance but this is a good recipe. Did not know about 321 ratio but this the way I’vealways made it
I’m planning to do some testing with vegan butter pie crust too (for an upcoming pate brisee recipe). Is Earth Balance your favourite brand to use for pie crusts?