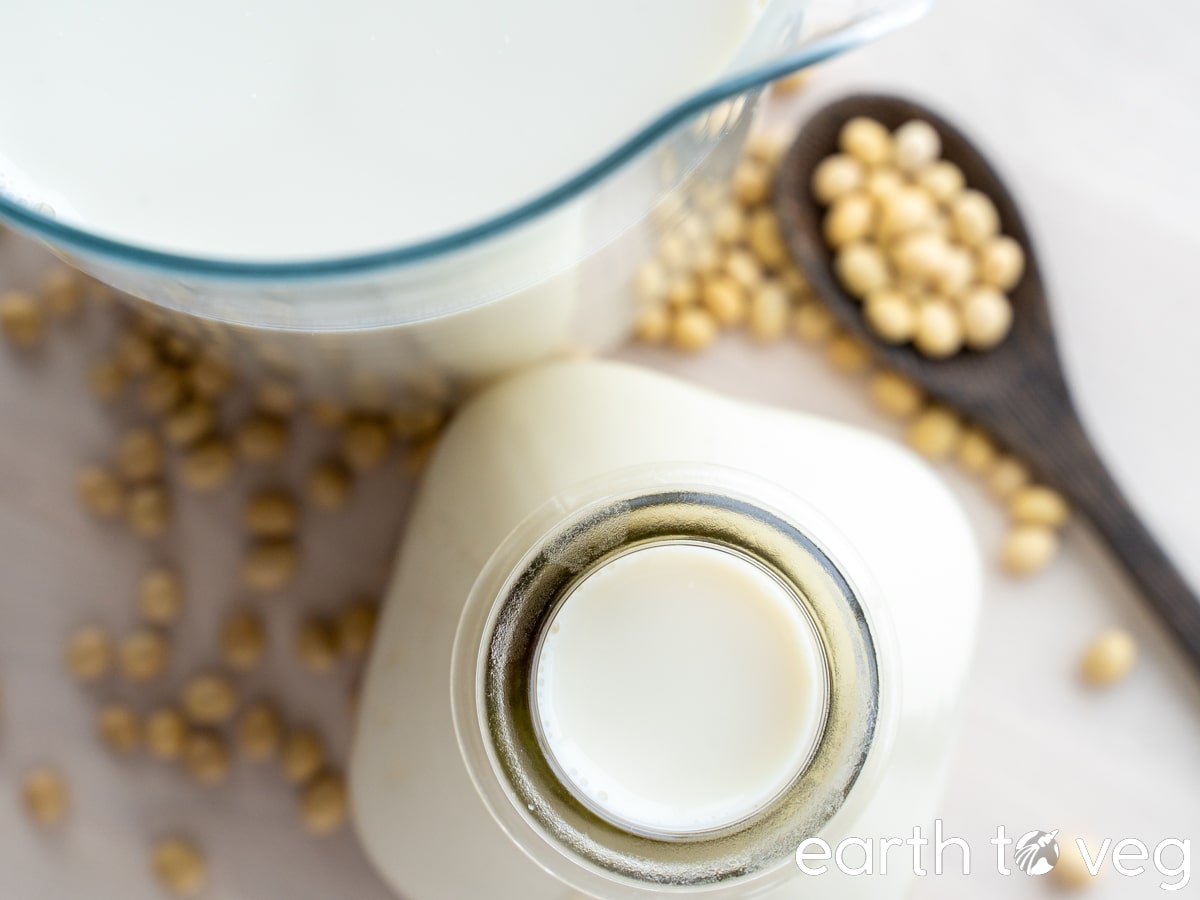
Soy milk was first invented in China as early as the first century AD. Now, it’s completely mainstream and remains one of the most popular non-dairy milks in the world. As someone who grew up on Homemade Soy Milk, I still think it’s the best plant beverage of all! Drink soy milk on its own, ferment it into Vegan Yogurt, use it to make treats like Taro Bubble Tea or Banana Chocolate Chia Pudding, or substitute it for dairy milk in any recipe.
Soybean–Soy Milk Conversions
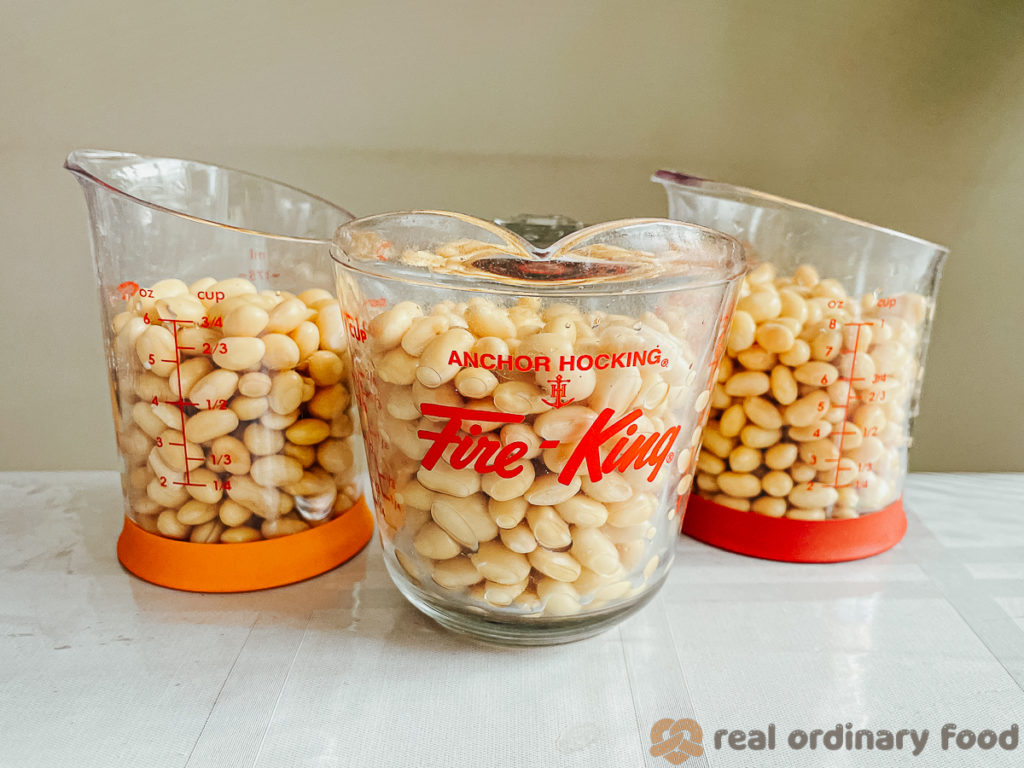
This section is for those of us who love the numbers. Here is the basic conversion formula which you can use to make the perfect amount of soy milk you need:
1 cup dried soybeans (180g) = 2⅔ cup soaked soybeans (400g) + 8 cups water (1920g) = 8 to 9 cups cooked soy milk (1920g to 2160g) + 1 to 2 cups okara (120g to 300g)
So for example, if you want to halve the recipe and make only 1 quart (4 cups) of soy milk, you’ll want to start with 1/2 cup (around 90g) of dried beans, which would produce around 4 cups cooked soy milk (960g) and about a cup of okara (200g).
Why is there such a wide range for the cooked soy milk and okara measurements? This is because the amount of soy milk you end up with depends on so many factors:
- The fineness of your nut milk bag or strainer
- How tightly you squeezed the bag to get the last drops of soy milk out
- The more firmly you squeeze and twist, the more soy milk you’ll wring out, and the drier and more compact your okara will be.
- The amount of soy milk and okara left behind in the blender or strainer bag
- The amount of soy milk that spilled or evaporated during the cooking process
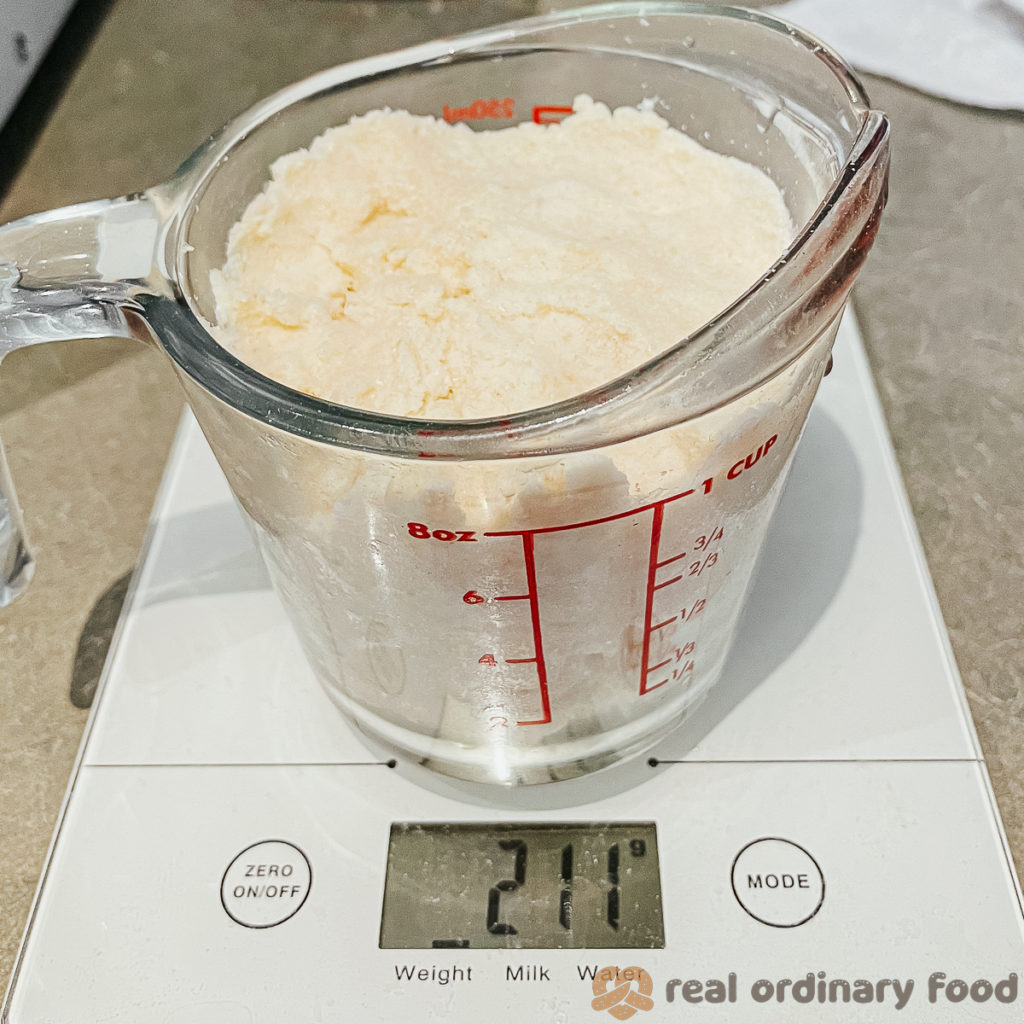
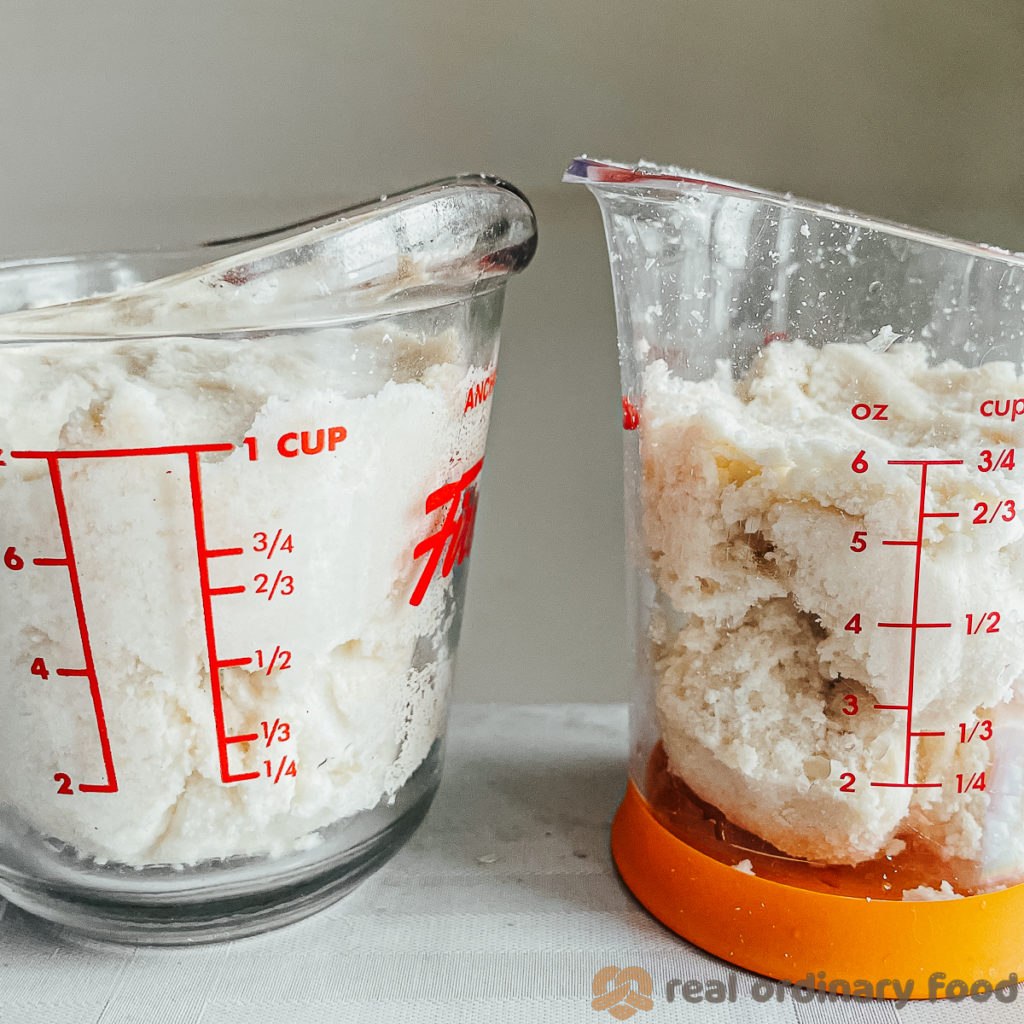
In my experience, nylon nut milk bags are the most efficient at filtering okara. I use a 125-micron bag which filters very finely, and if I squeeze as hard as I can until I can’t get another drop out, I end up with 1 cup of relatively dry and densely-packed okara. If you are using a cotton nut milk bag, cheesecloth, metal mesh strainer, or something else with larger holes, you may end up with a larger volume of wetter, heavier okara.
Where to Buy Dried Soybeans
I got my soybeans from Nuts.com, which has free shipping options to the US and Canada. They are a little more expensive than storebought beans, but I’ve been really impressed by the quality. Since I am a huge soy fan, and dry soybeans last forever, I bought the 25lb bag for $57. It’s been three years and they’re still going strong.
You can buy smaller quantities of soybeans at many grocery stores and bulk food stores. I’ve seen 1lb bags of dried soybeans at T&T. But comparing these ones to the ones from Nuts.com, the beans I bought online have a richer and nuttier flavour.
By the way, you must start with dried soybeans for this recipe. Soaking is not optional. Cooked or canned soybeans don’t work here. I tested out two “quick soak” methods where I 1) parboiled 2) completely cooked the beans before blending and straining. The results of each test were very sub-optimal. The soy milk was watery and not creamy at all.
Don’t Throw Out the Soy Pulp!
The pulp you’re left with after straining homemade soy milk is still full of protein and other nutrients. It’s also known as okara or 渣豆腐 (tofu dregs). It makes the soy milk gritty, which is why we strain it out, but it still has nutritional value. And in the spirit of reducing waste in the kitchen, I always try to use it up instead of throwing it out.
For each batch of this recipe, you’ll end up with between 1–2 cups of okara, weighing anywhere from 200g to 400g, depending on how much you squeeze and how fine your nut milk bag is. (Since I’ll be using the okara anyway, I don’t really spend too much time on trying to squeeze out every drop. It takes me only a couple minutes to do the straining.)
You can do a lot of different things with soy pulp. I am working on putting together a Okara Series to share some of my favourite recipes, but for now here are some okara recipes that I’ve made and enjoyed:
- Okara Seitan Sausage
- Kongbiji Jjigae (Korean Okara Stew)
- Okara Blueberry Muffins
- Vegan “Fish”
- Turkish Lentil Soup
Uses for Soy Milk
Soy milk works as a 1:1 substitute in place of regular milk in most recipes. Here are some of my recipes that use homemade soy milk:
- Blackberry Overnight Oats
- Banana Smoothie
- Taro Bubble Tea
- Rhubarb Loaf Cake
- Soy Milk Alfredo Sauce
- Master Sweet Dough
- Vegan Brookie Pie
- Creamy Cauliflower Cheese Bake
- Muhallebi Pudding
… Honestly, though, I also love drinking it straight! I like to refrigerate it overnight so it’s cold and refreshing, and then either drink it either unsweetened, or stir in a few drops of vanilla extract and a couple spoonfuls of maple syrup or pekmez.
Soy Milk vs Dairy Milk
Soy milk is similar to cow’s milk, not only culinarily (which is why it’s my plant-based milk of choice), but also nutritionally. See for yourself:
| /100 g | Soy Milk | 2% Cow’s Milk |
| Calories | 38 kcal | 50 kcal |
| Protein | 3.55 g | 3.36 g |
| Fat | 1.64 | 1.88 g |
| Carbohydrate | 1.29 g | 4.90 g |
So in summary, soy milk is slightly lower in calories, higher in protein, lower in fat, and contains a lot fewer carbs. (And 1/3 of those carbs in soy milk is fiber, whereas all 4.90 g of carbs in dairy milk comes from sugar.)
Step-by-Step Process
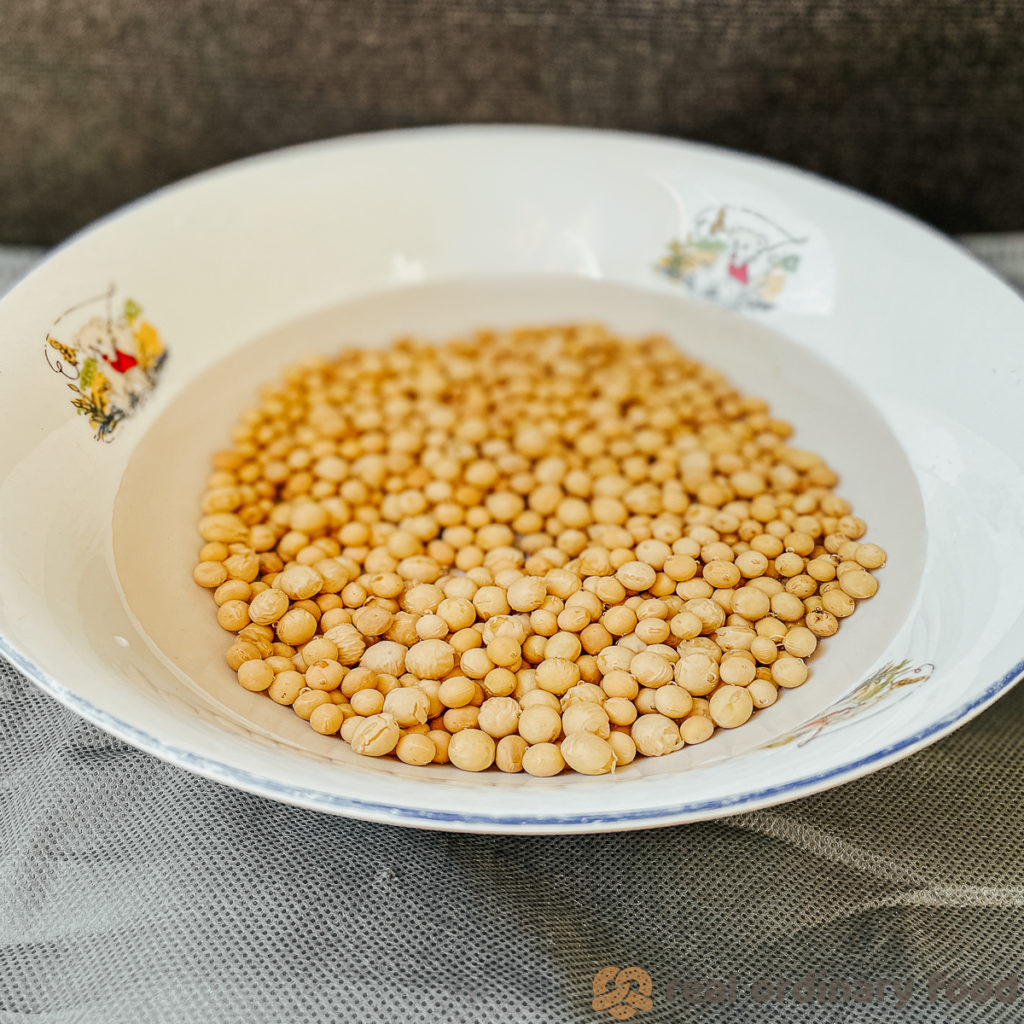
Step 1: Soak 1 cup soybeans in 3 cups cold water for 12–16 hours.
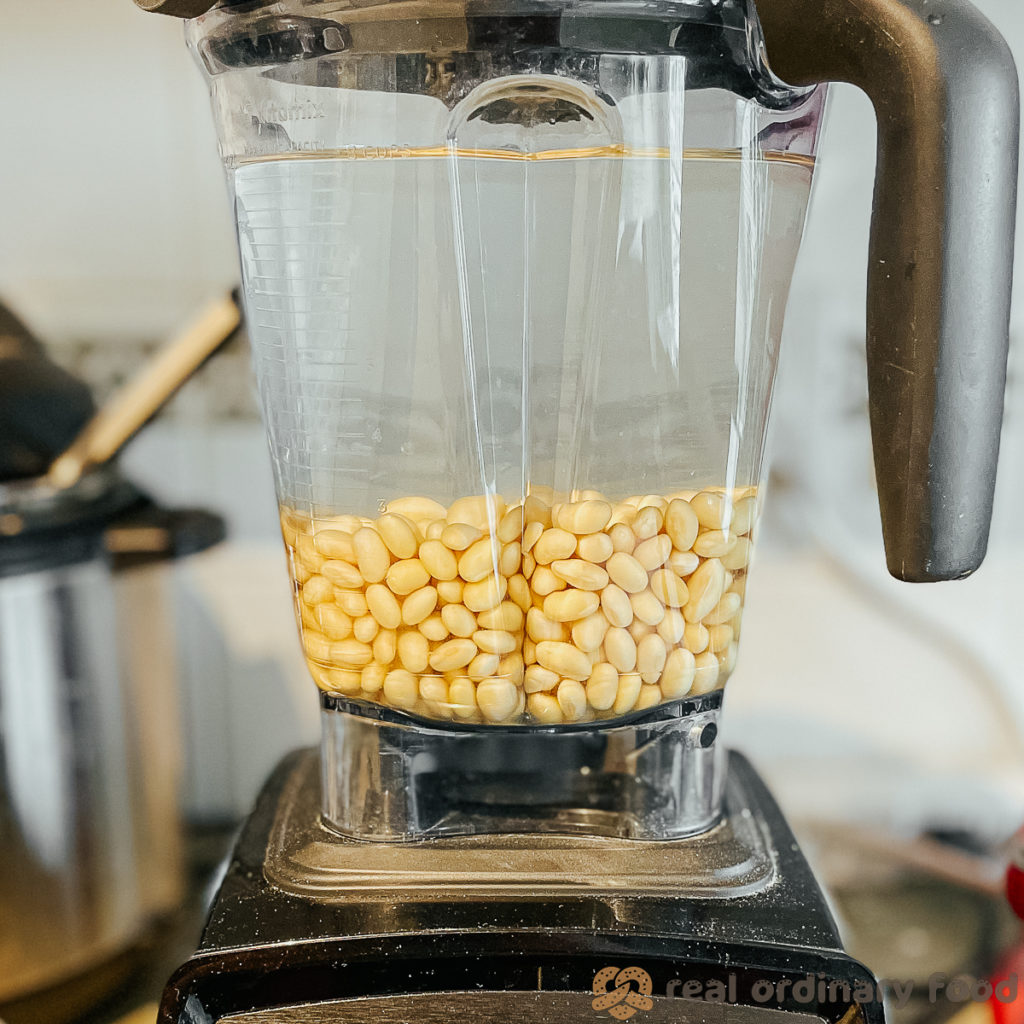
Step 2: Drain and rinse the soybeans. Add to blender along with 6 cups water.
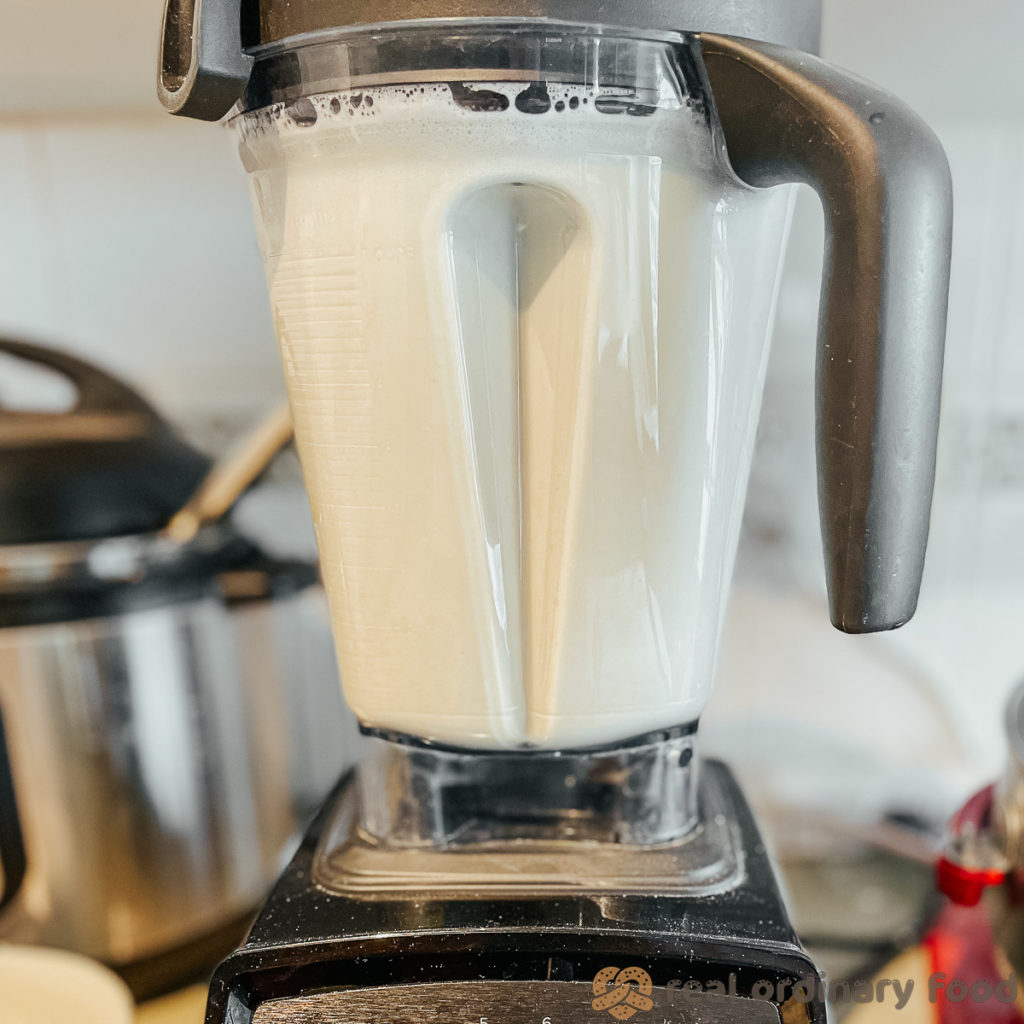
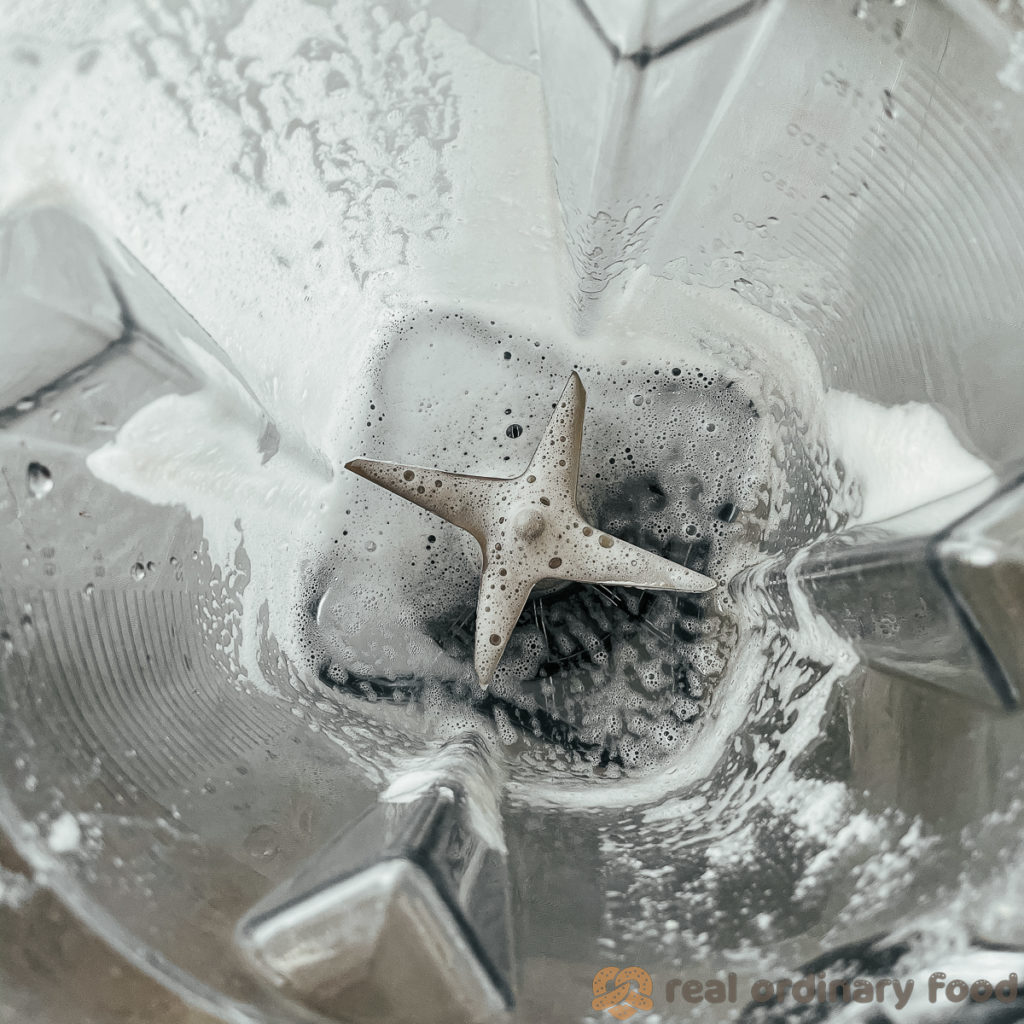
Step 3: Blend on high speed for 1 minute or until smooth.
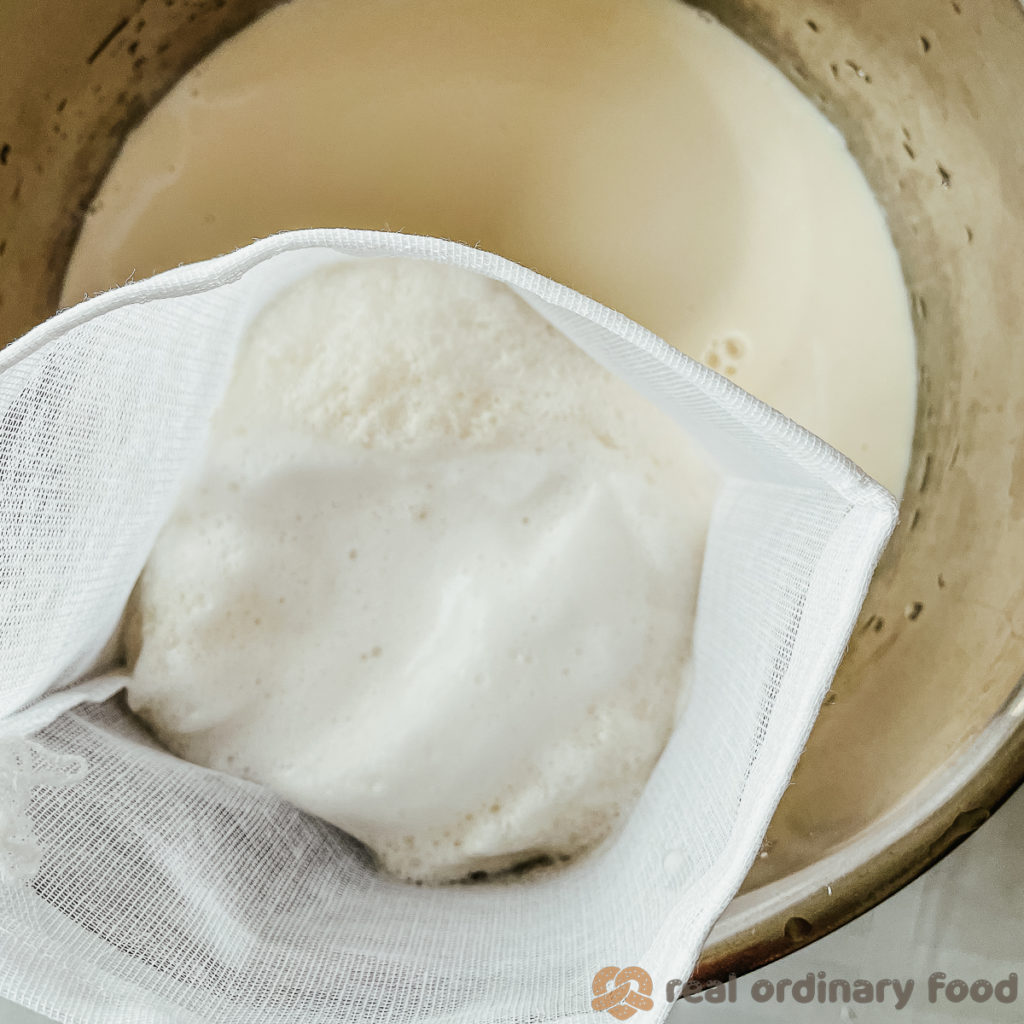
Step 4: Pour through a strainer bag into a stockpot or Instant Pot.
Step 5: Add 2 cups of water to the blender, swish it around to rinse out the residue, then pour into the strainer bag.

Step 6: Once strained, you’ll end up with some okara (leftover soy pulp). It’s gritty but nutritious, and can be cooked in various ways. See above for some recipe suggestions.
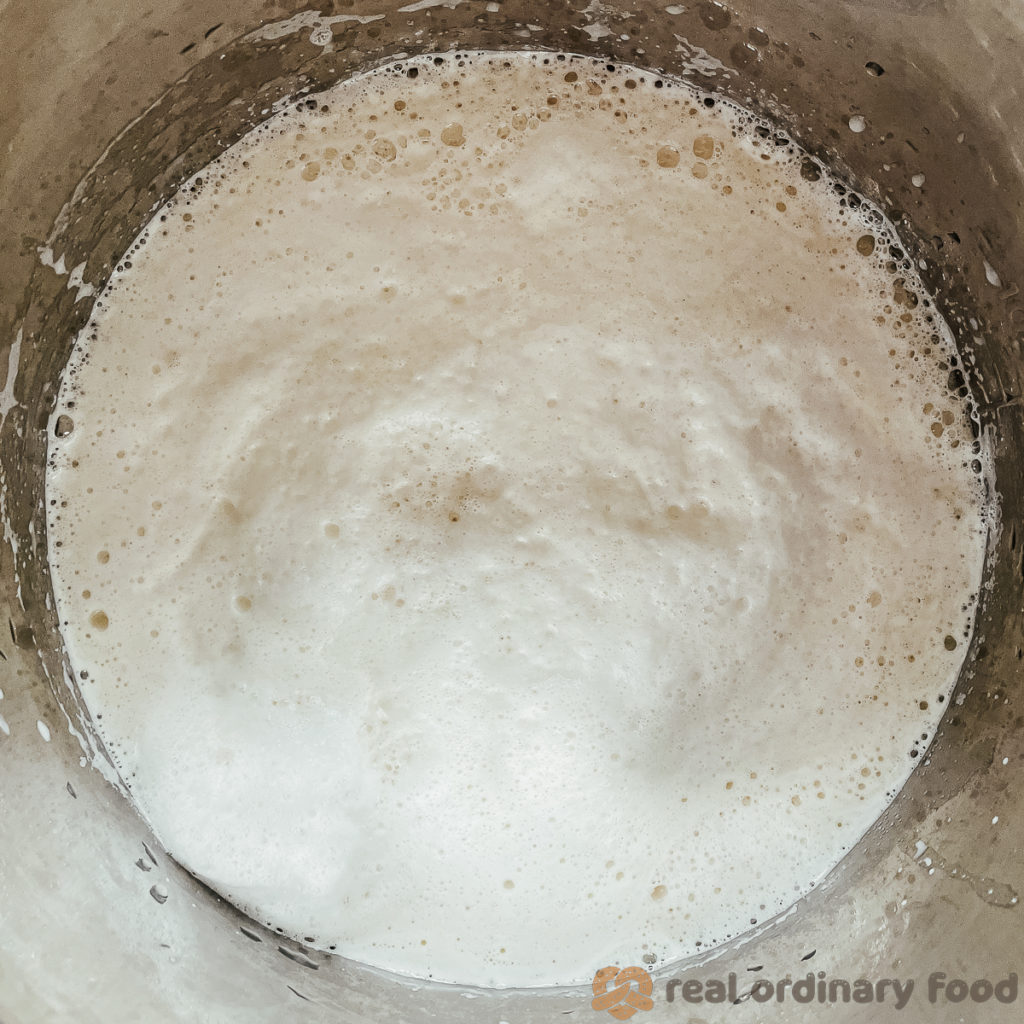
Step 7: Cook the soy milk in the Instant Pot or on the stove.
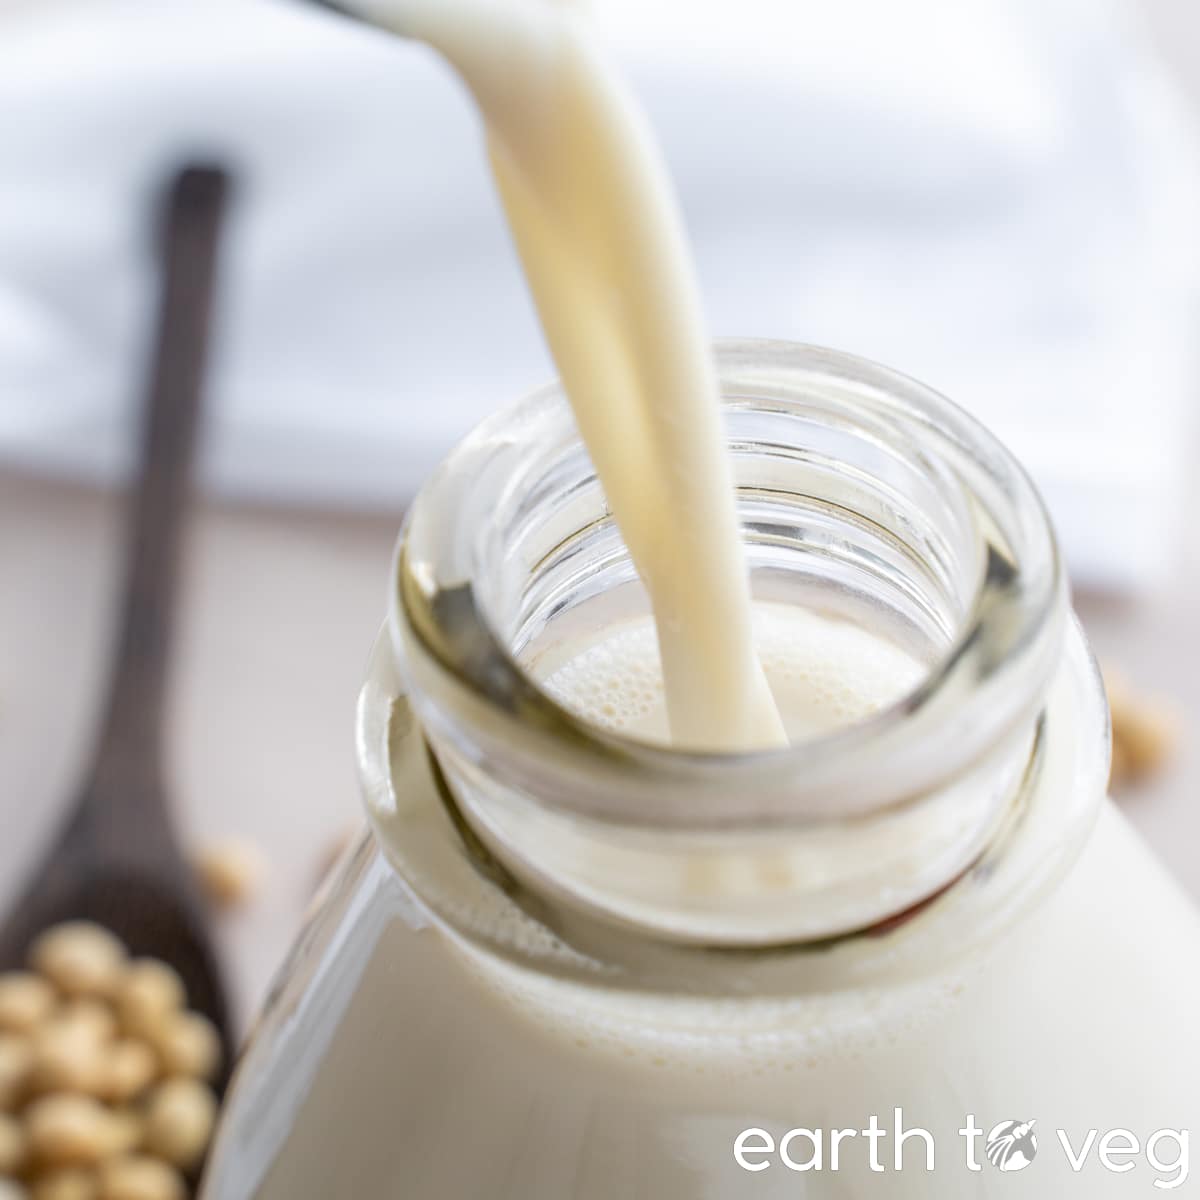
Step 8: Once cooled, enjoy your delicious flavourful soy milk!
Recipe Card
Did you make this recipe? Please consider leaving a rating below to let me know how you liked it. You can also take a picture and tag me on Instagram @earthtoveg, I will shout you out in my Stories!
Homemade Soy Milk (Stovetop or Instant Pot)
Equipment
- Blender
- Instant Pot (optional)
- Nut milk bag (*can use cheesecloth as an alternative)
Ingredients
Switch between volume vs weight measurements:
For Soaking
- 1 cup dried soybeans
- 3 cups cold water
For Blending
- 2 qt water, divided into 6 cups + 2 cups
Instructions
- Soak 1 cup dried soybeans in 3 cups cold water overnight (12–16 hours). If you plan to soak any longer, please leave in the fridge, or the beans will start to develop a sour smell.
- After soaking, pick out any debris and misshapen beans, then rinse and drain. No need to de-hull the beans.
- Add the clean, drained soybeans to a blender along with 6 cups of water. (See Note 1 if your blender is too small for this.)
- Blend on high speed for a minute or until very smooth. (If your blender has a smoothie mode, use that.)
- Strain the soybean mixture using a nut milk bag (see Note 2 if you don't have one of these) into a large cooking pot or Instant Pot. Rinse out the blender with 2 more cups of water and pour that through the strainer.
- Save the okara for some other use, then cook the soy milk using one of the two options below.
Stovetop Option
- Set the pot containing soy milk on medium heat. Stir frequently and keep a careful watch over the pot because soy milk foams over very quickly when heated, just like real milk! Be ready to take it off the heat at any moment.
- The milk foam will gradually increase while cooking, but just keep stirring to keep it down. At some point, the foam will keep rising and rising despite continuous stirring. This is when you should quickly take it off the heat. The foam will slowly subside… and once it's cool enough to touch you can enjoy it right away or pour it into containers for storage (it will keep up to five days, refrigerated).
Instant Pot Option
- Set the Instant Pot on the Pressure Cook function ("Manual" on older models) on High Pressure for 5 minutes. Allow pressure to naturally release before opening. You can drink the soy milk right away (after cooling it down, ofc) or store for up to five days in the fridge.
Video
Notes
- If your blender is too small to blend all the soybeans and water at once, you can reduce the water amount until it’s at a safe level for the blender. Just add the remaining water during step 5 when you’re rinsing out the blender. The important thing to remember is that you are adding 8 cups total to your drained soybeans; how much you add in step 4 vs step 5 doesn’t really matter as much, although more water in step 4 makes it easier for the blender to blend the soy milk smoothly.
- Don’t have a nut milk bag? You can also use a piece of cheesecloth, folded two or three times, or a muslin sheet. However, a nut milk bag is a great investment if you plan on making your own plant milks a lot; it’s durable, strains very finely and produces a milk with minimal grittiness, and the bag shape really makes straining easier.
- Because this is all natural soy milk without any added stabilizers, you may find a thicker liquid settling on the bottom of the container when it’s been sitting in the fridge for a while. (This only tends to happen when I use a coarser straining mesh; soy milk made with strainers of 200 microns or smaller didn’t have this issue). If this happens to you, just shake well before drinking.
Hi Kelly, thanks for all your great work! So many interesting recipes and a ton of useful information. Much appreciated. I came across your site/blog when I was looking up information. Thanks Google 🙂
In particular, I wanted to know if you have ever heard of, or tried, using the “5 minute boil and soak” method with regard to making soy milk? I have been using it for some time now with great success. The first few times I made soy milk years ago, I couldn’t stomach the beany taste that resulted with conventional methods of soaking in cold water. I ended up throwing everything away because it was so revoltingly undrinkable (to me). A few years later, I decided to try again with the following method.
Wash the beans in several changes of semi hot tap water to remove any loose skins and dust/debris. When there is no longer any foaming from the beans, they are put in a pot with water on the stove top to boil for only 5 minutes, keeping watch that they don’t boil over. After 5 minutes, a lid is placed over them and they can be used after 1 hour [once drained] (I have also let them soak longer and even overnight to no ill effect). You would just then continue to make the soy milk the way you describe or whichever way is preferred.
The purpose of all this? It denatures the lipoxygenase protein thereby SIGNIFICANTLY reducing the beany taste. It really does work well. I have saved a ton of money making my own soy milk because of this method.
Anyway, just something I was wondering if you knew about or have tried. Best regards from Montreal!!
oops sorry I meant lipoxygenase enzyme, not protein.
Hey Stevie, thanks so much for introducing me to this technique. I had heard about it before but never tried because my attempts with using boiled soybeans to make soy milk were always such a disaster (eg. see my previous lengthy discussion in this comment section…) But I suppose that a 5-minute boil wouldn’t denature all the proteins to such an extent that it negatively affects the texture of the soy milk! I’m excited to give this method a go. Will report back with my results. Merci!
Hi Kelly, thanks for your reply. I actually saw your comment about using boiled/cooked soybeans for making soy milk and agree that the result would be pretty insipid. The big advantage of doing this 5 minute boil and 1 hour soak method is that it both reduces the beany taste AND there is no waiting for 8 to 12 hours soaking time :-). Even if you let the beans soak longer, as I mentioned previously I have let them soak overnight, there is no difference in the resulting soy milk (i.e. it only softens the beans and doesn’t cook them). I guess the only difference would be that it is easier on your blender — I have a Vitamix blender so it’s “all systems go” after and hour soaking, LOL. I will be interested to know what your results are.
BTW, I used your recipe to make (pepperoni) sausages with the okara; it came out amazing!! I have so much okara left over and hate throwing it away. Will try some of the other flavour options (and recipes) you posted.
Hey Stevie, one question though, in this 5 minute boil method do you boil the soy milk again after straining it?
Hey Anonymous,
Just saw your question — yes, proceed as normal with whichever recipe you normally use as the beans are not “cooked” at this stage. The 5 minute boil is just to denature the enzyme so it doesn’t have a strong bean-y taste. Don’t forget you need to let them soak for 1 hour with a lid on (or longer if wanted / I sometimes do it before bed and continue the next morning) so that they grind easily. You WILL have to boil the milk so that it is digestible. It’s a convenient method when you don’t want to wait for hours….
I have an electronic soy milk maker (I’m lazy, lol) so it grinds the beans and cooks everything all at once and I just strain it to extract the soy milk and okara. The only downside to doing it this way is that the yield is limited because of the size of the soy milk maker.
Hey Stevie, just wanted to report back after trying this 5-minute boil method today.
I rinsed the soybeans and then put them into cold water in the pot before turning on the heat. Once the water started simmering, I set a 5-minute timer. After 5 minutes, I turned off the heat but kept the beans in the hot water, covered, for 2 more hours. Then I drained and rinsed them. Out of curiosity, I weighed them and they were about 440 grams which is consistent with the water weight gained after soaking for 12 hours, so I’m pretty confident that the beans are just as well-hydrated using this method vs using an overnight soak. Then I blended them as usual. The blending went very smoothly.
The biggest hitch came during the straining process. I found it much more difficult to strain out the okara. Usually, with the overnight soak method it takes about two minutes of firm squeezing to squeeze out most of the soy milk with my nut milk bag. This time it took over five minutes of very effortful straining – and I was still unable to yield as much soy milk as I usually do. For reference, I had about 450 grams of okara left at the end, and this was after applying maximum squeezing effort. Using the overnight soak method, I always end up with less than 400 grams, sometimes as little as 200 grams.
Because of this, I was worried that the resulting soy milk would not taste as flavourful. Compared to the overnight soak method, this soy milk tastes a bit more watery—not as rich as what I’m used to—but the beany taste is definitely reduced. I’ll have to do some more experimenting, maybe a shorter boiling time next time.
Have you had any issues with the soy milk sticking and burning to the bottom of the instantpot?
I stumbled across this page looking for a better way of cooking raw soy milk. I like making tofu, but I dislike the process of cooking the raw soy milk. When cooking on the stove, you have to be constantly stirring to prevent proteins from sticking and burning at the bottom of the pot. Not to mention the danger of boil overs….cleaning that up is a nightmare.
It would be amazing if the solution to these problems is as simple as using the instant pot.
Thanks!
Yes, the Instant Pot is the best way to cook soy milk in my opinion because there’s no stirring or monitoring required. You do still get a thin layer of soy milk stuck to the bottom of the pot, but it’s not scorched so it’s pretty easy to rub off with a sponge. I’ve never had soy milk boil over in the Instant Pot (except for one time when I forgot to turn the float valve to sealing…) so for me it’s definitely superior to the stovetop method!
I am new to this whole process. I want to use the Okara as well as the milk. Therefore, I thought that I should cook the whole (soaked) beans before blending and squeezing the milk – since Okara should not be eaten raw. So, what is the best way to deal with this situation?
I was surprised to read in your comments that you found this process rather unsuitable.
Hi Trudy, you can cook the okara separately by steaming, boiling, or baking. All of my recipes that use okara (such as Turkish Lentil Soup, Kongbiji Jjigae, and Okara Sausages) call for the okara to be cooked in the course of the recipe.
Cooked whole soybeans will make for very insipid and lackluster soy milk, I definitely don’t recommend it.
I had a question about having let my instant pot cooked blended strained soymilk on natural release 30 minutes as I had to leave the house. This is my first time making soymilk. I followed all the guidelines, I believe. My question is: I find the overwhelming scent of the soymilk very “beany” and I have been drinking storebought unsweetened soymilk for years.
Did extended natural release time “cook” them too long? I’m pondering going to the effort of making yogurt due to this. It tastes fine, it’s just so “fragrant” .
Thanks for any suggestions you may have.
Hey Susan, sorry for the very late reply – it’s been a hectic month for me. Homemade soy milk is definitely more “beany” than many supermarket brands – it is made in the style of traditional Asian soy milks, rather than more modern Western soy milks which undergo a process called “steam distillation” to remove the beany flavour. I personally haven’t noticed much difference between cook times – back when I was testing this recipe, I pressure cooked the soy milk for as long as 20 minutes and didn’t notice an increase in beaniness. But I find that it smells strongest when it’s freshly cooked, and some of the odour goes away once it’s fully chilled.
Same goes for the yogurt. It smells VERY strong when it’s just finished fermenting but after an overnight chill in the fridge, the flavour mellows out.
Glad I found your page! I have been nervous about trying to cook my soy milk in the Instant Pot for fear of it boiling over and making a huge mess. I made a big 3 quart batch of soy milk today for yogurt and used the IP for cooking the strained milk and it worked great, no more standing at the stove and stirring, thank you!
I’m happy to help! The IP is truly a godsend for making soy milk without making a mess.
Thank you so much for the thoughtful instructions! I’m looking to expand my warm drink routine this winter, and this sounds like the ticket. I’m thinking dates, maybe some warm spices added will be perfect.
The okara will most likely wind up being used in our endless pots of soup, or tossed into pasta sauce, or even just in a big pot of refried beans. I love it! No waste!
Now let’s see if my family will let go of the store bought stuff. My autistic kid is very specifically happy with only Silk plain, and my wallet is crying 🙄
I think dates and spices are a great idea for a warm winter drink.
This soy milk won’t taste the same as Silk because it’s processed in a different way (read my comment here for details), so your kiddo may not be used to it. But I hope you guys like it! It’s definitely way more cost effective!
And I would like any okara recipes that you have to share, always looking for more ways to use it up!
Hello! Thanks so much for this post! I am making soy milk mainly for the purpose of making soy yogurt and have experimented with the three methods using an instant pot:
Method Result
1) soak, blend, strain, cook. Yogurt was firm
2) soak, blend, cook, strain. Clogged instant pot
3) soak, cook, blend, strain. Failed yogurt
#1 method was definitely the best method. The taste is good however I have made tastier yogurt using Original Edensoy which has added ingredients (Malted wheat, Barley extract, calcium carbonate, kombu, and salt). Have you experimented with any of these added ingredients? Thanks!
Hey Patty, your experience mirrors my own – see discussion on why you must blend soy milk before cooking (ie. why method #3 was a fail) and why cooking unstrained soy milk tends to clog the Instant Pot.
Regarding the ingredients:
By the way, I just published a recipe yesterday for Soy Cashew Yogurt which you might be interested in trying. I used to make yogurt using only soy milk but the texture always turned out jello-y (more like silken tofu than yogurt). I started blending a cup of cashews into the soy milk before fermenting it and it’s made a WORLD of difference. And tastes much richer too. Maybe give that a try and throw in some sweetener and a pinch of salt and see what you think!
Hi Kelly,
Thanks for the wonderful reply. I just experimented with adding medjool dates:
1) Soaked 1/2 c soy beans.
2) Blended the soy beans in 4.5 c water.
3) Filtered the okara out.
4) Blended 5 dates in 1 c water.
5) Added blended dates and water to the filtered out soy milk.
6) Cooked this in instant pot for 5 minutes with natural release.
7) Filtered the date pulp out. At this point, the soy milk tasted delicious. Not too watery.
8) Added starter yogurt to soy milk when it reached 40 degrees C. Mixed well.
9) Poured soy milk and yogurt starter into small jars and placed into my yogurt maker for 10 hours.
Result: It didn’t set. But it did taste good with a hint of sour taste.
Next, I will try with cashew!!!
Thanks again for your posting!
Patty
I never though to cook the dates right along with the soy milk, that sounds like a fantastic idea! Regarding the yogurt not setting… I find I can get thicker yogurt if I use less water (I halve the amount of water that I would otherwise use for drinkable soy milk – so I soak 1 cup soy beans and blend that with 4 cups water instead of 8). Then blend in a cup of cashews after cooking, and ferment, and it comes out really thick and creamy.
Outstanding, thank you! I deeply appreciate the hands-off Instant Pot directions. That made it so much simpler and much more likely that I’ll do it often.
I did play with it a bit. I used 1/2c soybeans, did a boiling water soak, removed the skins, soaked overnight in fresh water. I made two batches from the same beans. The first was blended 2c at a time three times, filtered and 10min IP. Thick and luscious. Then I blended the okara again with 1c water four times, put it all in the IP including the okara for 10min and filtered. It did not scorch YMMV. The second batch was thinner, naturally. I combined them and while it was thinner than the first batch alone, it was fine for our tastes both for drinking and for cereal. I ended up with 9c and change from 1/2c of beans.
I did the blending in a quart jar with my pretty powerful immersion blender to maximize pulverization and filtered it through a metal mesh strainer in between blendings and used a nut milk bag at the end. I only processed the batches separately because the first batch was so gorgeous I didn’t want to bugger it up but next time I’ll just do one cooking. I may increase the time to 15min just to see. I left the okara in because another site mentioned their milk was creamer when cooked with it and now the okara is cooked and ready to eat.
I use multiple extractions with my almond milk as well. It cuts the cost dramatically and I’m not a fan of super thick milk so it works for us. Multiple extractions with smaller volumes work better than a single large volume (I’m a chemist and can’t turn it off) so if anyone is interested in playing around, this may appeal.
Sorry for the long post but I thought someone may find the information useful.
Thanks again for a beautiful, no-fail method. The second batch of beans is soaking now. This one will be full-strength because I’m making tofu!
I’m so happy to see this comment! Thank you for sharing all the details as I’m sure other readers will find it helpful, especially the tip about doing multiple extractions. Excited to see how your homemade tofu turns out 🙂 And I’m curious how you used the okara!
Is there a health risk to undercooking it on the stove? If yes, how can I avoid itt? Is there a minimum time to cook? Should it simmer? Saying to cook on medium heat may be different level of heat on different stoves. Thank you.
Not a huge health risk—raw soybeans contain compounds that can cause digestive issues and discomfort, but so far there’s no concrete evidence that they’re toxic to humans—undercooked soy milk doesn’t taste very good, though, so I would still recommend heating it thoroughly. My sources (Making Soy Milk and Tofu at Home by Andrea Nguyen and Cooking with Soy by Yoshiko Takeuchi) both recommend around 10 minutes of simmering once the soy milk reaches a boil. Note, you might have to turn the heat down to medium-low towards the end there to prevent it from foaming too much.
why do we cook the soy beans (water) after straining please? thank YOU.
(This answer assumes you’ve read the discussion on why blending soy milk using pre-cooked beans is not recommended, so I’ll focus instead on answering why the cooking step comes after not only blending, but also straining.) TL;DR: It’s my personal preference to do it this way because it involves less waiting around and is less likely to make a mess.
Long answer: Technically, you can cook the blended soybean puree before straining, but the beans foam a lot more. They’ll also take longer to cook, so if you’re cooking it on the stove you’ll need a deeper pot to accommodate all the extra foaming. If you’re cooking it in the Instant Pot, you run a serious risk of bean foam spraying out of the gasket (I speak from experience… whereas this has never happened if I strain out the okara first). Also, if you cook the beans before straining, then you’ll have to wait around for everything to cool down before you can strain it without scalding yourself. If you’re making tofu, yogurt, or bread with homemade soy milk, you’d need the soy milk to be hot or at least warm, so you’d then need to heat it back up to the desired temperature. If you cook the soy milk after straining, well then that saves you the hassle of reheating it!
I’m thinking about buying an instant pot. What size / which one works for making soy milk? Thanks!
I’ve made this recipe in both a 6qt and 8qt successfully, a 3qt would be too small. I would personally go for the 6qt because it’s the perfect size for making 1 batch of soy milk, and it’s less heavy and clunky than the 8qt model. In my experience most recipes online are formulated for the 6qt size as well.
You actually can make soy milk with cooked soybeans. It tastes better and it’s much much easier.
This hasn’t worked for me. I’ve tried making soy milk from pressure cooked beans and it didn’t turn out as creamy or flavourful. What’s your method?
EDIT: I just tried making another batch of soy milk with cooked beans tonight. Despite blending in my Vitamix for twice as long as I would for my usual soy milk, it came out somewhat watery and very tasteless once I filtered it, not at all like the creamy milk I get from blending the soybeans before cooking. I cannot recommend the method of making soy milk with cooked beans.
I don’t make milk but use the whole cooked beans for soy shakes. Soak 1 C beans overnight. Rinse and cook with 3 C water in Instapot for 10 min high pressure with natural release. Blend hot water 10oz with cooked beans 1 C, cooked brown rice 1/3 C and some of your favorite mixed salted nuts 1/3 C on smoothie setting (BlendTec).
This sounds good!! I can see the nuts adding a nice peanut-butter-esque flavour to the shake. I love using cooked white beans in my smoothies, call me dumb but I somehow never thought to do it with whole soybeans lol.
Thank you! Finally, a soy milk recipe that combines the taste I want with the amount of effort I’m willing to put into the process. And thank you for using ingredient weight instead of volume – it makes it so much easier to replicate your process.
Now I’m off to rave about your okara sausage recipe.
Kelly!! You’ve made my day with your lovely comments 🙂 I’m glad the ingredient weights was helpful, I always prefer to go by weight over volume myself.
Will try this today for the 1st time. Would love the Okara sausage recipe mentioned above.
The okara sausage recipe can be found here: https://earthtoveg.com/vegan-okara-sausage/
Enjoy!!
I’m guessing that after you cook the soybeans, you threw away the cooking water known as aguafaba.
When you blended the beans and water before cooking, the aguafaba
stayed with the beans, making it richer and creamier.. try cooking the soybeans, and then blending them with the aguafaba.
I have usually kept the aquafaba when blending. This does seem to help somewhat but the texture still can’t compare to the thick creaminess of soy milk made with raw soaked beans that have been blended and then cooked. I am surprised by the comments suggesting to make soy milk with cooked soybeans because this has never resulted in a superior product in my experience. I’d love to hear about the setup you’re using to make soy milk.
One factor I have noticed is that the finer the nut milk bag, the more drastic the difference is between the two methods of making soy milk. When I strained using a cheesecloth or metal strainer (which lets more okara through the holes), the soy milk made with cooked soybeans was more comparable to the milk made with raw beans. But when using a special-made nut milk bag (especially nylon bags which have the finest mesh in my experience), cooking the beans first resulted in an extremely watery and tasteless soy milk.
Thanks for sharing the recipe. I plan to try the steps but want to know if I can skip the straining. After the grinding, I would like to cook everything in the IP. I think I would like to use the milk with the okara cooked in it. Has anyone tried this? If so, do you think I need to a longer pressure cook cycle? Many thanks 😊
Great question. Unfortunately in the IP it’s not really possible to cook unstrained soy milk – the okara will cause it to foam too much and it will spurt out of the gasket causing a huge mess.
If you cook it on the stovetop, stirring and watching constantly, then yes you can cook the soy milk and okara together without straining. And yes, you will need to cook it for longer than regular strained soy milk. I have a previous comment with a more detailed answer here: https://earthtoveg.com/homemade-soy-milk/#comment-16449
Thanks. I actually tried to use the IP to cook the soy milk and okara together (8 mins). Like you mentioned, it did foam up, but there was no spilll. I simply removed the foam afterward. First time and it was very good! I will try to cook longer and want to drink a portion of the okara with the milk. Maybe mix it up with dates.
Thank you for metric measurements!!!