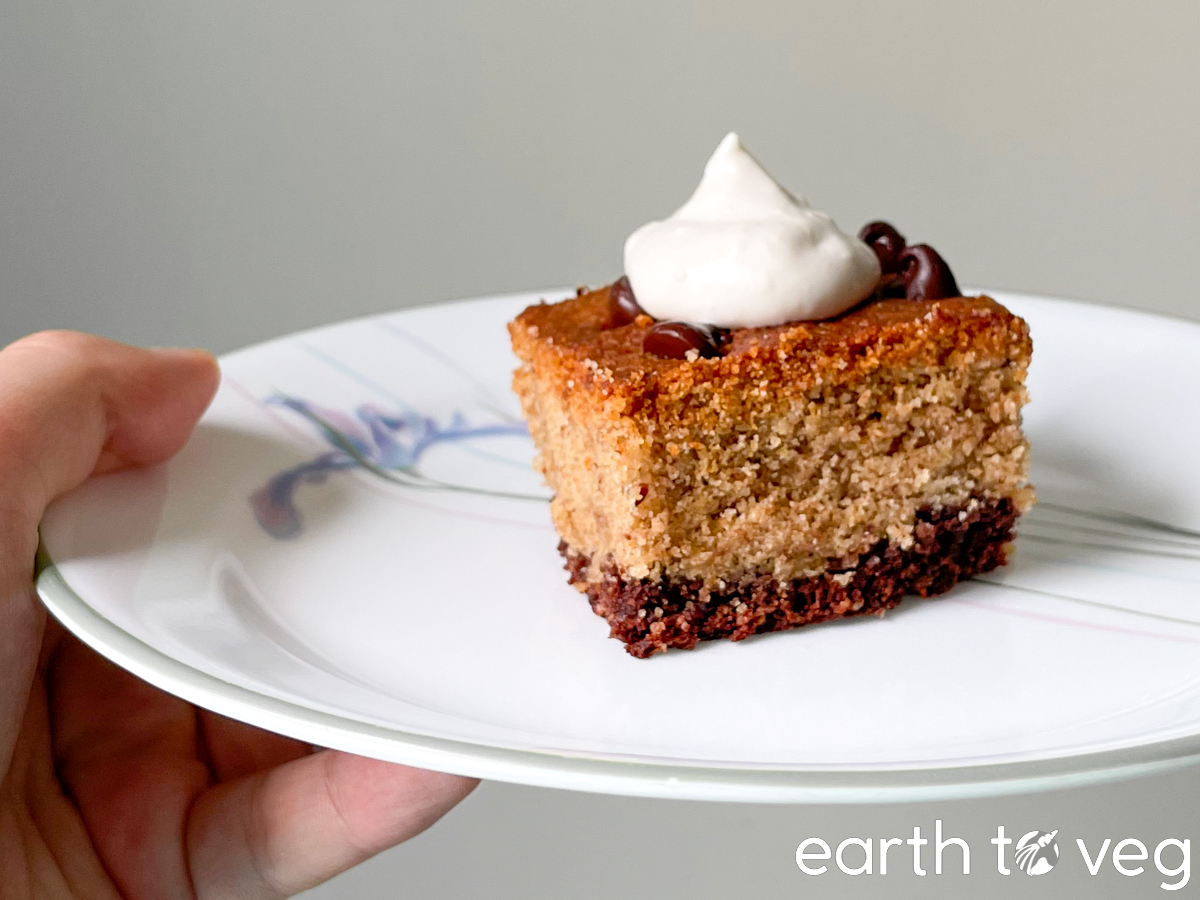
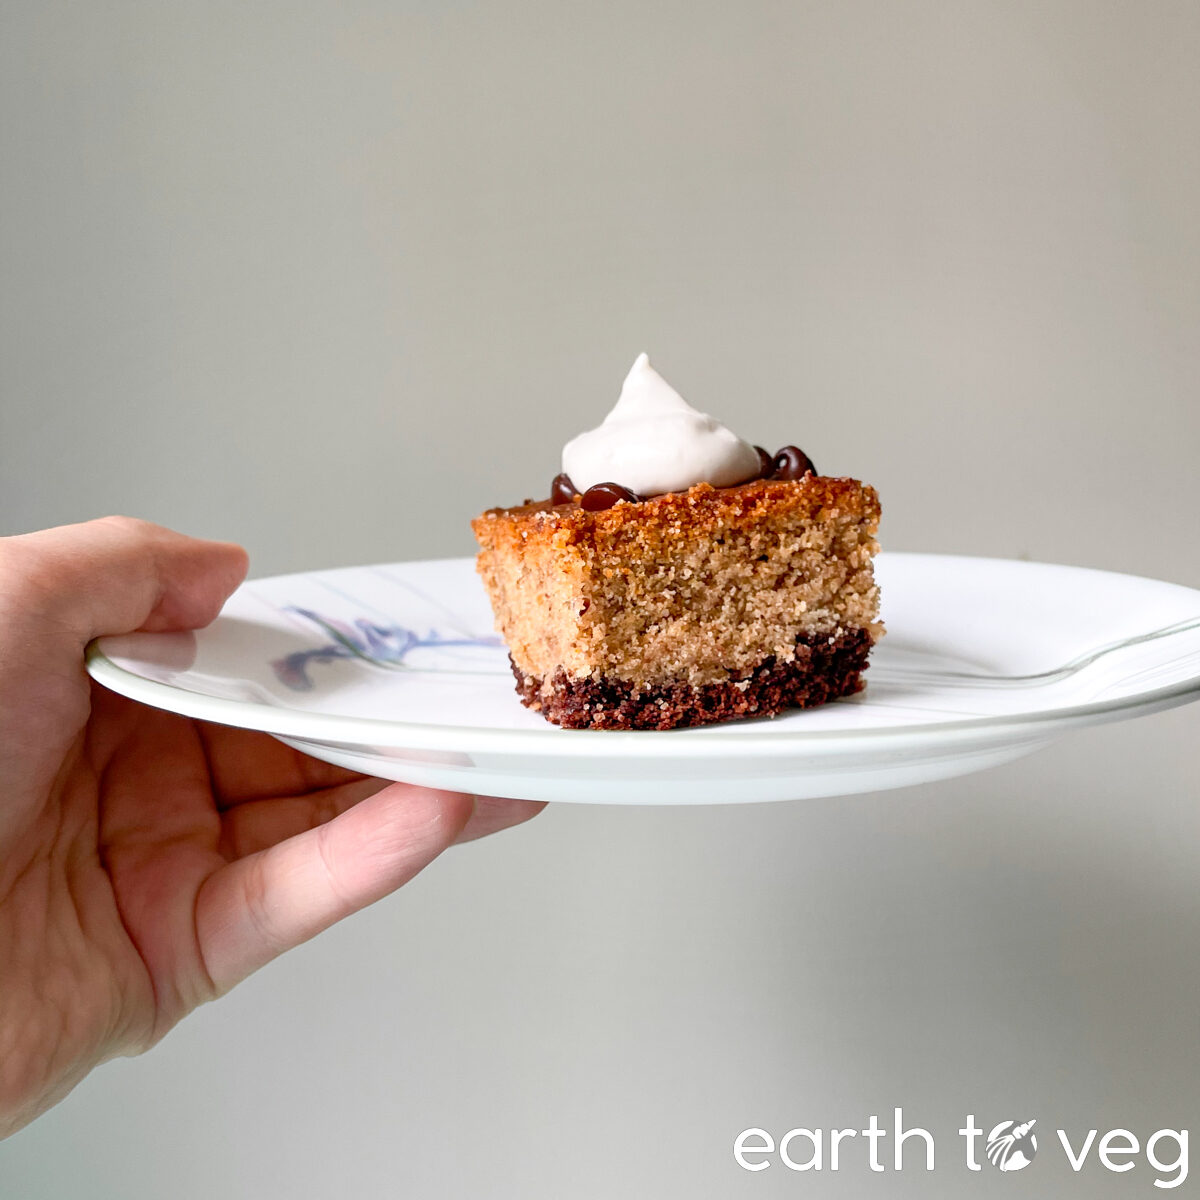
Brookie, the decadent, trendy lovechild of a brownie and cookie. But… hear me out… what if we turn it into a pie?? Because everything tastes better in the form of pie slices. I like topping these gluten-free brookies with a thick dollop of homemade vegan cool whip for the ultimate pseudo-pie experience.
Just like brownies, brookies can be either cakey or fudgy. (This recipe leans more cakey, though the nut butter helps deliver that gooey texture we love about a fudgy brownie. Really, it’s the best of both worlds.)
The History of the Brookie
Brookie pie is the next level up from the brookie, a sweet treat which combines the flavours of a brownie and cookie. As someone who sometimes thinks brownies are just too darn chocolatey, I like that the brookie delivers just the right amount of chocolate, mixed with a lighter, sweeter layer of cookie goodness. (But I might be in the minority on this one lolol.)
Who invented the brookie? It likely originated somewhere in the United States, but its exact origins are shrouded in mystery. The inception of the brookie pie, on the other hand, seems to be credited to Papa John’s Pizza, who began offering it in late 2015. (Their version has the chocolate brownie on top, with the cookie on the bottom acting as the crust.)
Personally, I only learned about the existence of brookie pie through my Instagram feed. Earlier this year, I began seeing #dadaeatsbrookiepie here and there on my feed. It looked so good that I had to give it a try and now I’m all for the brookie pie hype train. (And actually, this recipe is based on the one from DADAEATS, but modified to use all vegan ingredients plus a less expensive gluten-free flour, oat.) If you love pies, brownies, and cookies, then the brookie pie will give you the best of all three worlds.
And as a bonus, it uses only pantry ingredients (if you use a shelf-stable milk like oat or coconut).
What You’ll Need
- Nut butter: I recommend a neutral tasting nut butter, such as almond or sunflower seed, for this recipe. (Unless you’re doing a flavour variation such as peanut butter or Nutella.)
- Vegetable oil can be replaced with any oil of your choice, such as canola oil, coconut oil, or peanut oil. The one I wouldn’t suggest is extra virgin olive oil because it has quite a strong flavour.
- A liquid sweetener is used in this recipe to help act as a binder. You have several vegan options here, like maple syrup, agave syrup, or pekmez (fruit molasses).
- Oat flour gives this gluten-free treat a nice texture. Plus it’s really cheap! (I actually buy whole oats, which are even cheaper, and grind them to flour using my Vitamix. But if you don’t have a powerful blender, you can use pre-ground oat flour no problem. It will save you some time.)
- Baking soda gives the brookie pie a bit of a lift in the oven and prevents it from becoming dense.
- Ground flaxseed acts as another binder, because they become sticky and gel-like when hydrated. Just like the oat flour, I use whole flaxseed which I grind myself in small batches when needed, because whole seeds last a lot longer. If you are using pre-ground flax meal, I would keep it in the freezer after opening to extend its shelf life.
- Espresso powder adds a hint of coffee flavour to the brownie layer.
- Cocoa powder: self-explanatory for the brownie layer.
- Vanilla extract makes any baked good taste just a little bit more irresistible.
- My plant milk of choice is always soy milk. It’s super versatile and easy to make at home, plus I like the flavour. But you can substitute with whatever you have on hand. In fact, this whole recipe can be made with pantry ingredients if you use a shelf-stable store-bought milk.
Make Ahead & Storage Tips
You can store this pie at room temperature, tightly wrapped or in an airtight container, for up to three days. Any leftovers at that point can be stored in the fridge for an additional two days.
Flavour Variations
- Leave out the caffeine: Decaffeinated espresso powder or instant coffee works just as well as regular espresso. Or just leave out the espresso altogether and substitute with more cocoa powder.
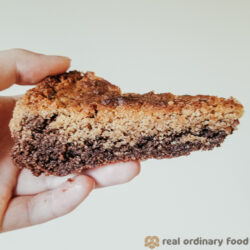
- EVEN MORE CHOCOLATE: The recipe for this pie, as written, results in a thick cookie layer and thinner brownie layer. That’s the way I prefer it, because I don’t like having too much chocolate in my desserts. (Yeah, I’m the person who dislikes double chocolate cookies and never buys chocolate-flavoured ice cream.) If you are more of a chocolate lover than me, I recommend doubling the brownie ingredients which will get you a thicker chocolate layer. I’ve tried it myself and it’s veeery chocolatey!
- Peanut butter brookie: Use peanut butter instead of almond/sunflower butter for both layers of the pie.
- Nutella brookie: Use hazelnut spread instead of another nut butter in the Espresso Brownie Layer.
If you made this recipe with a flavour variation, make sure to leave a comment to let me know what you did and how it turned out!
Recipe Card
Did you make this recipe? Please consider leaving a rating below to let me know how you liked it. You can also take a picture and tag me on Instagram @earthtoveg, I will shout you out in my Stories!
Vegan Brookie Pie
Ingredients
Switch between volume vs weight measurements:
Espresso Brownie Layer
- 3 tbsp creamy nut butter such as almond butter or sunflower seed butter
- 2 tbsp vegetable oil
- 2 tbsp liquid sweetener, such as maple syrup, agave syrup, or pekmez
- ½ cup oat flour or an equal amount of oats by weight
- ¼ tsp baking soda
- 1 tbsp flax seed or ground flax
- 1 tbsp espresso powder *can substitute with more cocoa powder
- 1 tbsp cocoa powder
- 1 tsp vanilla extract
- 3 tbsp Homemade Soy Milk *can sub with plant milk of choice
Cookie Layer
- ¼ cup creamy nut butter, such as almond butter or sunflower seed butter
- ⅓ cup vegetable oil
- ½ cup liquid sweetener, such as maple syrup, agave syrup, or pekmez
- 1½ cups oat flour or an equal amount of oats by weight
- ¾ tsp baking soda
- 1 tbsp flax seed or ground flax
- 2 tsp vanilla extract
- ¼ cup Homemade Soy Milk *can sub with plant milk of choice
- nuts or chocolate chips *optional, for sprinkling on top
Instructions
- Prepare an 8-inch cake pan (
see Note 1) by lining with parchment or foil, or directly greasing the pan with a splash of oil.
Espresso Brownie Layer
- Add 3 tbsp creamy nut butter, 2 tbsp vegetable oil, and 2 tbsp liquid sweetener, such as maple syrup, agave syrup, or pekmez to a microwave-safe mixing bowl. Melt in the microwave for about 15 seconds.
- Combine the dry ingredients (1/2 cup oat flour or an equal amount of oats by weight, 1/4 tsp baking soda, 1 tbsp flax seed or ground flax, 1 tbsp espresso powder, 1 tbsp cocoa powder) together in a blender jar. Blend on high speed for a minute or until the oats and flax have been ground into a fine flour. (Skip this step if you're already using oat flour and ground flaxseed.)
- Add the dry ingredients to the microwaved mixing bowl along with 1 tsp vanilla extract and 3 tbsp Homemade Soy Milk. Mix thoroughly to combine.
- Press evenly into the bottom of the prepared cake pan and slightly up the sides as well.
Cookie Layer
- Repeat the steps from the Espresso Brownie Layer, using the ingredients for the Cookie Layer (1/4 cup creamy nut butter, such as almond butter or sunflower seed butter, 1/3 cup vegetable oil, 1/2 cup liquid sweetener, such as maple syrup, agave syrup, or pekmez, 1½ cups oat flour or an equal amount of oats by weight, 3/4 tsp baking soda, 1 tbsp flax seed or ground flax, 2 tsp vanilla extract, 1/4 cup Homemade Soy Milk). Spread the cookie batter mixture evenly over the brownie layer in the cake pan.
- Optional: press nuts or chocolate chips into the top of the cookie layer.
Bake!
- Bake at 350 °F (175 °C) for 25–28 minutes.
- Let cool to room temperature before slicing (see Note 2
).
Notes
- If you don’t have a round cake pan, you can use a square 8″ by 8″ baking pan as well for this vegan brookie pie. Once baked and cooled, you can cut them into squares. You’ll just be making brookies instead of brookie pie.
- Speaking of cooling, this is an important last step! Cooling allows the pie to firm up so if you try to cut it while it’s still hot, it will be too soft and crumbly.
This was good and love that it’s glutenfree! I did half oat flour and half rice flour.
That’s awesome to hear! Thanks for letting me know that an oat/rice flour blend works, I’m going to give that a try next time.