Hokkaido Milk Bread was invented in 1800’s Japan, named after its northern province of Hokkaido which is famed for its dairy production. This rich, fluffy dairy-free version uses coconut milk and a traditional Asian breadmaking technique called tangzhong to set it apart from other breads. (And while you’re here, why not check out some other sweet and soft bread recipes like Pandan Swirl Loaf or Vegan Master Sweet Dough?)

What You’ll Need
A few important notes on some of the ingredients used in this Japanese milk bread recipe:
Flour: You can also use bread flour (also known as hard flour) for the dough. I’ve tried with both and I find that the rise is a bit higher with bread flour, but the difference is tiny. So I put all purpose flour in the recipe as it’s more readily available.
Tangzhong: The combination of water + flour + heat adds incredible moistness and softness to any bread. Check out the deets on tangzhong in my Pandan Bread Loaf recipe. Tangzhong can also be made ahead of time. I typically make a double batch at once, then store half in the fridge to use a few days later for my next bread project. (You can add tangzhong to any bread recipe, not just ones that specifically call for it.)
Coconut Milk or Coconut Cream: I found coconut cream to be the best vegan substitute for milk in this bread recipe, because it’s very concentrated and rich. I experimented with adding coconut milk powder, too, but found it didn’t make a noticeable difference in the final product. You can also just use normal full-fat coconut milk: refrigerate for a few hours, then scoop out 200 g of the solidified top layer.
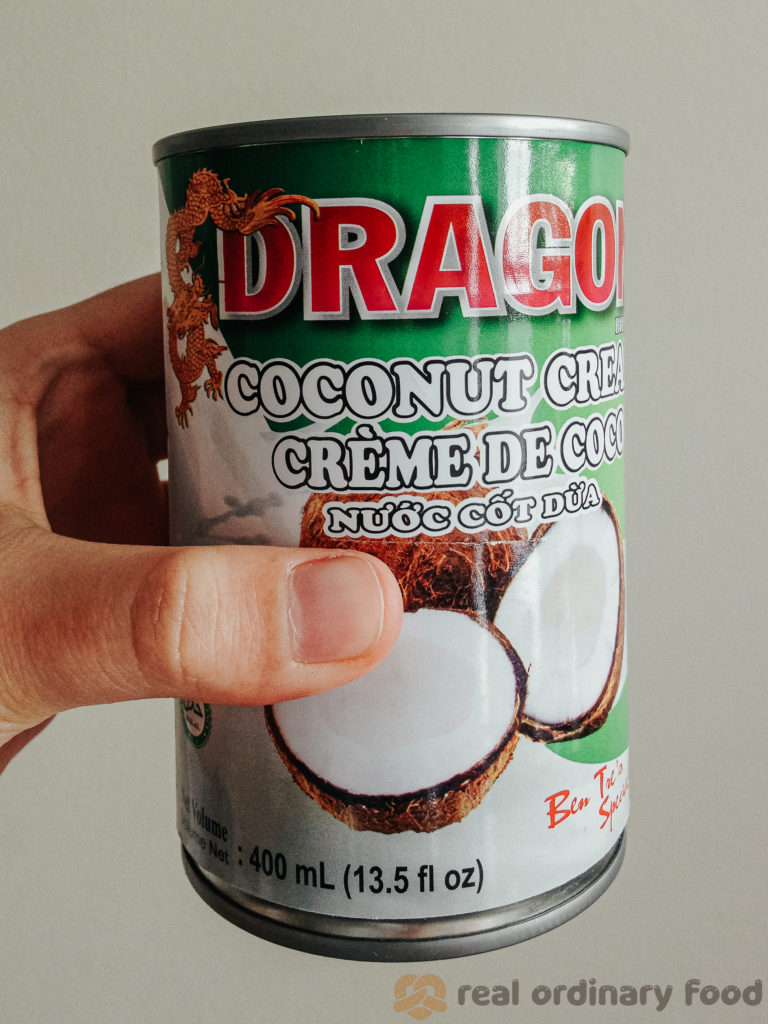
The difference between cream and milk is that at the bottom of a can of cold coconut milk, you’ll find it’s mostly water, whereas a can of coconut cream will be composed of the same thick cream all the way through. Coconut milk is basically a diluted version of coconut cream, and lite coconut milk is an even more diluted version. So fwiw, unless coconut milk is much cheaper than cream where you live, I recommend buying coconut cream as you can easily convert it to larger quantities of milk.
You can specifically buy coconut cream in most Asian grocery stores. Here in Canada I usually get them from T&T and I’ve had success using the Kosa, Dragon, and Thai Friend brands.
This recipe uses half of a 400g can of coconut milk. Wondering what to do with that other half? Try this recipe for Tofu Thai Red Curry or this one for Pumpkin Pie, which will both use roughly 200g of coconut milk.
Notes on Kneading
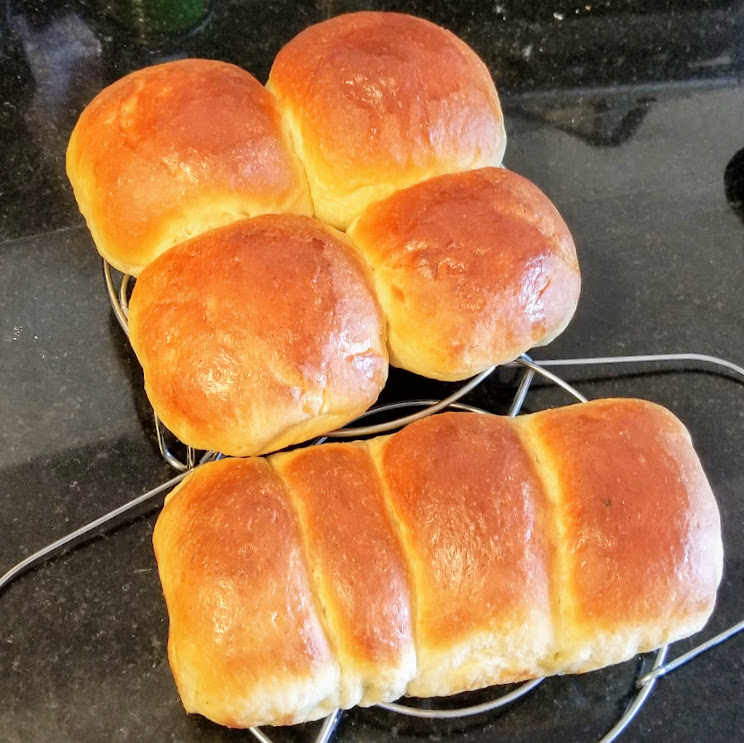
Kneading for at least 12 minutes is important. For my first batch, I only did a 5-minute knead. Although the dough looked nice and smooth, it was too slack, which resulted in denser, flatter buns (although the taste was fine). See the difference below:
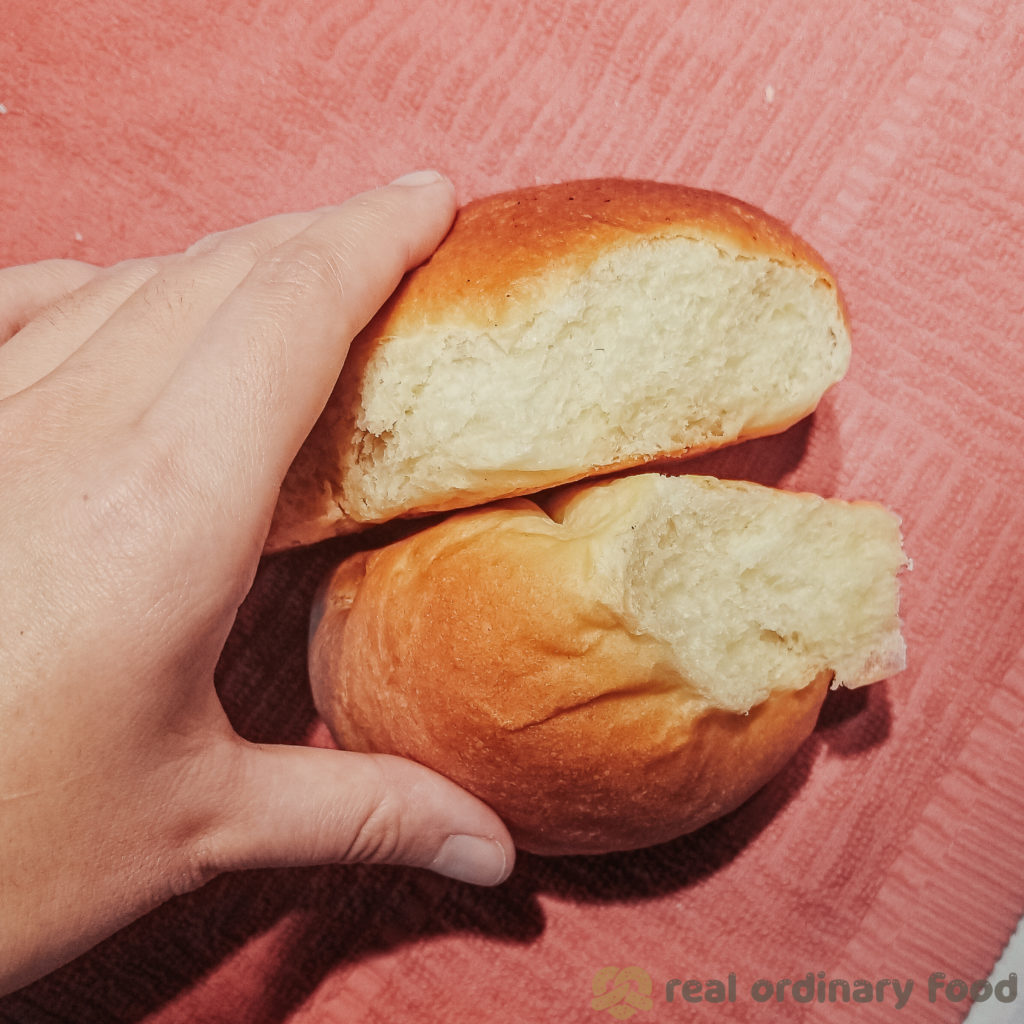

For this reason, this is a hard recipe to make by hand as it requires a lot of kneading. Stand mixer is the way to go!
Shaping Bread Rolls
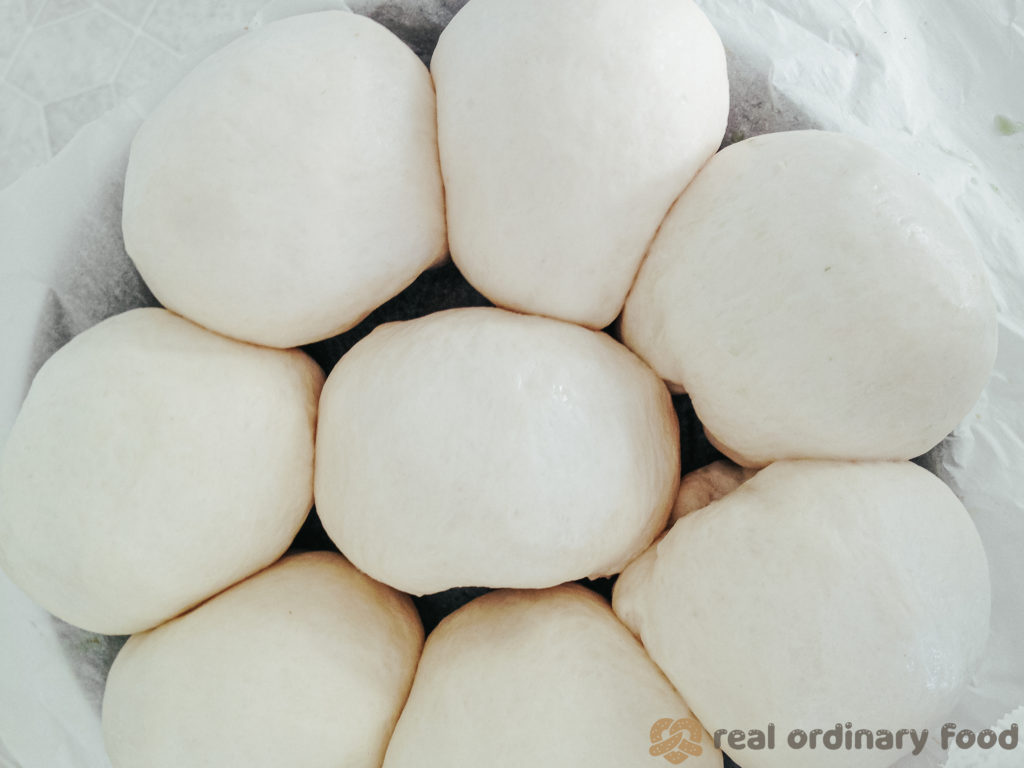
See the video within the Recipe Card below on how to shape the dough into individual rolls (skip to 1:18).
Splitting the dough into eighths will give you rolls that are slightly smaller than a burger bun. If you choose to make them smaller, I would raise the temperature to 375 °F and start checking for doneness at 15 minutes.
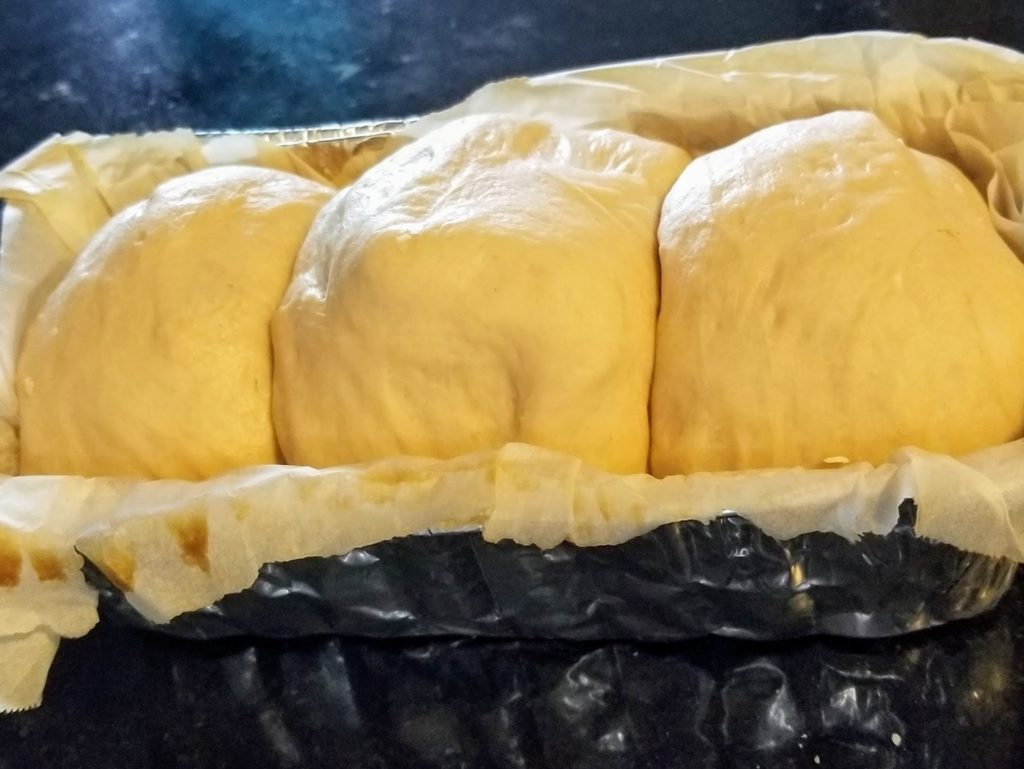
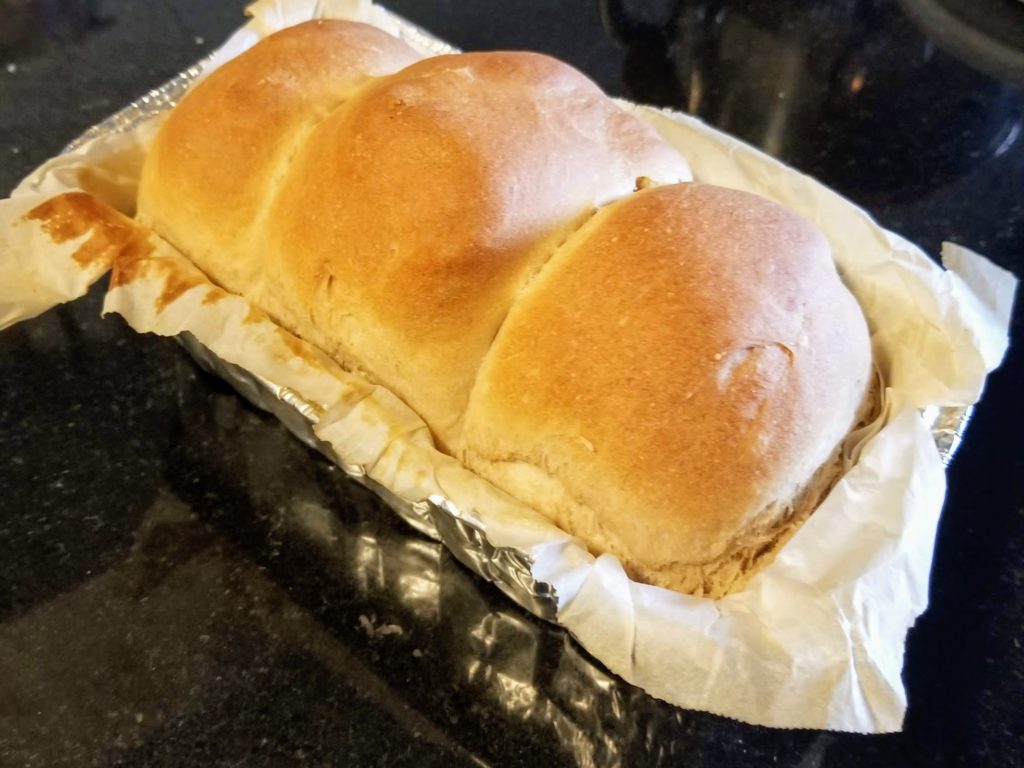
If you prefer to make a whole loaf, it’s pretty simple. Divide your dough into thirds and flatten each piece into a rough rectangular shape. Roll each rectangle into a tight log, then place into a loaf pan. Looks something like this:
Veganizing Hokkaido Milk Bread
The type of bread that I’m emulating here is also known as Hokkaido milk bread. Hokkaido is a region in Japan known for its dairy products, but since this vegan recipe doesn’t use dairy (obviously), it doesn’t make sense to call these “Hokkaido milk” buns, right?
The first time I made Japanese milk buns (back when I still used dairy products), I used King Arthur Flour’s recipe. Since then, I’ve tried several other recipes but I always return to the KAF recipe for how simple the instructions are and how successful it turns out, every time.
I modeled my veganized milk bread on the same recipe. Likewise, I tried to use the simplest ingredients.
Make Ahead & Storage
These vegan Japanese milk bread buns taste soooo good while they’re fresh but if you have extras to enjoy later, I recommend heating them up in the microwave for about 10 seconds to bring them back to optimal fluffiness.
Recipe FAQs
The texture—thanks to tangzhong, Japanese milk bread is moist yet light, and soft and fluffy. The taste—with more cream and sugar than your typical bread, it has a mildly sweet flavour that pairs well with any topping or spread, or even on its own.
Japanese milk bread thought to have originated in the Hokkaido region of Japan, which is known for its high-quality dairy products. The use of Hokkaido milk and butter is said to give the bread a distinct flavor and texture. So, the name “Hokkaido milk bread” simply refers to the use of Hokkaido milk and butter in traditional versions of the bread, as well as its association with the Hokkaido region where it originated.
Japanese milk bread has a uniquely fluffy and tender texture that is achieved through a special technique called the tangzhong method. This involves creating a roux with flour and liquid and adding it to the bread dough, which helps to create a light crumb and a soft texture.
The closest thing to Japanese milk bread in terms of texture and flavor is likely brioche, a French bread that is also rich, soft, and sweet. However, brioche is made with more butter and eggs than Japanese milk bread, which gives it a slightly different taste and texture. Other types of bread that are similar to Japanese milk bread include Hawaiian rolls, which are also sweet and soft, and Paska (Ukrainian Easter Bread), which is equally rich but flavoured with oranges.
Recipe Card
Did you make this recipe? Please consider leaving a rating below to let me know how you liked it. You can also take a picture and tag me on Instagram @earthtoveg, I will shout you out in my Stories!
Vegan Japanese Milk Bread
Ingredients
Switch between volume vs weight measurements:
Tangzhong (Water Roux)
- ½ cup water 120 g
- ⅓ cup all purpose flour 45 g
Hokkaido Milk Bread Dough
- ½ can coconut cream or full-fat coconut milk 200 g; see Notes
- 3 tbsp vegan butter or margarine 40 g
- ¼ cup sugar 50 g
- 1 tsp salt 6 g
- 2½ cups all purpose flour 325 g; see Notes
- 2½ tsp instant yeast 10 g
"Egg" Wash *optional
- 1 tsp warm water
- 2 tsp brown sugar or syrup
Instructions
- To make tangzhong: Add 1/2 cup water and 1/3 cup all purpose flour to a small saucepan. Set it on the stove at low heat and whisk until smooth. I used chopsticks but you can use, you know, an actual whisk. Once smooth, let it heat for about 5 minutes or until thickened (see video below), whisking occasionally.
- Add tangzhong and 1/2 can coconut cream or full-fat coconut milk to the bowl of a stand mixer.
- Keep the saucepan going on low heat. Add 3 tbsp vegan butter or margarine and let it melt, then turn off the stove.
- Add the melted butter along with 1/4 cup sugar, 1 tsp salt, and 2½ cups all purpose flour to the bowl, then start mixing in the stand mixer using the dough hook.
- When the ingredients are roughly mixed but haven't yet started coming together, add 2½ tsp instant yeast. We want to add it last to avoid the hot butter and tangzhong from killing any yeast.
- Now let the stand mixer knead the dough for 12 to 15 minutes. (See Notes.)
- The dough should now be soft and smooth. Shape into a ball and let it rest in the bowl, covered, for 1 1/2 hours.
- After rising, the dough should be about 1.5x its original size. Take it out of the bowl and flatten into a big circle, pressing out any air pockets.
- Slice the circle into eight equal pieces. Roll each piece into a ball (see video) and place into a round baking pan. Or a square one. Whatever you have.
- Cover and let rise. After 30 minutes, preheat the oven to 350 °F (175 °C).
- Optional: Mix 1 tsp warm water and 2 tsp brown sugar or syrup together in a small cup and gently brush onto the risen rolls.
- Put your rolls into the oven at the 40-minutes mark. (My oven takes 10 minutes to preheat from cold. If yours takes longer, start the preheat a bit earlier.)
- At 25 minutes, the rolls should be lightly golden. Turn off the heat and let the rolls sit in the oven for 10 minutes before removing to cool. Let rolls cool in pan for another 10 minutes, then transfer to a wire rack.
Hi ! I really liked your recipe and was wondering if it was possible the freeze it raw ? Thank you 🙂
Hi Alexane, I haven’t tried freezing this particular recipe but I frequently freeze bread dough and haven’t run into one that hasn’t defrosted well, so I think this one should be fine too. I’d freeze it just after step 6 (before the first rise). And when you want to bake, let it defrost on the counter and grow to 1.5x in size (could take up to 6 hours in my experience) before proceeding with step 8 and beyond. Do update me on how it turns out!!
Thank you for the answer ! 🙂
I tried it but I did a huge batch and it was not as successful as my small batch test. I don’t know if I should have mixed it longer because of the bigger amount, it was a little dry and flat, but still good 🙂
Thank you for your recipe !
Thanks for letting me know how it turned out! Next time I bake this I’m going to try freezing a portion and see if I run into the same issue as you.
Very very good when fresh. They were a bit dense the next day.
Thanks for the review Shawn! Did you reheat them? If you eat them at room temp the next day they do tend to be more dense but a quick microwave solves it
Can I try making these with coconut filling inside?
That’s an awesome idea ? I haven’t tried this myself but let me know the results if you do.