Past and present collide in Pink Pineapple Pie, which is inspired by a recipe from 1924 and uses Pink Pineapple, a modern biotech innovation. (Of course, it’s just as tasty if you make it with the more commonly available yellow pineapple.) The no-bake pineapple filling is mixed up all in the blender so minimal chopping is required, and you can use the tough core of the pineapple too. Gluten-free and sugar-free options available.

History & Origins
This pink pineapple pie was inspired by a recipe from The New Butterick Cookbook, published in 1924.
I love trying vintage recipes, such as brownies from 1934, rice pudding from 7th century Persia, or chocolate chip cookies courtesy of someone’s grandmother. So when I saw this simple-looking pineapple pie recipe on /r/Old_Recipes, I had to give it a try!
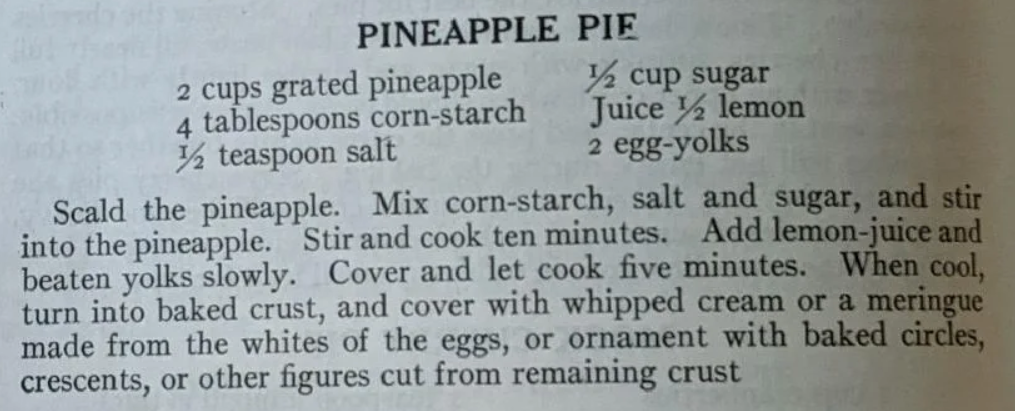
You’ll notice that the original recipe contains egg yolks. But don’t worry, we got a substitute for that… read on.
Experiment Results
A commenter mentioned using butter in place of the egg yolks, so I subbed in my trusty ol’ Becel margarine. Also, being the lazy person that I am, I decided to experiment with blending the pineapple instead of going to the trouble of grating it. Which turned out to be a great decision because it resulted in a silky smooth pie filling.
Another important finding I made was that cornstarch and tapioca starch do not impart the same texture!! I tried using tapioca starch for one of my tests because I’d ran out of cornstarch; the resulting filling was insanely gooey and stretchy. (Which is a texture that I enjoy, believe it or not, but it didn’t really work for the tangy pineapple flavour of this pie.) Lesson learned: cornstarch is not interchangeable with tapioca starch in this kind of recipe.
| Trial | Findings | Image |
|---|---|---|
| 500g frozen pineapple, thawed; 45g tapioca starch; 3g salt; 1/2 cup sugar. Blended all together until smooth, then stirred over medium heat until really thick. | Could’ve used a little more filling, or maybe took it off the heat sooner so it wouldn’t reduce so much. The filling was also very gloopy and sticky. Must try with cornstarch next time. |  |
| 625g frozen pineapple, thawed; 30g cornstarch; 3g salt; 1/2 cup sugar; juice and zest of 1/2 lemon; 3 tbsp Becel vegan margarine. Blended all ingredients except butter until smooth, then stirred over medium heat until starting to thicken. Then added the butter. Stirred another 5 minutes then poured into pie crust. | Just found out acid can weaken starch thickening ability, so maybe I should’ve added the cornstarch later… it was a little fragile. But the texture was much improved compared to the last attempt; it’s no longer snot-like and more pudding-like. 😃 | 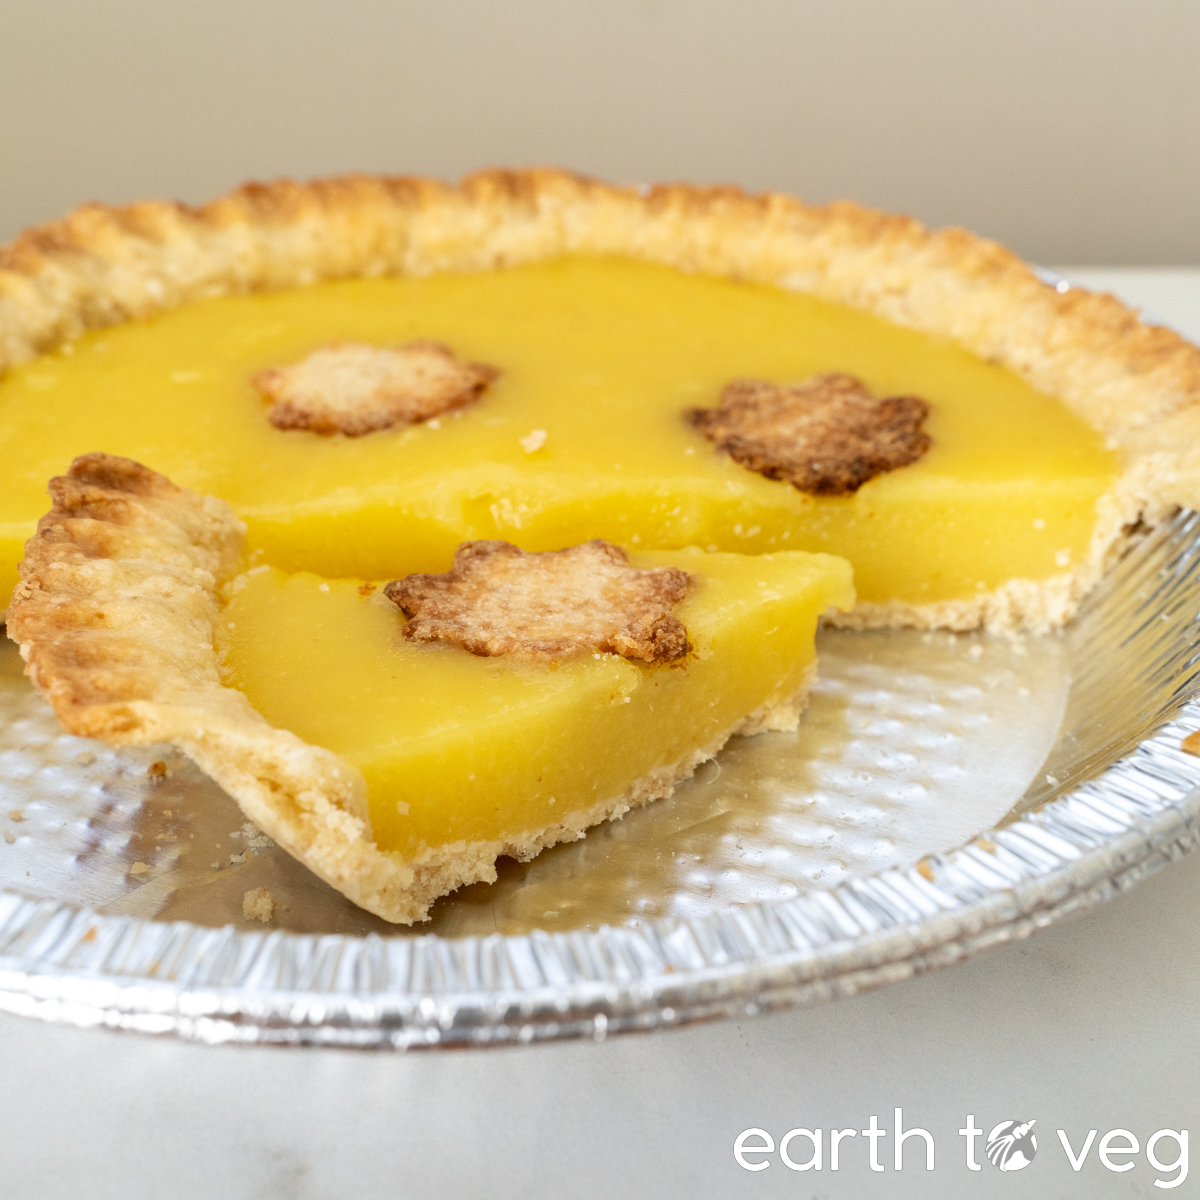 |
| 540g pink pineapple; 30g cup cornstarch; 50g granulated stevia; 3g salt; 1/2 lime zest and juice; 3 tbsp Becel vegan butter. Blended pineapple, cornstarch, sugar, and salt, cooked until starting to thicken, then added lime and butter. Stirred just until butter melted, then poured into pie crust. | Needs more filling (625g pineapple last time was the perfect amount), but it was the perfect texture. I guess adding the extra acidity (lime juice) towards the end does allow the cornstarch to work a bit better. Taste is really good. | 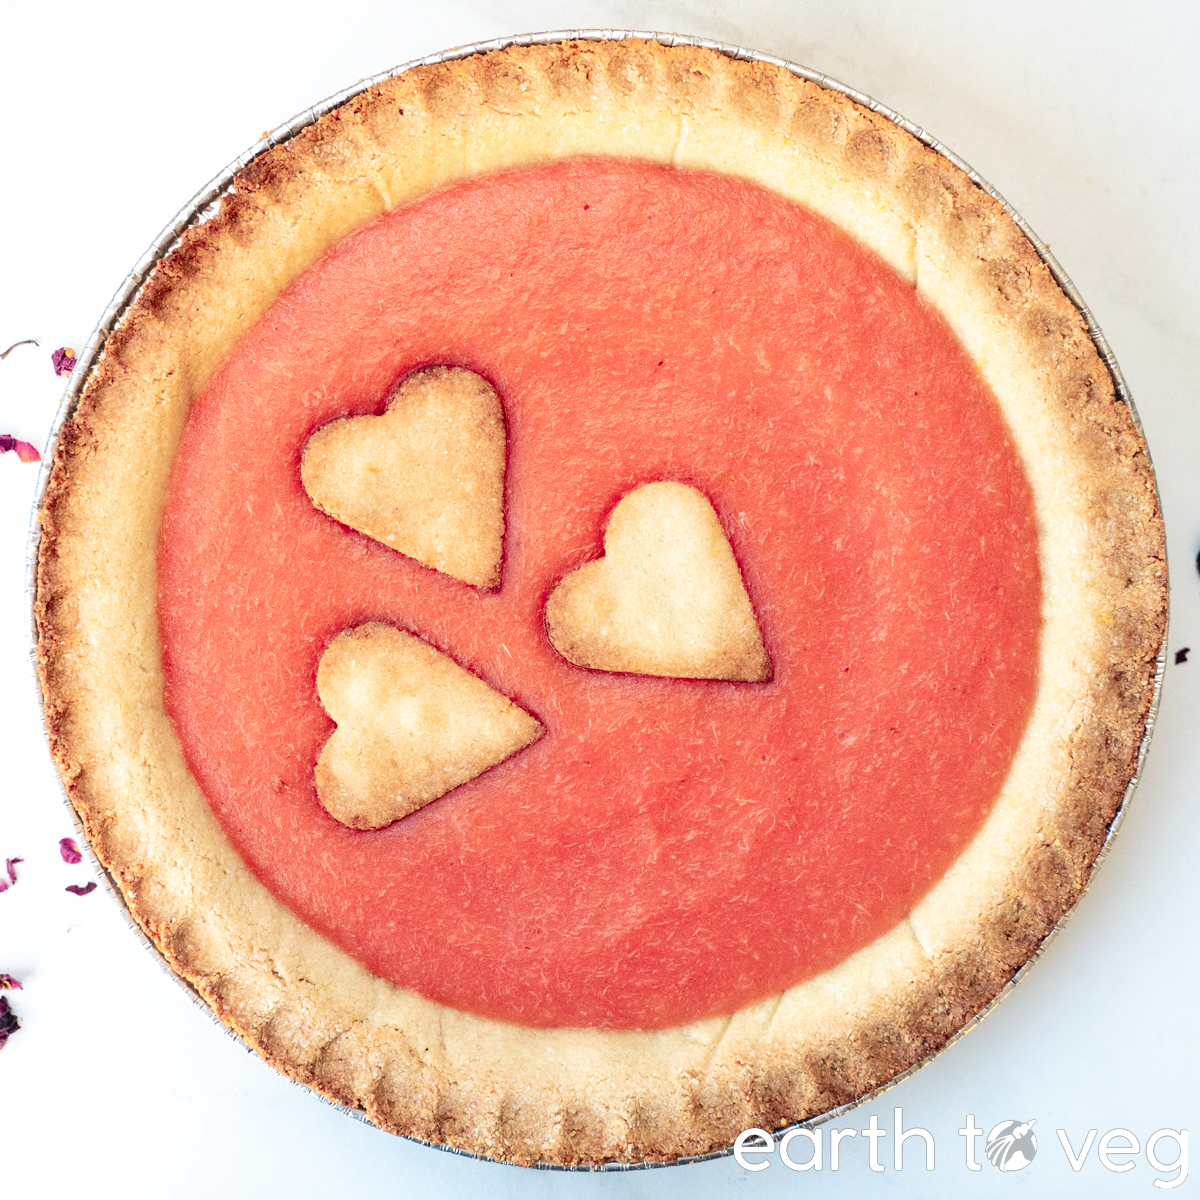 |
| 600g fresh pineapple; 30g cornstarch; 3g salt; 1/2 cup granulated monkfruit; juice and zest of 1/2 lemon; 3 tbsp Earth Balance vegan butter. Same technique as previous trial. | Happy how this one tasted! Pretty much identical to the previous trial. | 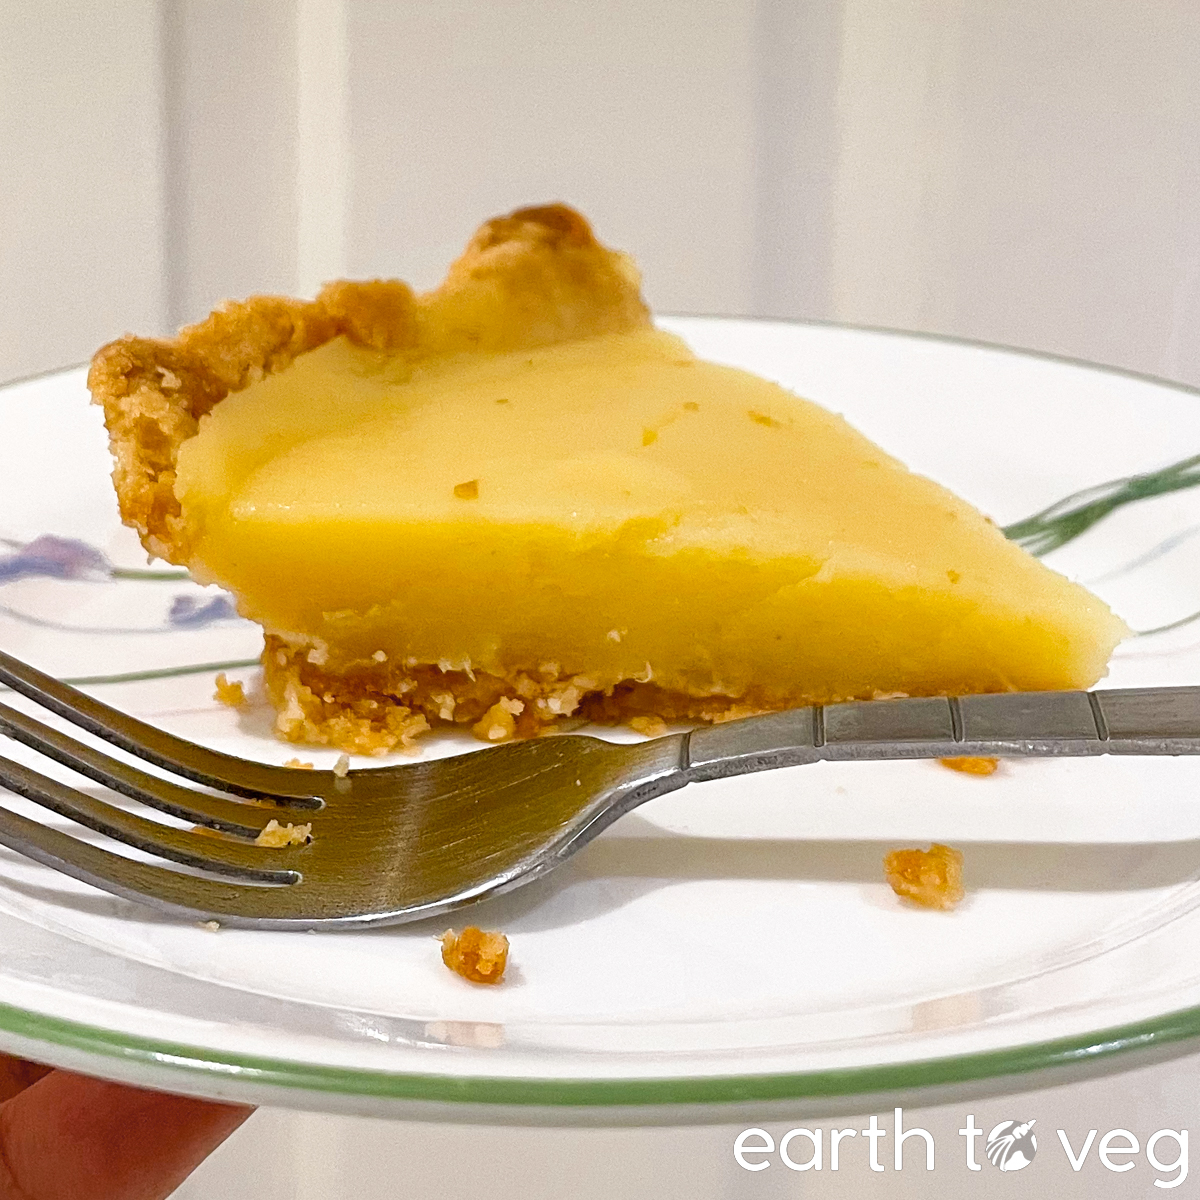 |
Pink Pineapple
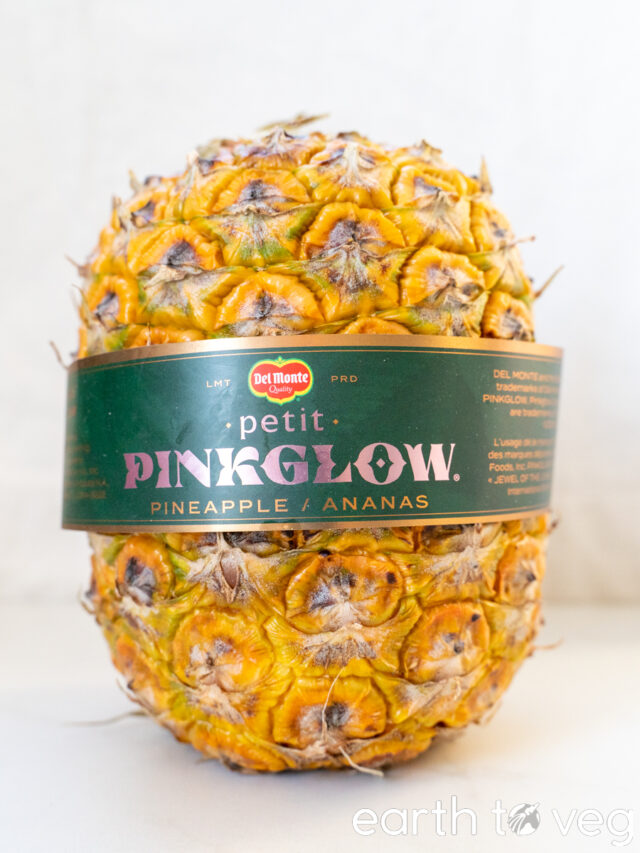
Around the time I was testing this recipe, I was starting to see those trendy pink pineapples pop up at my local Costco. (You can read about my taste review of the PinkGlow pineapple here.)
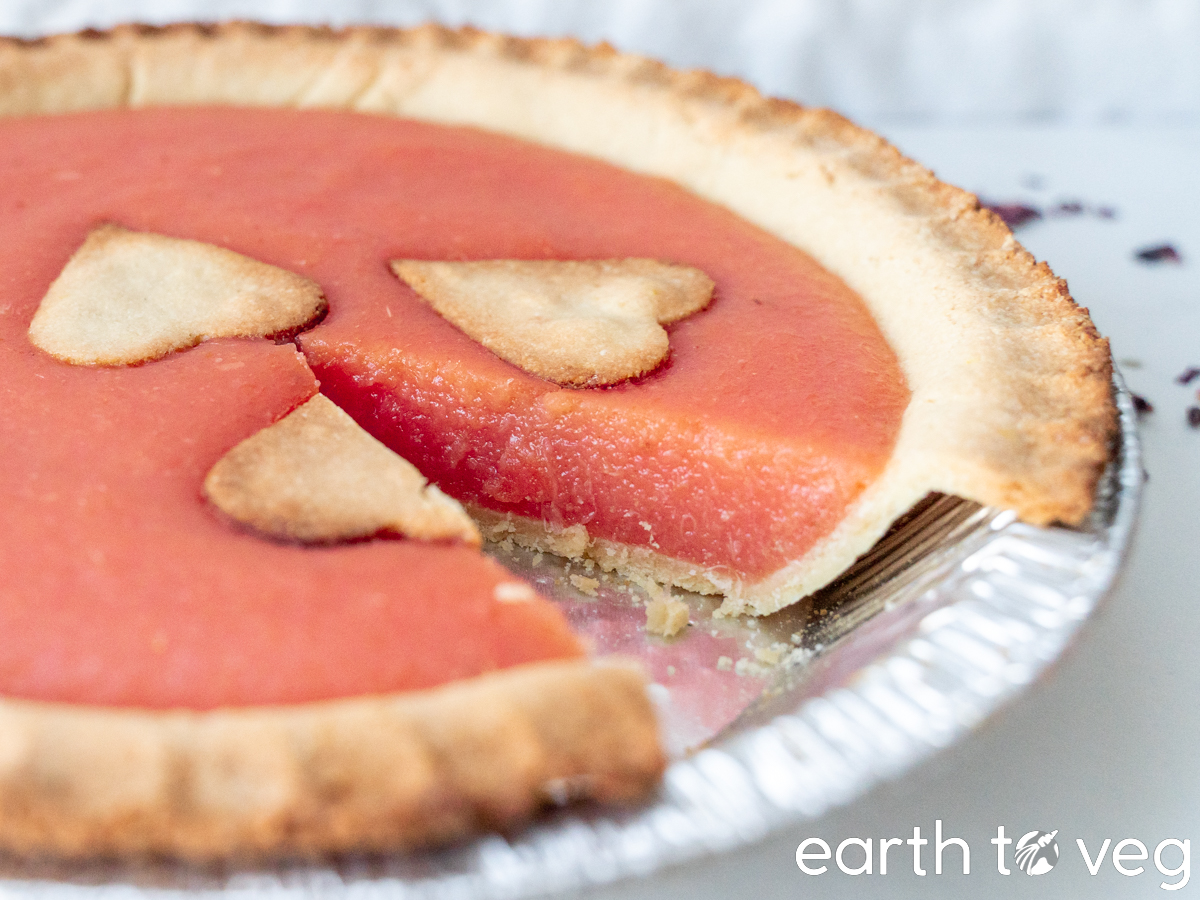
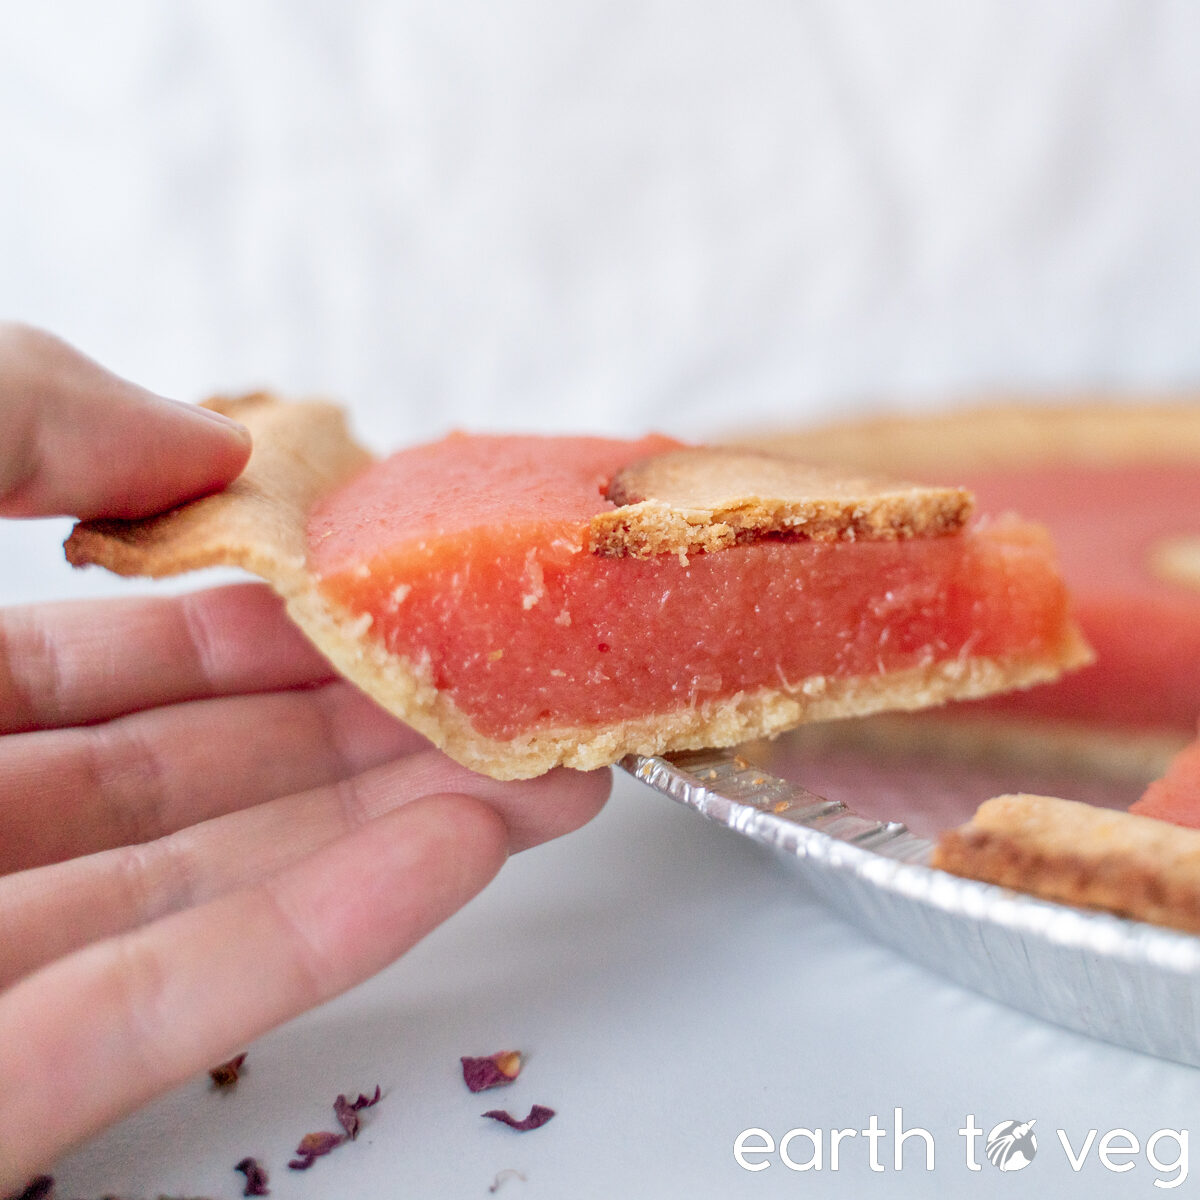
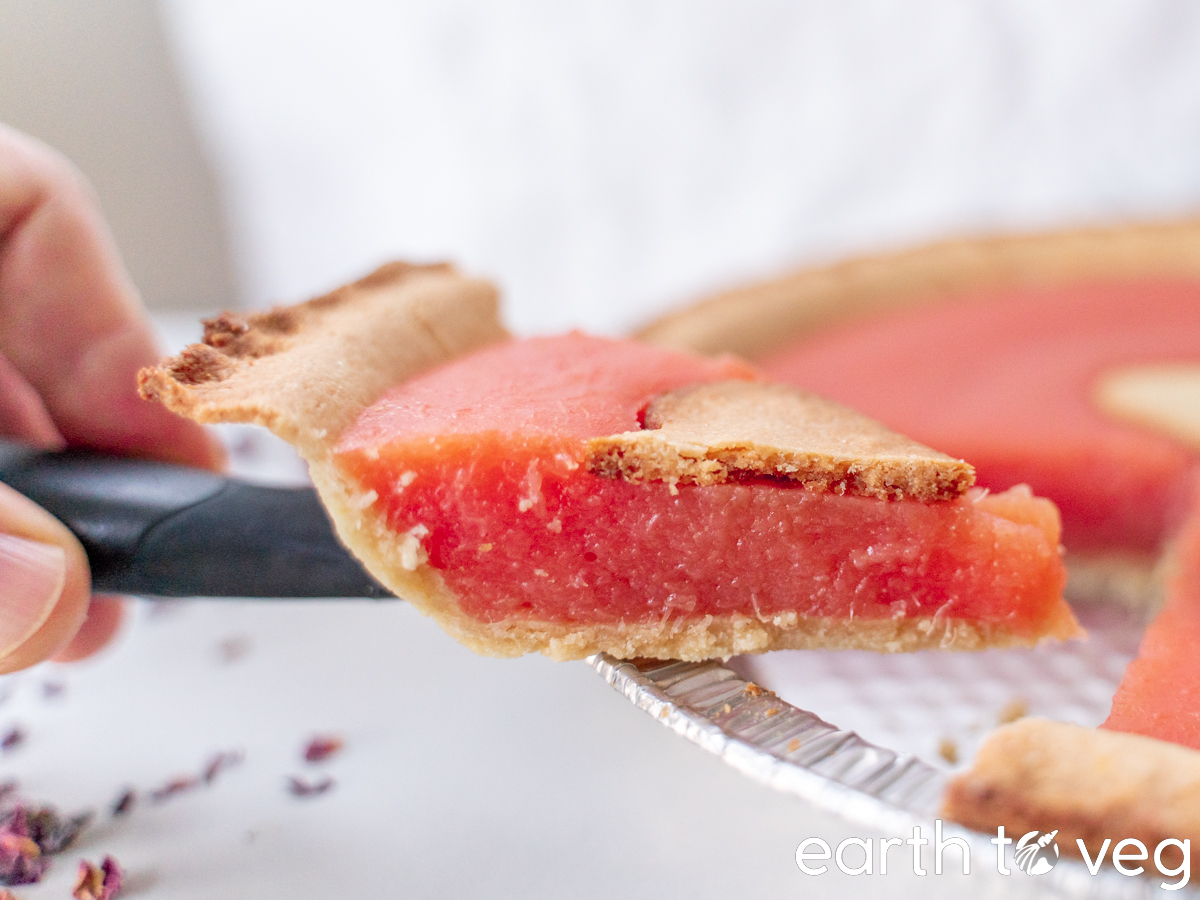
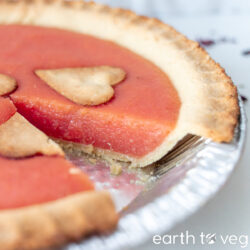
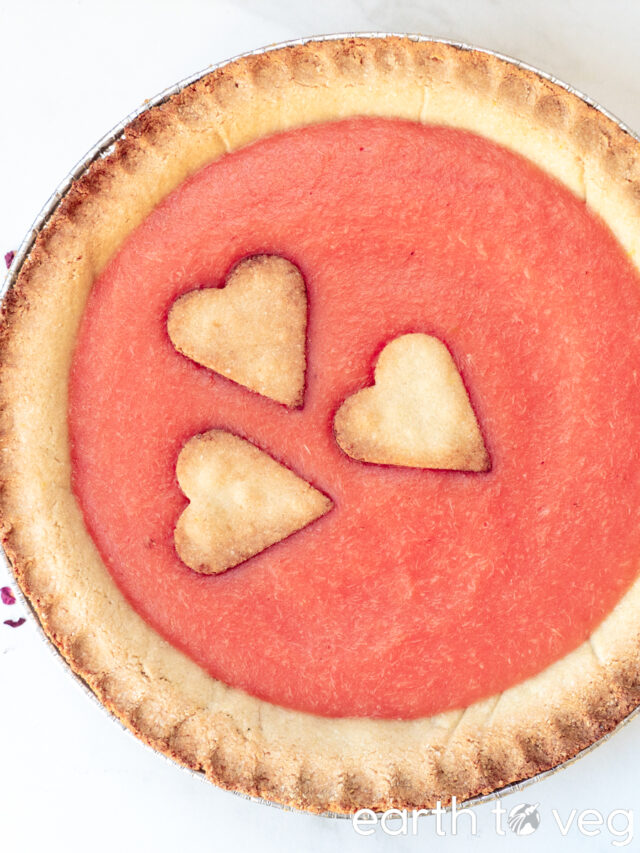
I decided to use some of the fruit to make a batch of this pie, and it turned out beautiful. The colour of the pureed pineapple deepened as it simmered over the stove, to the point where it looked almost more red than pink.
This would make a perfect Valentine’s Day dessert. I know I’m publishing this in May, but, keep it bookmarked for next year I guess? Anyway, let’s talk about how to make this pink pineapple pie!
What You’ll Need
First and foremost, you’ll need a baked pie crust. You can use a storebought pastry shell or make one from scratch. Here are some homemade options:
- If you have a stand mixer, this Crisco pie crust is my go-to.
- I’ve also tried this gluten-free and oil-free pie crust.
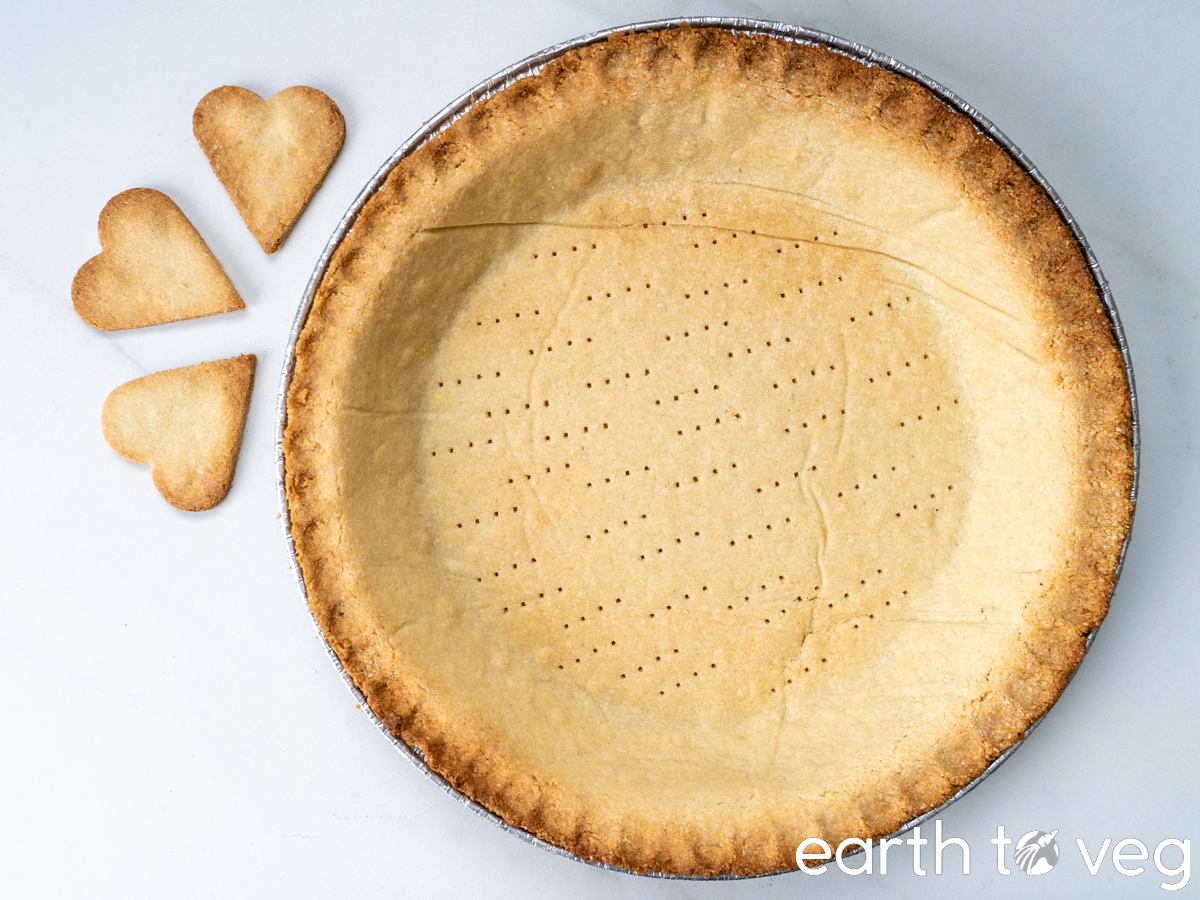
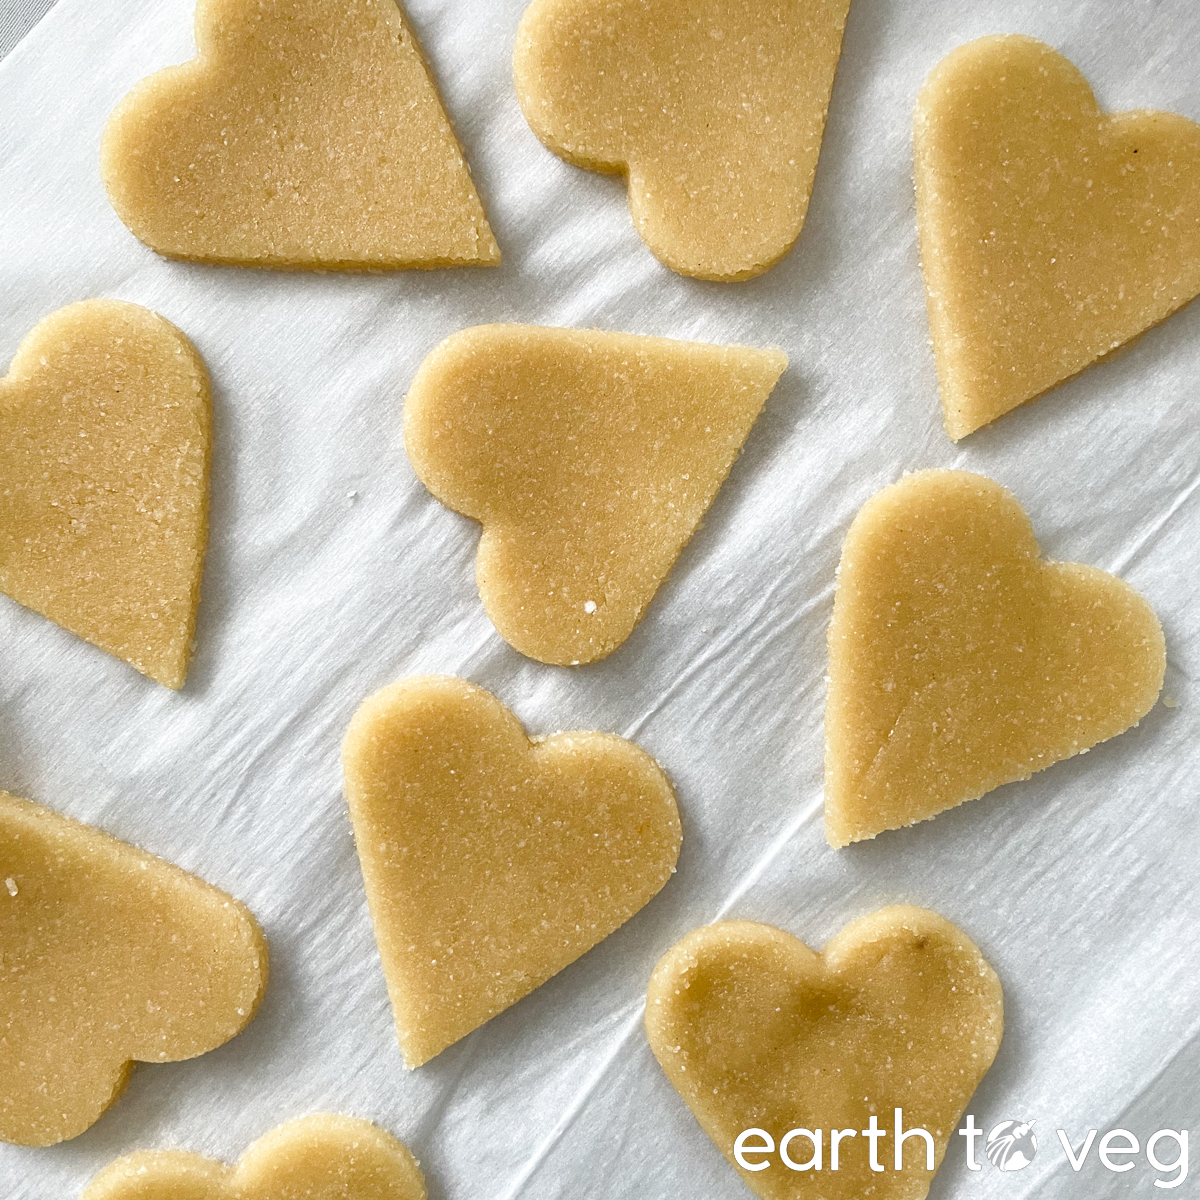
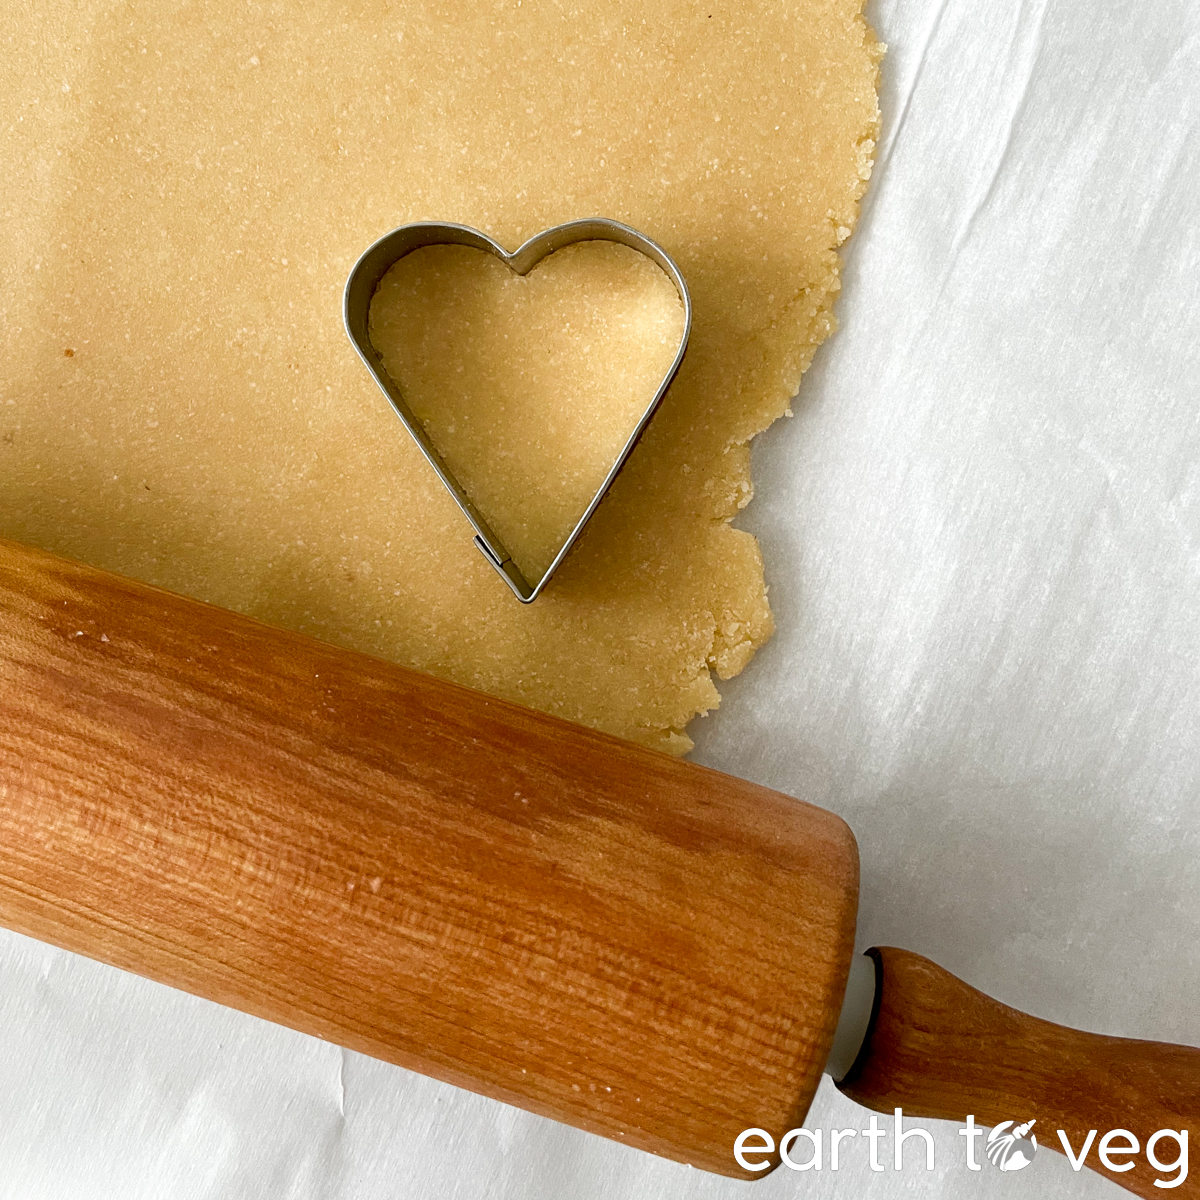
If you make your own pastry, you can use a cookie cutter on the leftover dough and bake them, for decorating the top of the pie.
Now onto the ingredients for the filling:
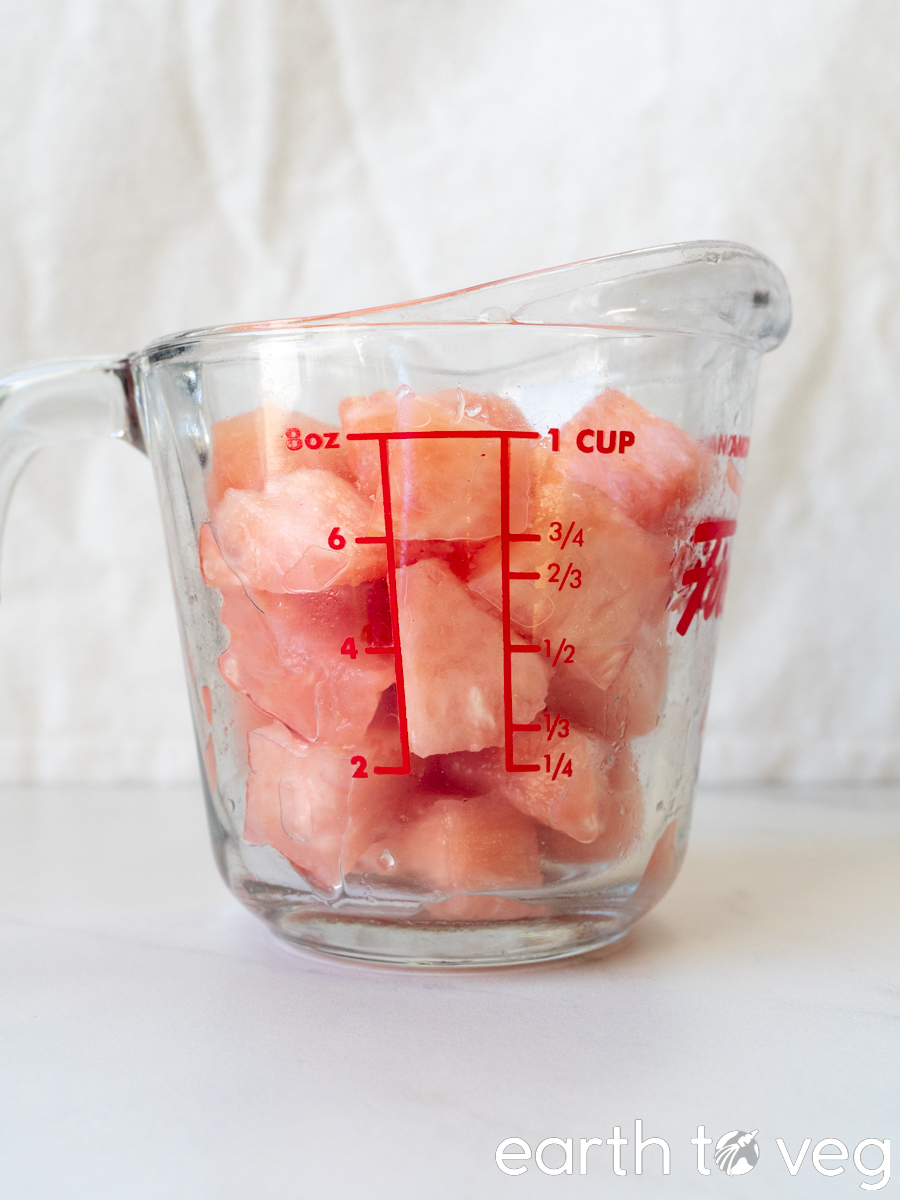
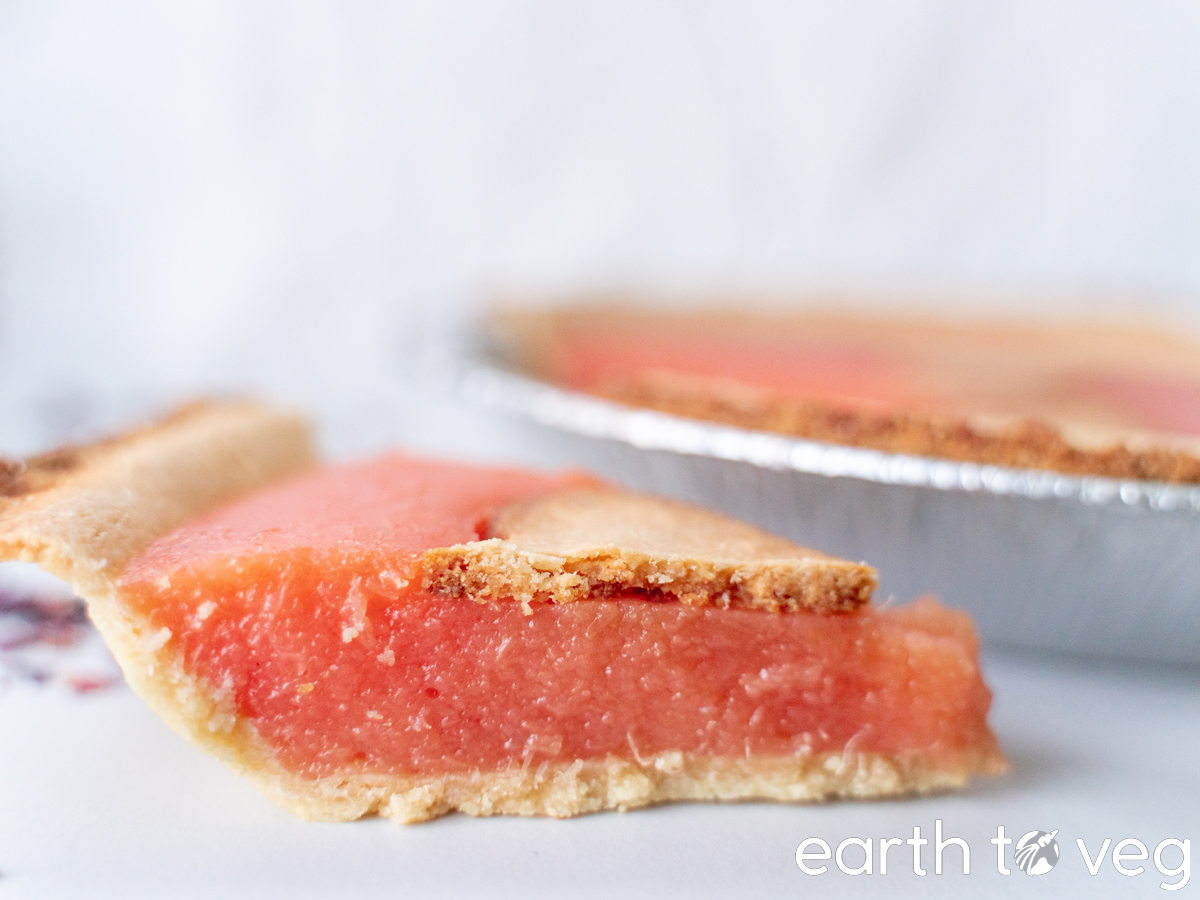
You can use fresh, frozen, or canned pineapple for this pie. I used a PinkGlow pineapple to give the pie its natural pink colour, but of course you can use a regular pineapple for a golden yellow pie. This recipe is also a great opportunity to use up the hard core of your pineapple—which has plenty of sweetness, but is rather too tough to chew through. A powerful blender will take care of that problem. Just chop it up into rough chunks and throw it into your blender along with the rest of the ingredients. The less food waste the better, is my motto. 🍍
In addition to the natural sweetness of the pineapple, you’ll need to some extra sugar. It also works really well with sweetener alternatives like granulated stevia or monkfruit. Less processed alternatives like maple syrup, jaggery, and brown sugar will darken the pie filling, but if you’re not worried about the colour you can certainly use them.
Cornstarch is the required thickening agent for this pineapple pie. I have tested with tapioca starch, but it doesn’t achieve the correct texture so I don’t recommend it at all. Not sure about other starches like potato starch or wheat starch, but if you do try one of them, please leave a comment about how it worked out for you.
Just a bit of salt helps bring out the sweetness.
A few spoonfuls of vegan butter or margarine add richness, helping the pie achieve a rounder flavour.
Finally, you’ll want half of a lemon or lime to provide an extra bit of tropical tang. If you’ve got the time to grate the zest, I strongly recommend it.
Step-by-Step Process
The process for this pineapple pie recipe couldn’t be simpler. Most of the work is done by the trusty blender. Make sure your pie crust is baked and ready before starting on the filling. (You can also watch the video for a narrated tutorial.)
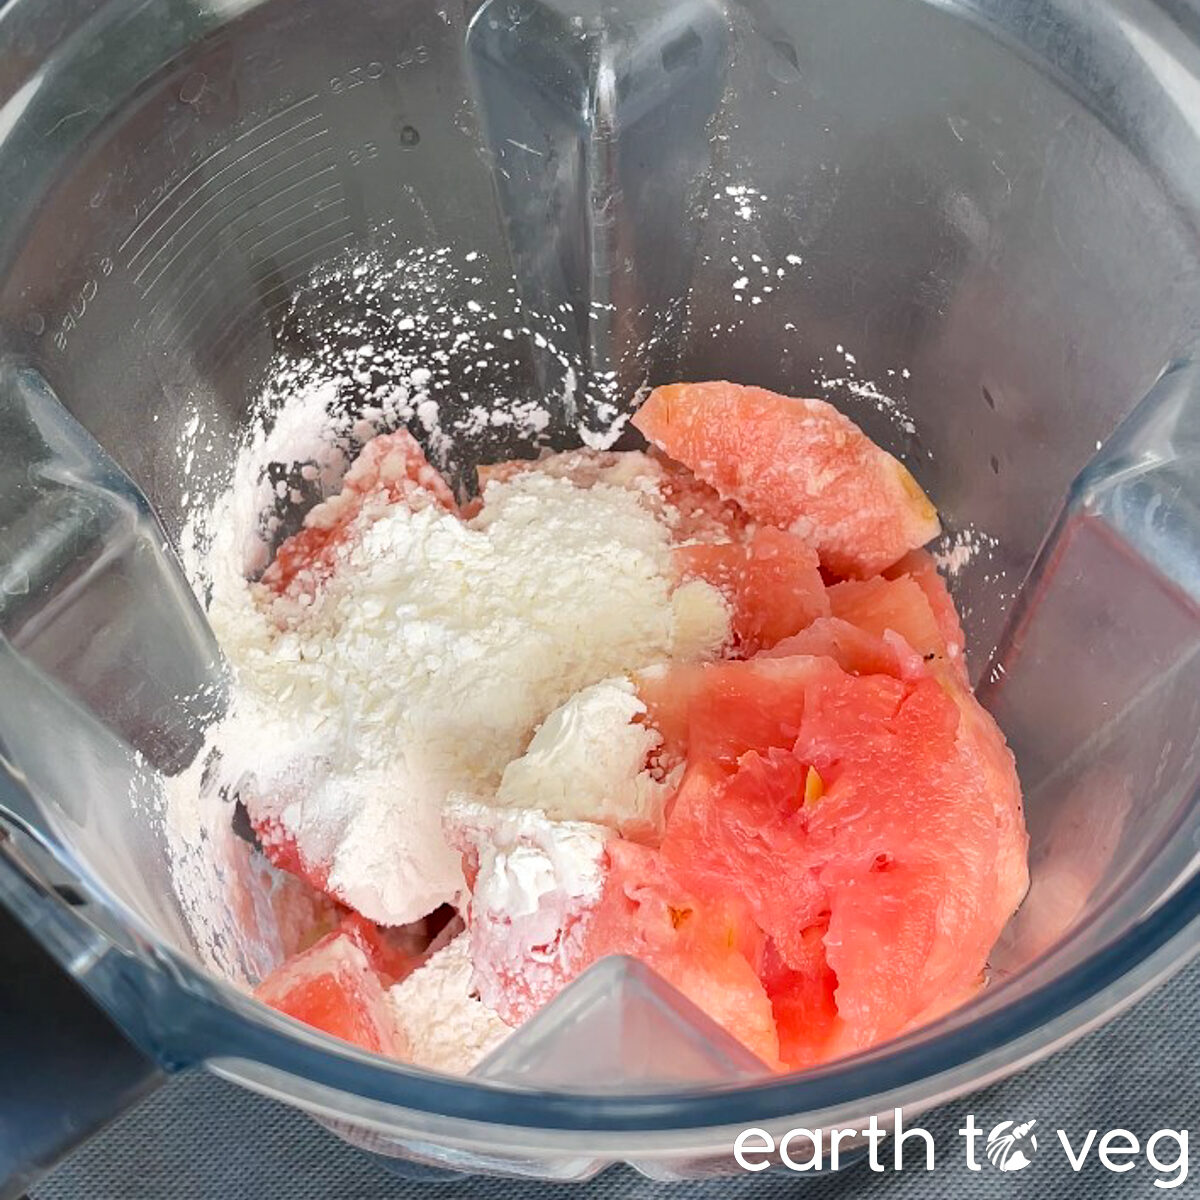
Step 1: Add chopped pineapple, cornstarch, sugar, and salt to a blender.
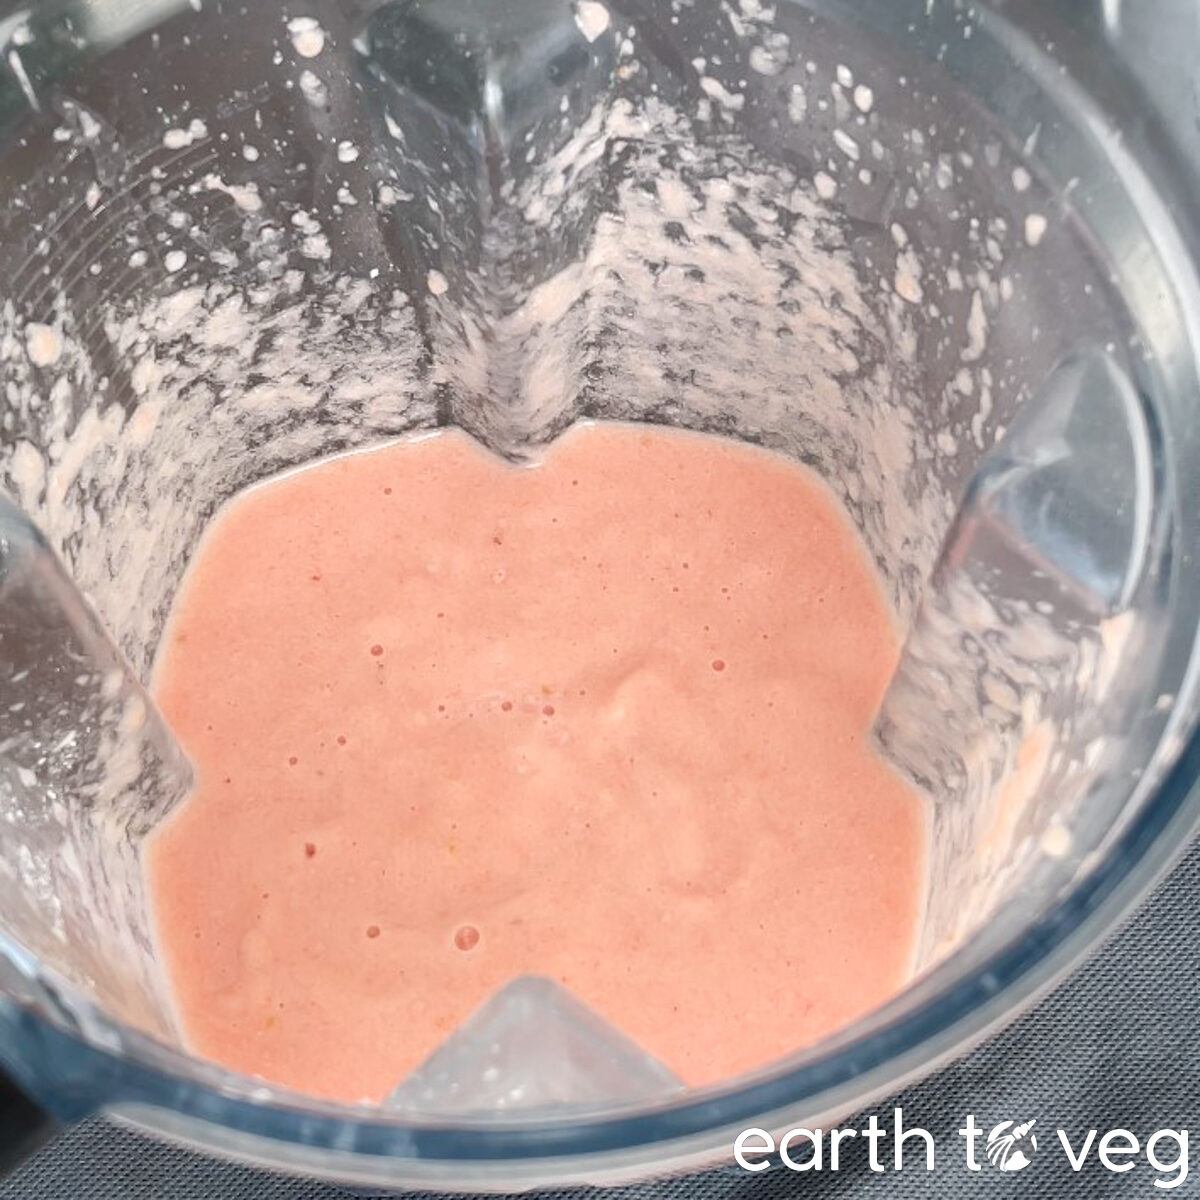
Step 2: Purée on high speed until smooth.
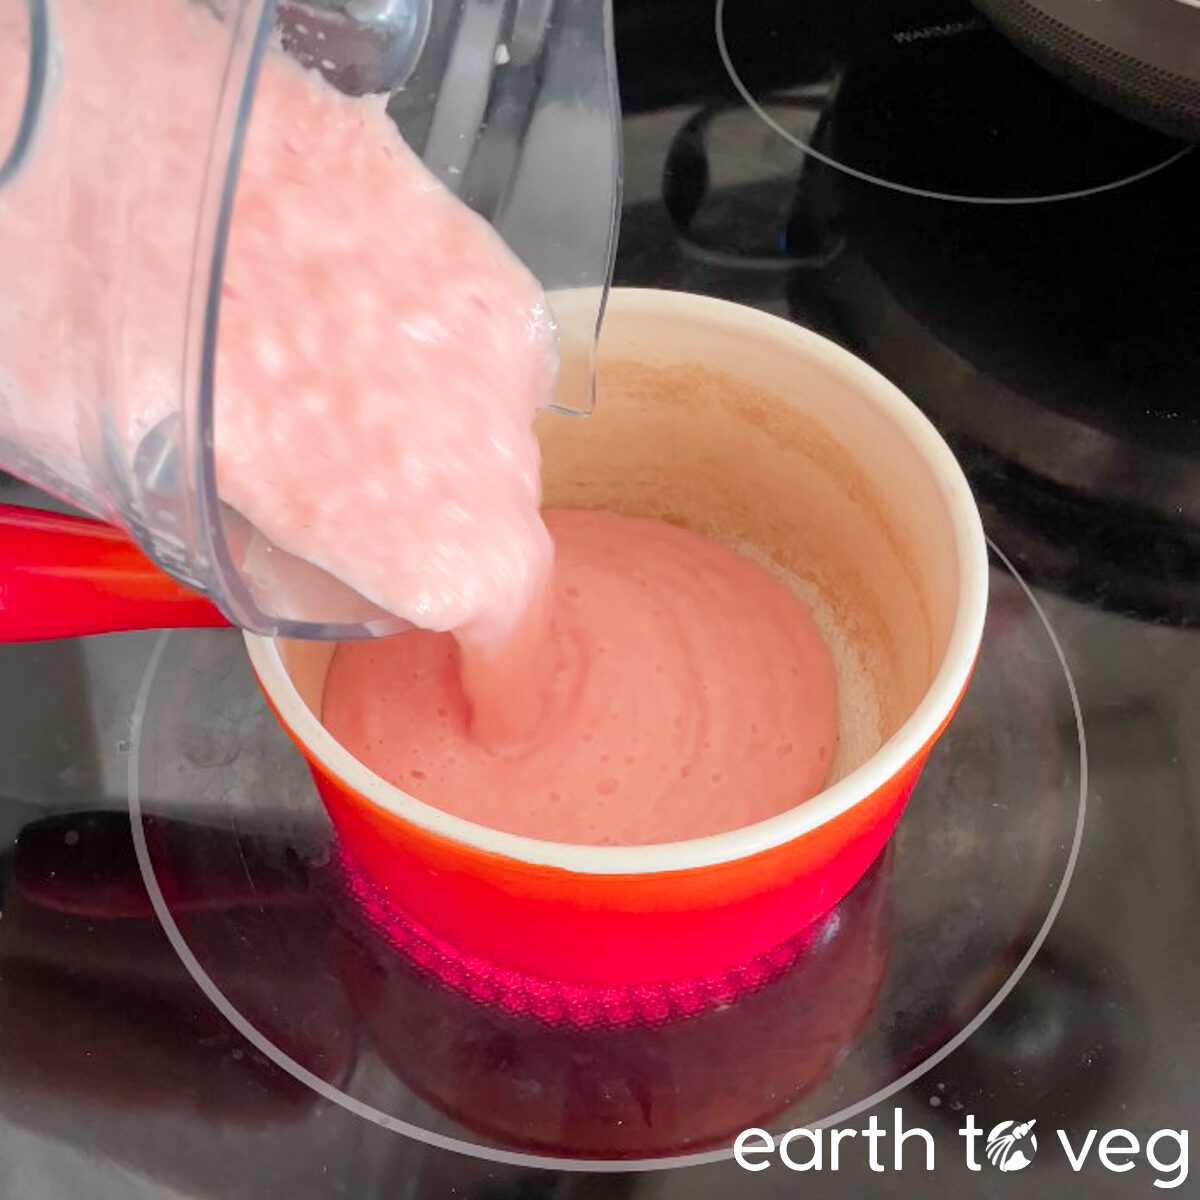
Step 3: Pour the mixture into a saucepan on medium heat.
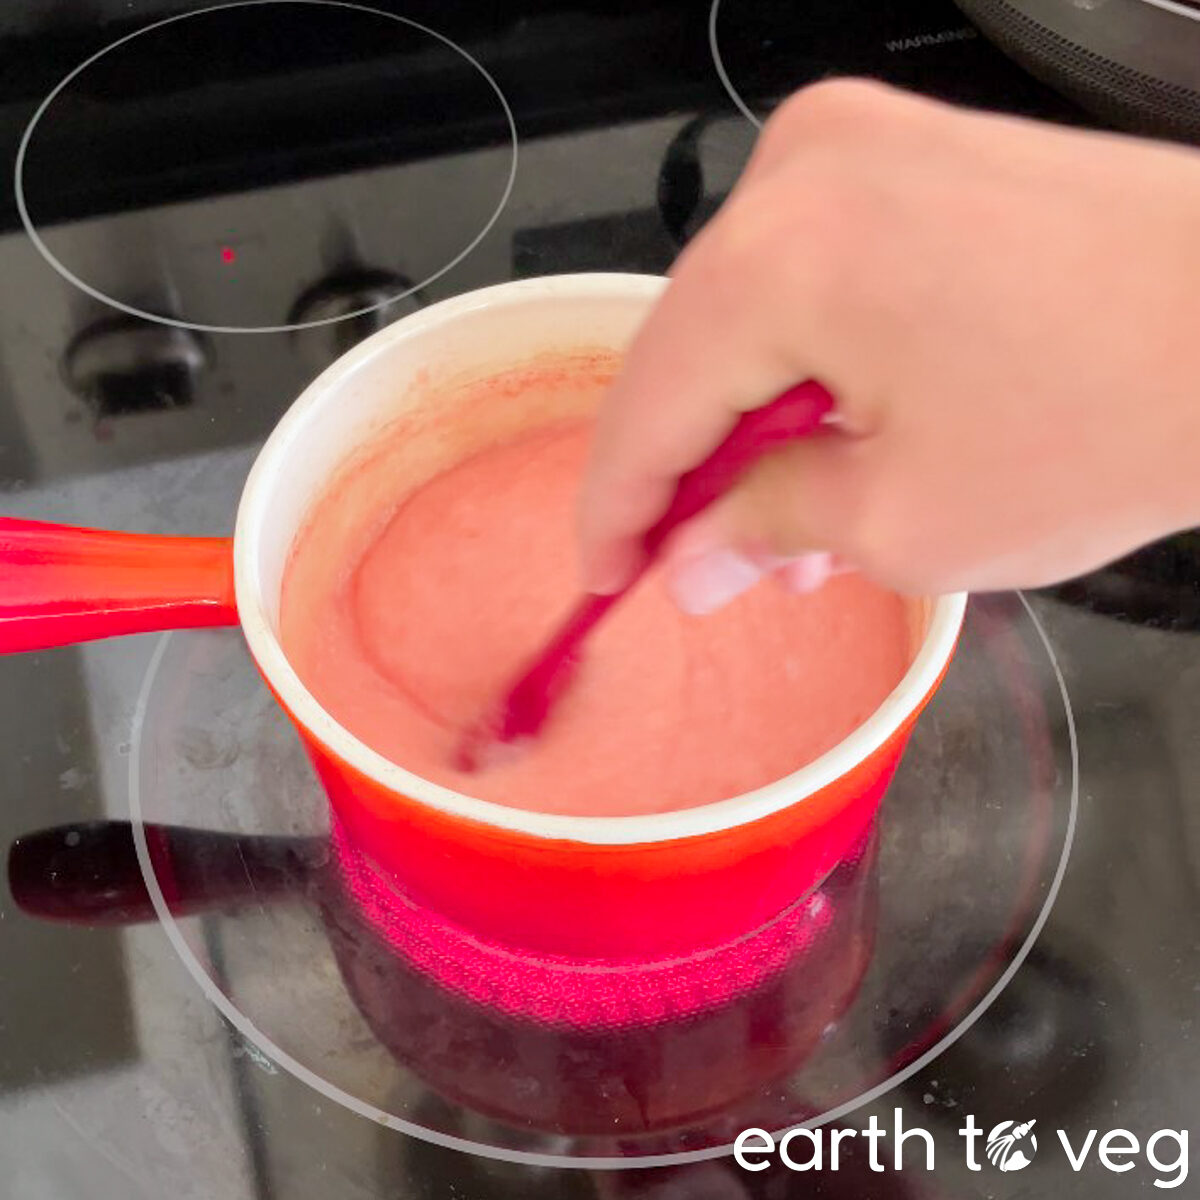
Step 4: Once it starts to bubble, go in with your spatula and stir constantly until it begins to thicken.
Warning: Don’t slack on this step. If you don’t keep up the stirring, it will splatter everywhere.
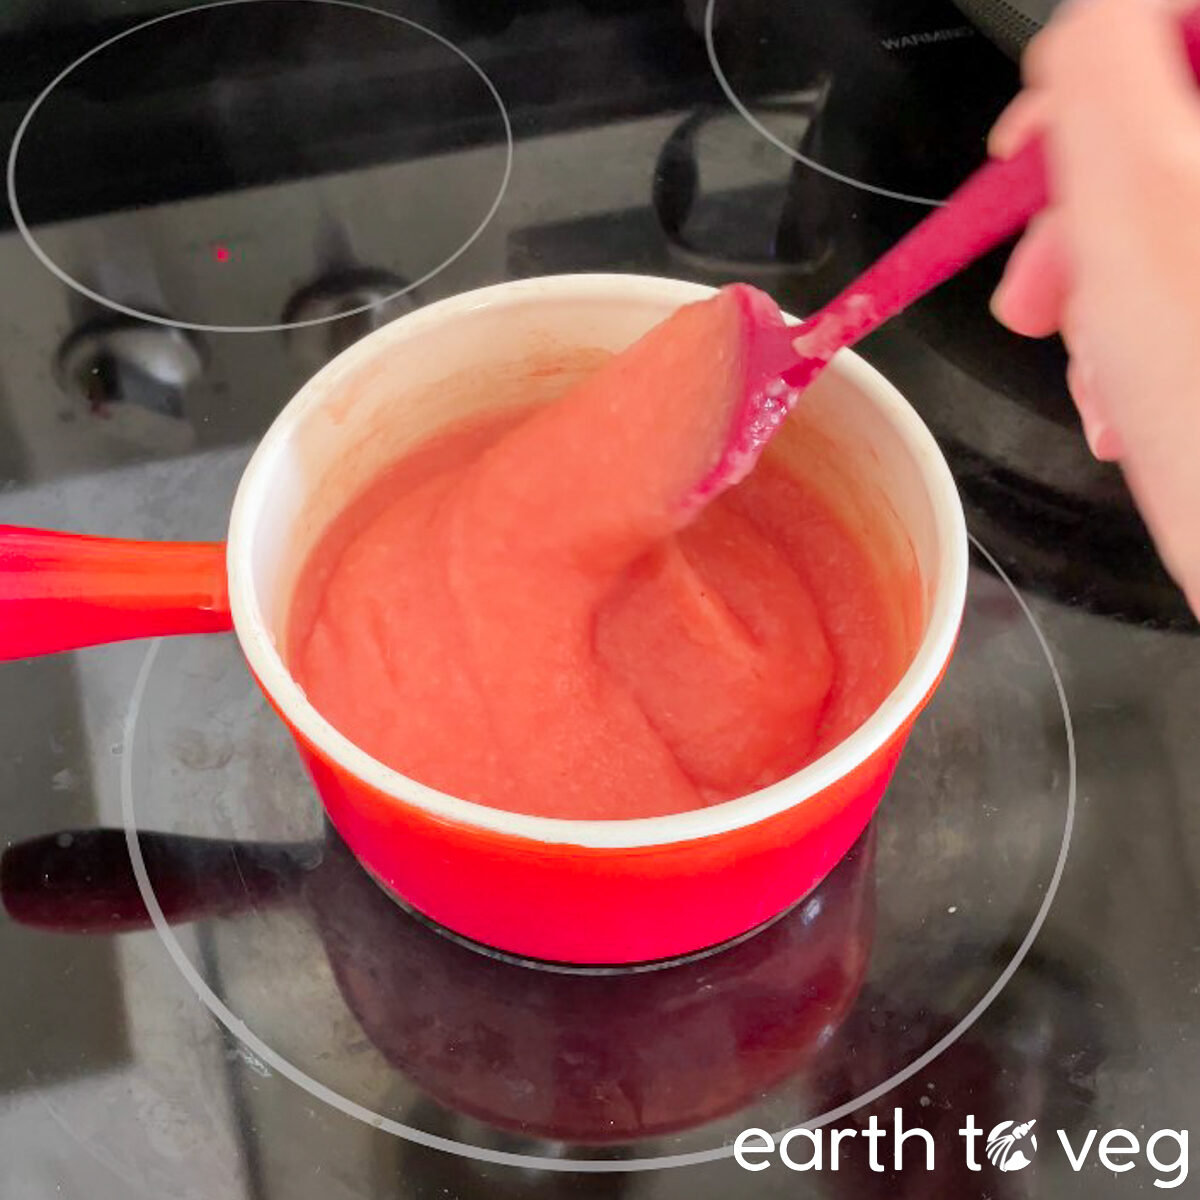
Step 5: As soon as it thickens (see the video for the right consistency), turn off the heat.
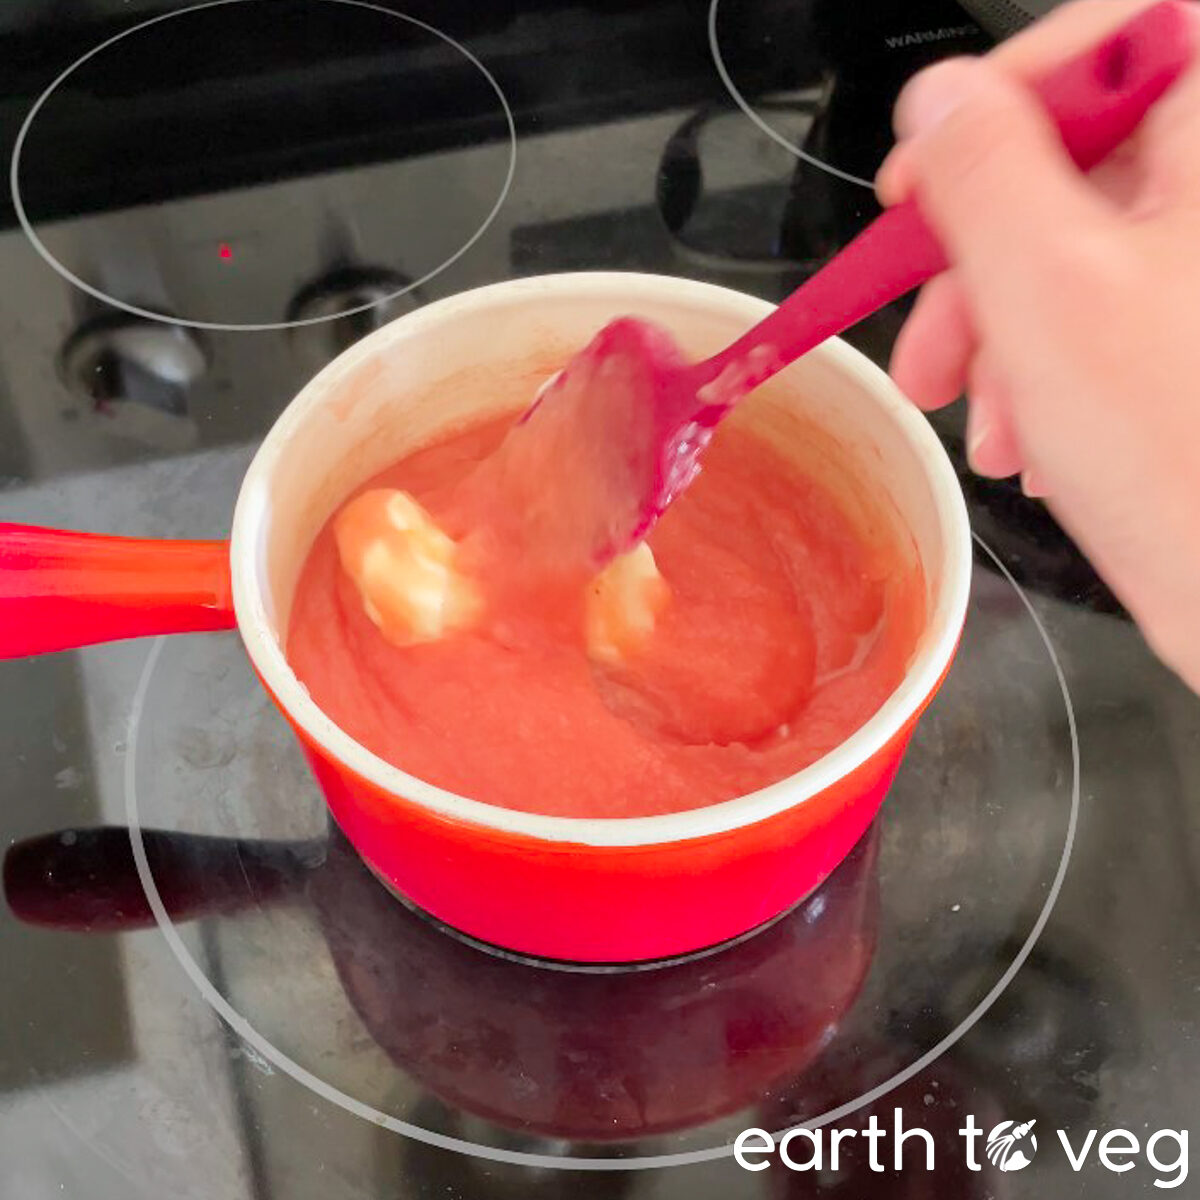
Step 6: Stir in the butter or margarine until it melts into the pie filling mixture.
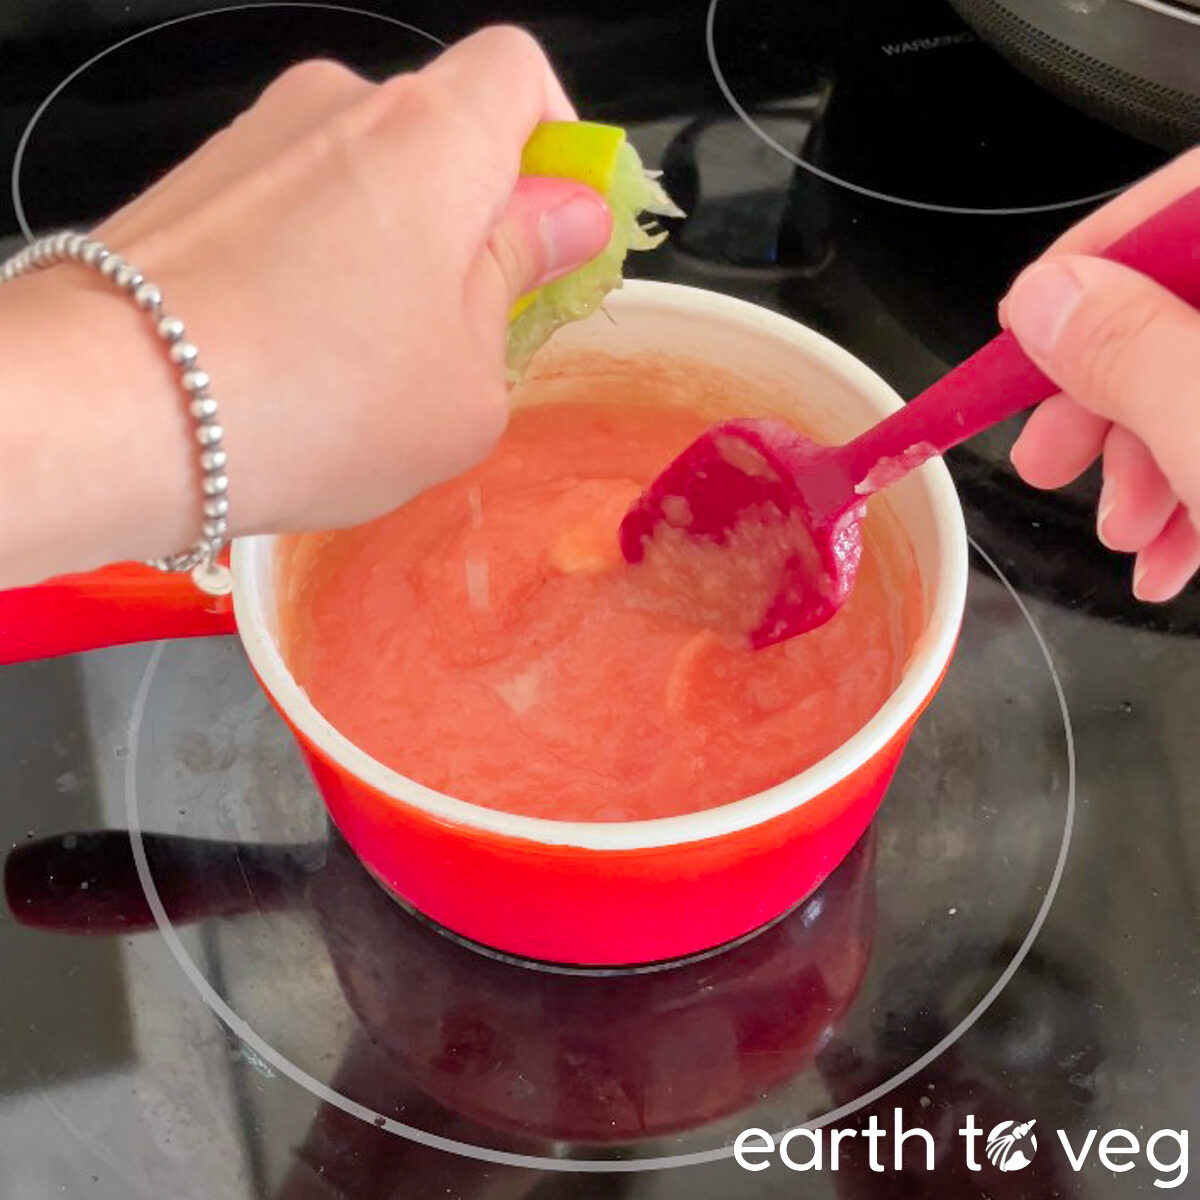
Step 7: Squeeze in the lemon or lime juice.
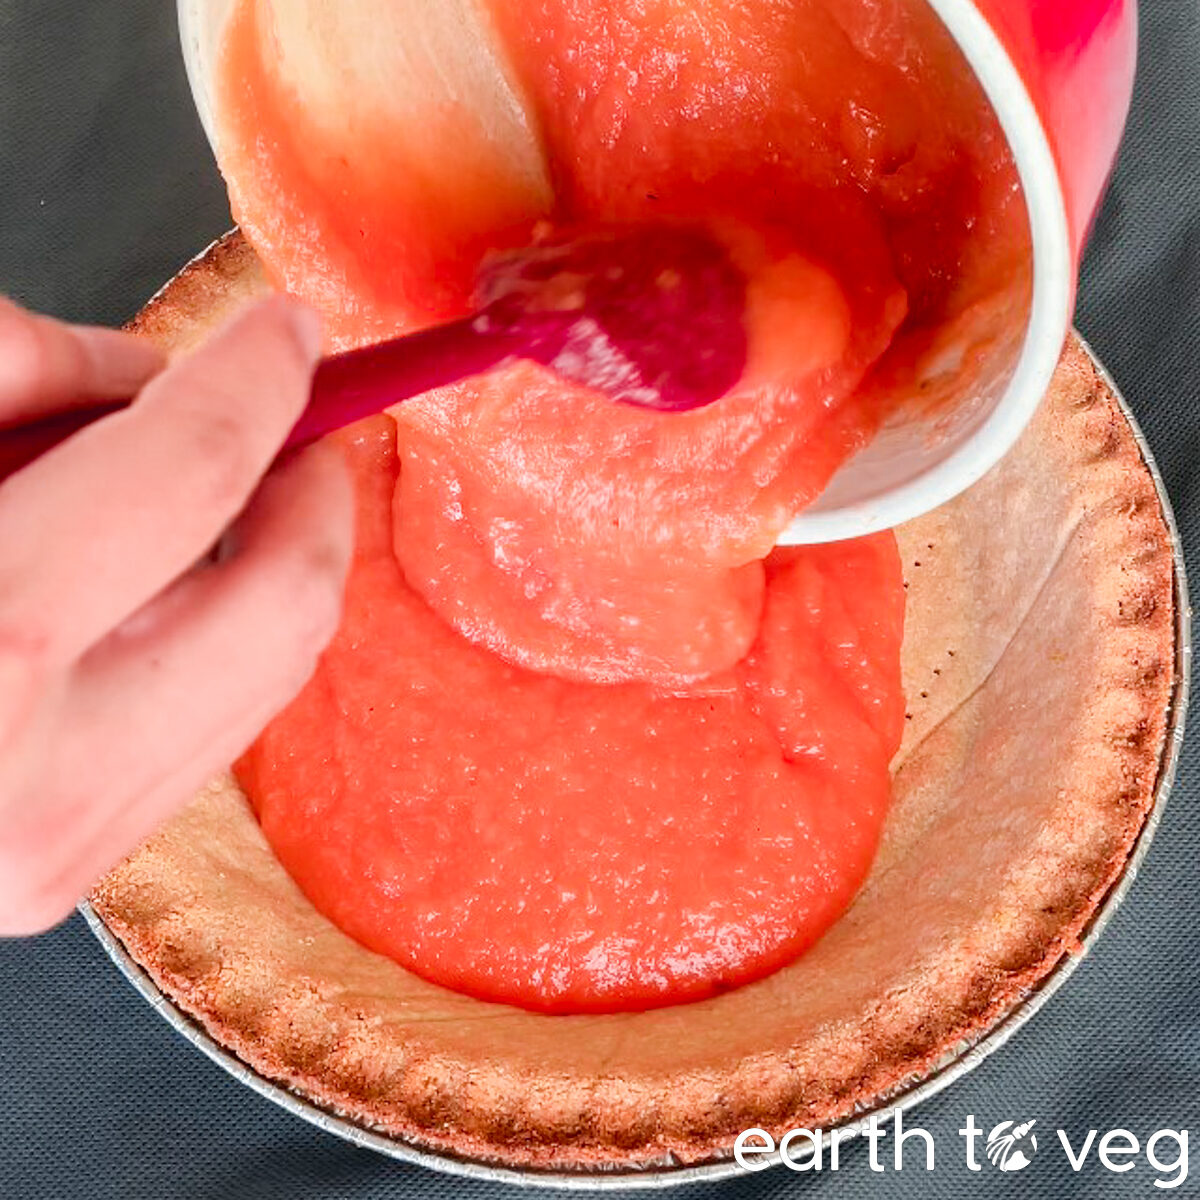
Step 8: Pour pie filling into the pie crust.
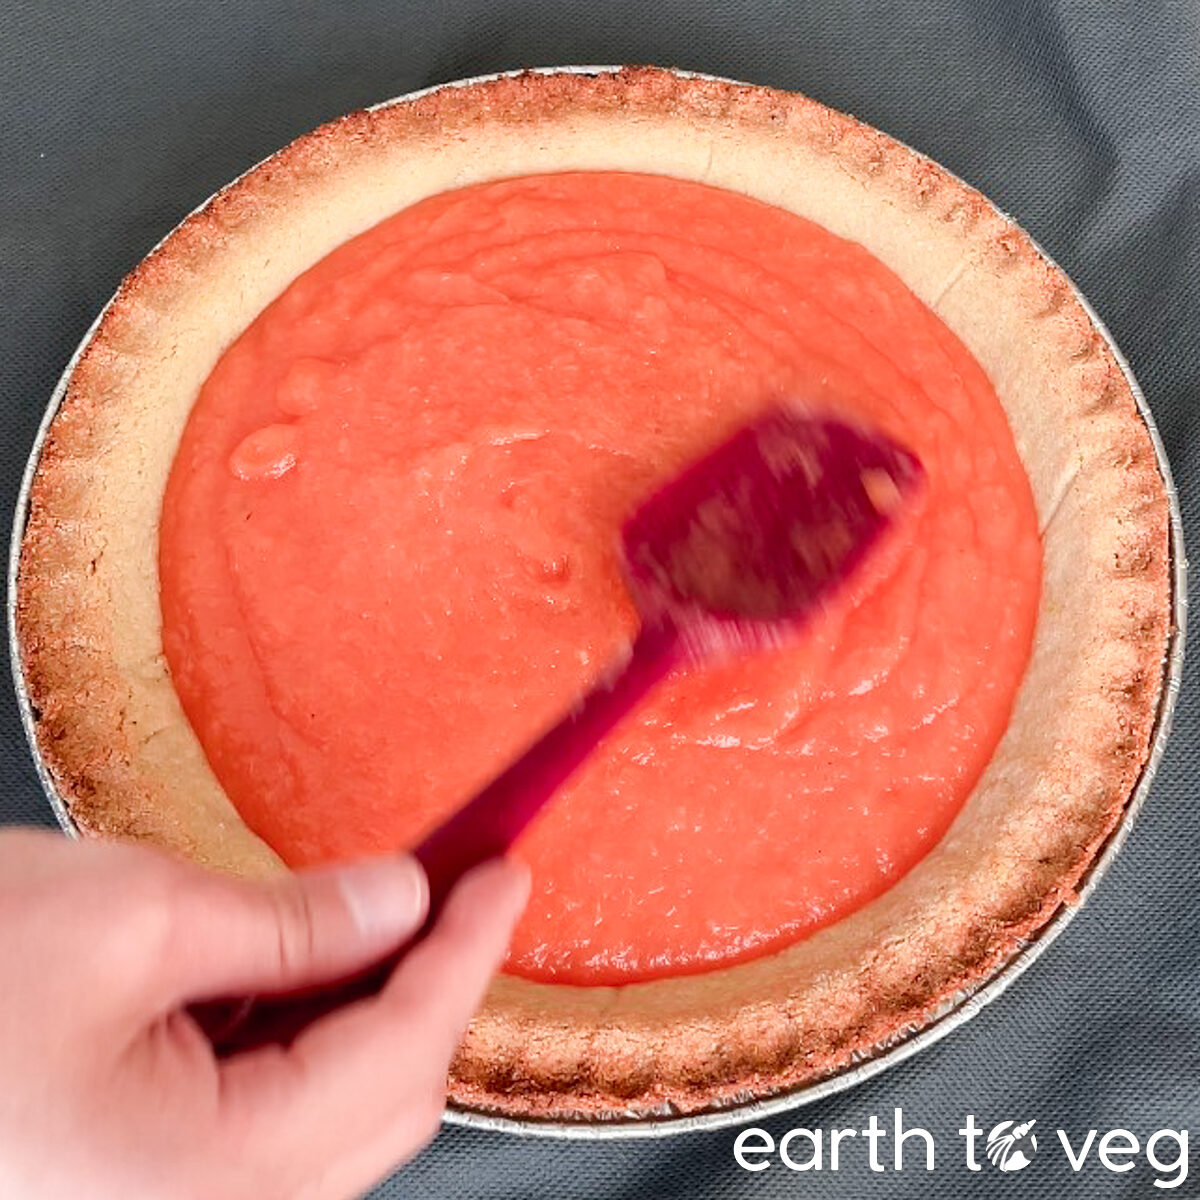
Step 9: Smooth the filling with the back of a spatula.
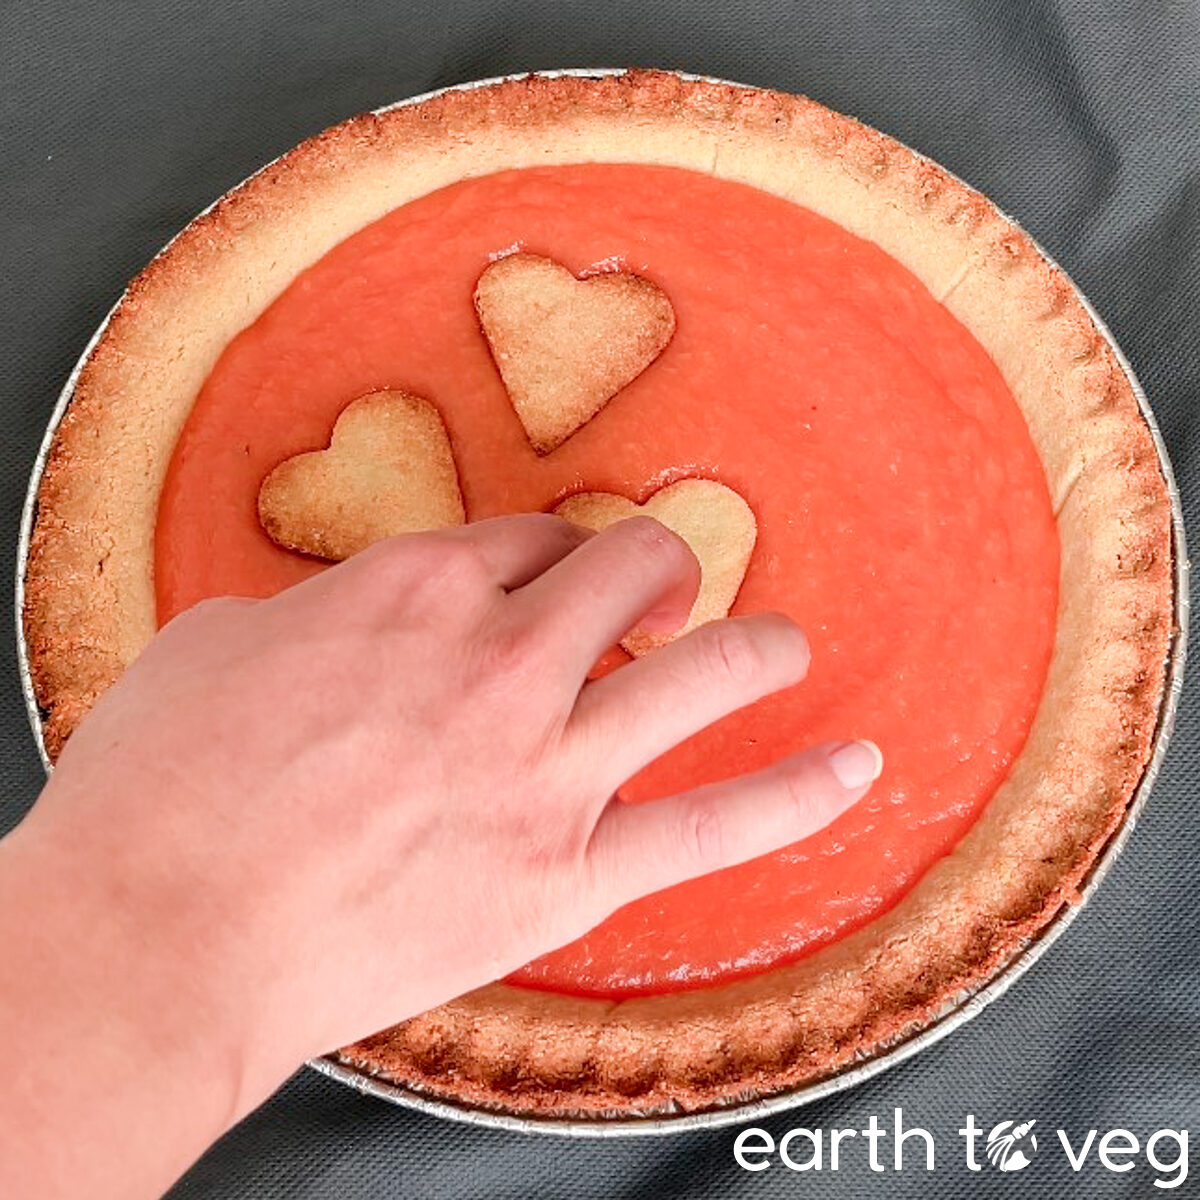
Step 10 (Optional): Top with leftover bits of pie crust.
Tip: Allow pie to chill to room temperature before slicing and serving.
Make Ahead & Storage Tips
Room temperature: Fruit pies taste best when they’re kept on the counter, so the best way is to store pink pineapple pie is on the counter, in an airtight container, for up to two days.
Fridge: If you need to store this pie for longer, keep it inside the fridge in a ziploc bag for up to seven days.
Freezer: This pie also freezes surprisingly well. I expected it to get soggy, but it stayed intact even after freezing and thawing. Store in a sealed ziploc bag or wrapped tightly in several layers of plastic wrap for up to three months.
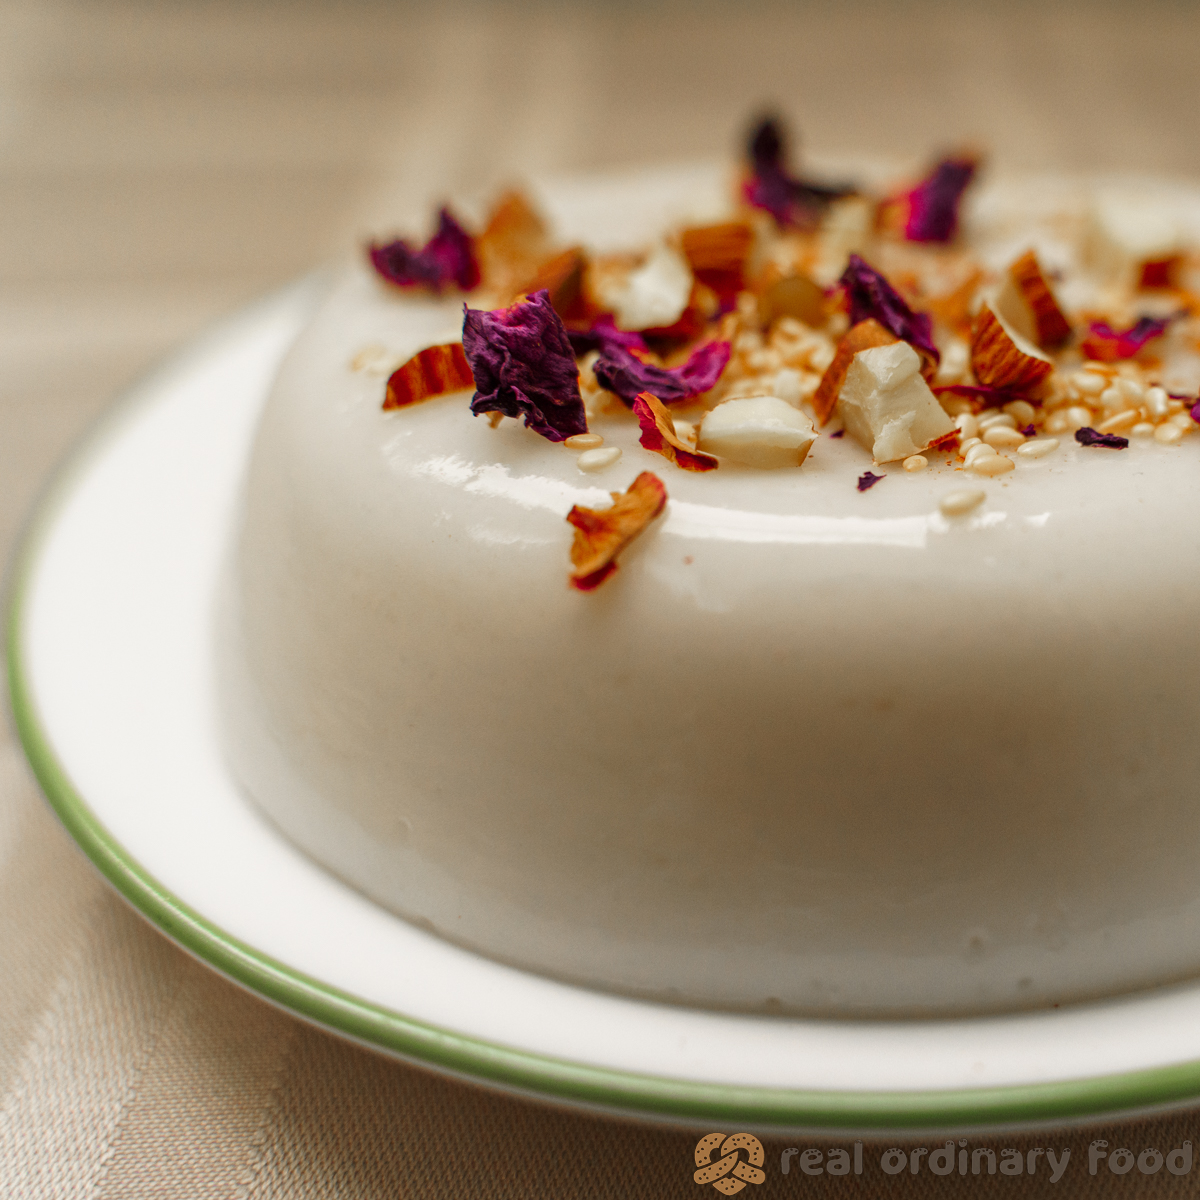
Do not store any whipped cream type toppings with the pie. I recommend adding the cream just before serving.
Diet Substitutions
If you’re following a specific diet or need to be aware of allergies, here are a couple of ways you can modify this recipe:
- Gluten-free: Use a gluten-free pie crust. The pink pineapple pie you see in all the pictures of this post are actually made with a gluten-free and oil-free pie crust, specifically this one. It’s not the same as a regular flaky buttery pie, but as a vehicle for delivering the pineapple filling, it does the job.
- Sugar-free: Swap out the sugar for alternatives like granulated stevia or monkfruit. I have made the pie with both Truvia and Lakanto brand sweeteners and honestly can’t taste a difference. Less processed alternatives like maple syrup, jaggery, and brown sugar will darken the pie filling, but if you’re not worried about the colour you can certainly use them.
If you made this recipe with a successful substitution, please let me know! Post a comment describing what you did so I can add it to this section and help future readers. (Leave your name blank if you don’t want to be credited.)
More Vintage Recipes
Recipe Card
Did you make this recipe? Please consider leaving a rating below to let me know how you liked it. You can also take a picture and tag me on Instagram @earthtoveg, I will shout you out in my Stories!
Pink Pineapple Pie
Equipment
- Blender (I'm currently using this Vitamix)
- Small saucepan
- Rubber spatula
Ingredients
Switch between volume vs weight measurements:
- 4 cups pink pineapple, chopped see Note 1
- ¼ cup cornstarch
- ¼ cup white sugar *can sub with sweetener of choice
- ½ tsp salt
- zest and juice of 1/2 lemon or lime
- 3 tbsp vegan butter
- 1 Homemade Pie Crust
*can also use a storebought pie crust
Instructions
- Add pineapple, cornstarch, sugar, and salt to a blender and puree until smooth.
- Pour the mixture into a saucepan on medium heat. Once it starts to bubble, stir constantly until it begins to thicken.
- Turn off the heat, squeeze in the lime or lemon juice and stir in the butter.
- Once the butter has fully melted, pour the mixture into the pie crust, smoothing over the top with the back of a spatula. Top with coconut whipped cream or leftover bits of pie crust.
- Let pie cool to room temperature before slicing.
Video
Notes
- This recipe uses the naturally coloured Pink Pineapple for its magenta hue. If pink pineapple is not available to you, feel free to use a regular yellow pineapple for a pie that’s just as delicious.
Nutrition
Absolutely gorgeous! And, you stripped it down to minimum so a few ingredients work cleverly to make easy pie.